PLC-XU78, PLC-XU75 specifications
The Sanyo PLC-XU75 is a high-performance portable projector that has gained recognition for its impressive features and reliability in various settings, such as classrooms, boardrooms, and home entertainment. This model is designed to deliver bright, clear images, making it an excellent choice for presentations, educational purposes, or movie screenings.One of the standout features of the Sanyo PLC-XU75 is its brightness. With a luminance output of up to 2500 ANSI lumens, this projector ensures that images remain visible even in well-lit environments. This capability makes it suitable for not only dark rooms but also for venues with ambient light. The contrast ratio of 400:1 provides depth to the images, contributing to a more engaging viewing experience.
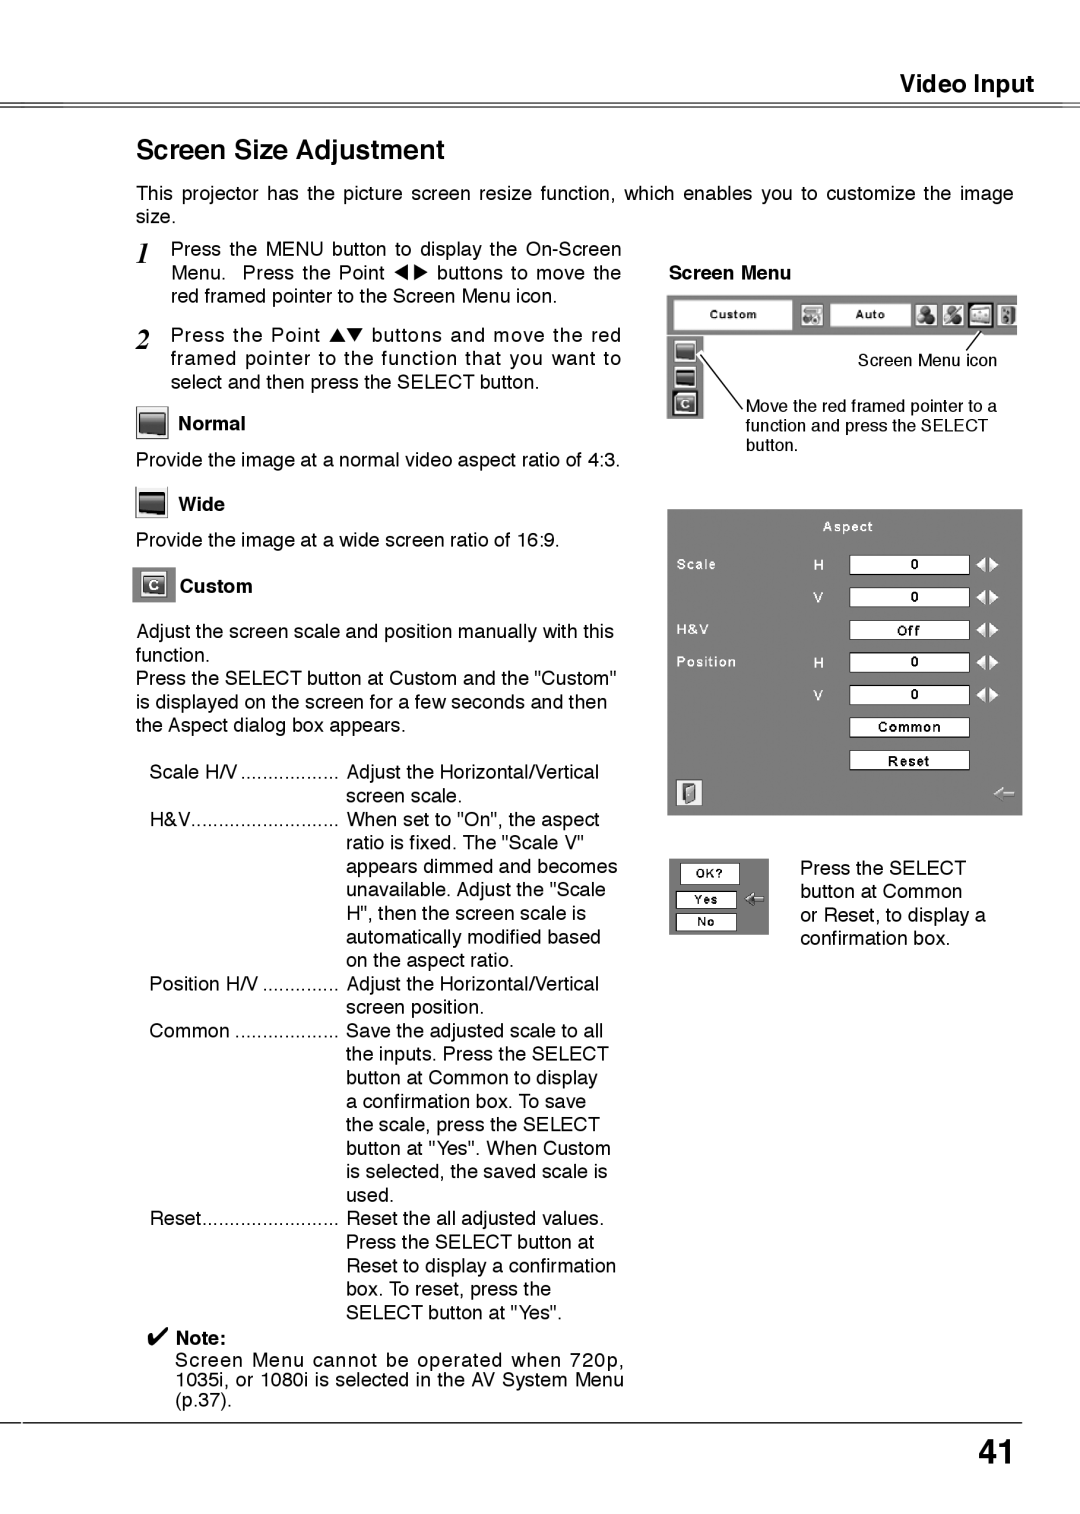
The projector boasts a native XGA resolution of 1024 x 768 pixels, which delivers sharp and detailed images. Supporting a range of resolutions, including VGA, SVGA, and WXGA, the PLC-XU75 ensures compatibility with various sources, allowing users to connect easily to laptops, DVD players, or gaming consoles. It also features a 1.2x optical zoom lens that provides flexibility in installation, enabling users to adjust the image size without needing to move the projector.
In terms of connectivity, the Sanyo PLC-XU75 is equipped with multiple input options, including HDMI, VGA, and composite video ports, which empowers users to connect various devices effortlessly. The inclusion of RS-232C control allows for integration into larger AV systems, making it a versatile choice for professional environments.
The projector’s long lamp life, estimated at around 3000 hours in standard mode, reduces the total cost of ownership, as it minimizes the need for frequent lamp replacements. Additionally, the air filter can be easily accessed, ensuring quick maintenance and prolonging the unit's lifespan.
The design of the Sanyo PLC-XU75 is compact and lightweight, weighing approximately 5.7 kilograms, making it easy to transport for mobile professionals. The quiet operation further enhances its appeal, ensuring that audience members remain focused on the presentation or movie without distraction.
Overall, the Sanyo PLC-XU75 combines versatility, advanced features, and user-friendly operation, making it a reliable projector for those seeking quality performance in various applications. Whether for business, education, or entertainment, the PLC-XU75 stands out as a capable and efficient solution.

