K specifications
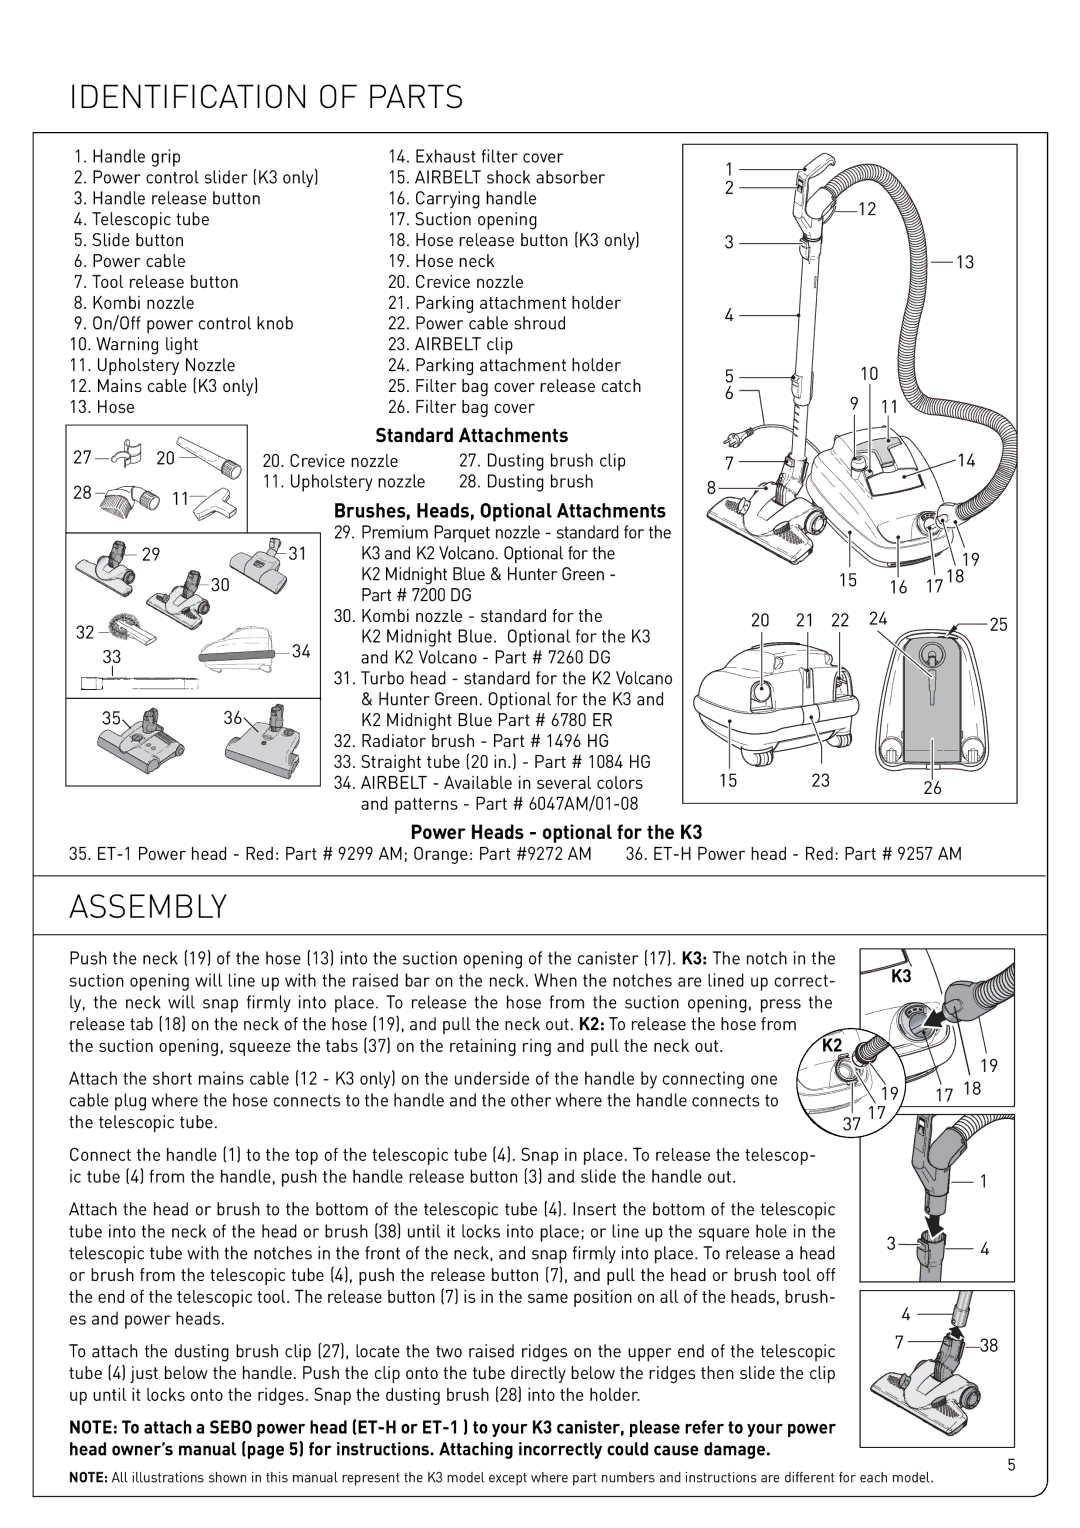
Sebo K is a renowned name in the vacuum cleaner industry, particularly distinguished for its high-performance, commercial-grade cleaning solutions. Founded in Germany and with decades of experience, Sebo is committed to providing top-notch cleaning technology designed for longevity and efficiency.One of the main features of Sebo K vacuum cleaners is their exceptional suction power. Equipped with powerful motors, these devices are capable of deep cleaning carpets and hard floors while maintaining low noise levels, making them suitable for both residential and commercial environments. The efficient airflow design ensures that dirt, dust, and allergens are effectively captured, contributing to a healthier indoor atmosphere.
An essential technology in Sebo K vacuums is their advanced filtration system. Many models come with a high-efficiency particulate air (HEPA) filter, which traps 99.97% of particles as small as 0.3 microns. This is particularly beneficial for allergy sufferers, as it minimizes the spread of allergens in the home or workplace. Alongside the HEPA filter, Sebo K vacuums often utilize a multi-layered filtration system that ensures better air quality.
Durability is a hallmark of Sebo K products. Crafted from high-quality materials, these vacuums are built to withstand demanding cleaning tasks over long periods. The robust construction is complemented by a user-friendly design, featuring ergonomic handles and lightweight body, which facilitate ease of use and maneuverability. Additionally, many models include features such as automatic height adjustment, allowing the vacuum to adapt to various carpet thicknesses for optimal performance.
Another key characteristic of Sebo K vacuums is their low maintenance requirements. The design includes easily replaceable parts, such as belts and filters, making it convenient for users to maintain their machines. This reduces the overall cost of ownership, as users can extend the lifespan of their vaccuum with minimal investment.
In summary, Sebo K vacuum cleaners are characterized by their powerful suction, advanced filtration, durability, and user-friendly design. With a commitment to innovation and quality, Sebo continues to be a preferred choice for those seeking efficient and long-lasting cleaning solutions. Whether for home or commercial use, Sebo K vacuums set a standard that many aspire to meet, ensuring they remain a trusted option in the cleaning industry.

