EK 500, SK 500 specifications
The Sennheiser SK 500 is a versatile and robust bodypack transmitter designed for professional applications in live performances, broadcasting, and theaters. This device exemplifies the brand's commitment to superior sound quality and user-friendly features, making it a popular choice among audio professionals.One of the standout features of the SK 500 is its digital transmission capabilities. Utilizing Sennheiser’s renowned Digital Audio Processing, the transmitter ensures optimal sound reproduction and minimizes interference, allowing for crystal-clear audio quality. This technology is particularly beneficial in environments where multiple wireless systems operate simultaneously, as it reduces the risk of dropouts and ensures a reliable connection.
The SK 500 is equipped with a range of up to 300 meters (approximately 1000 feet), granting users the freedom to move around on stage without compromising sound quality. This extensive range is complemented by the device's ability to operate in multiple frequency ranges, providing flexibility for different applications and venues. With an adjustable output power, it also enables users to adapt to the specific needs of their environment.
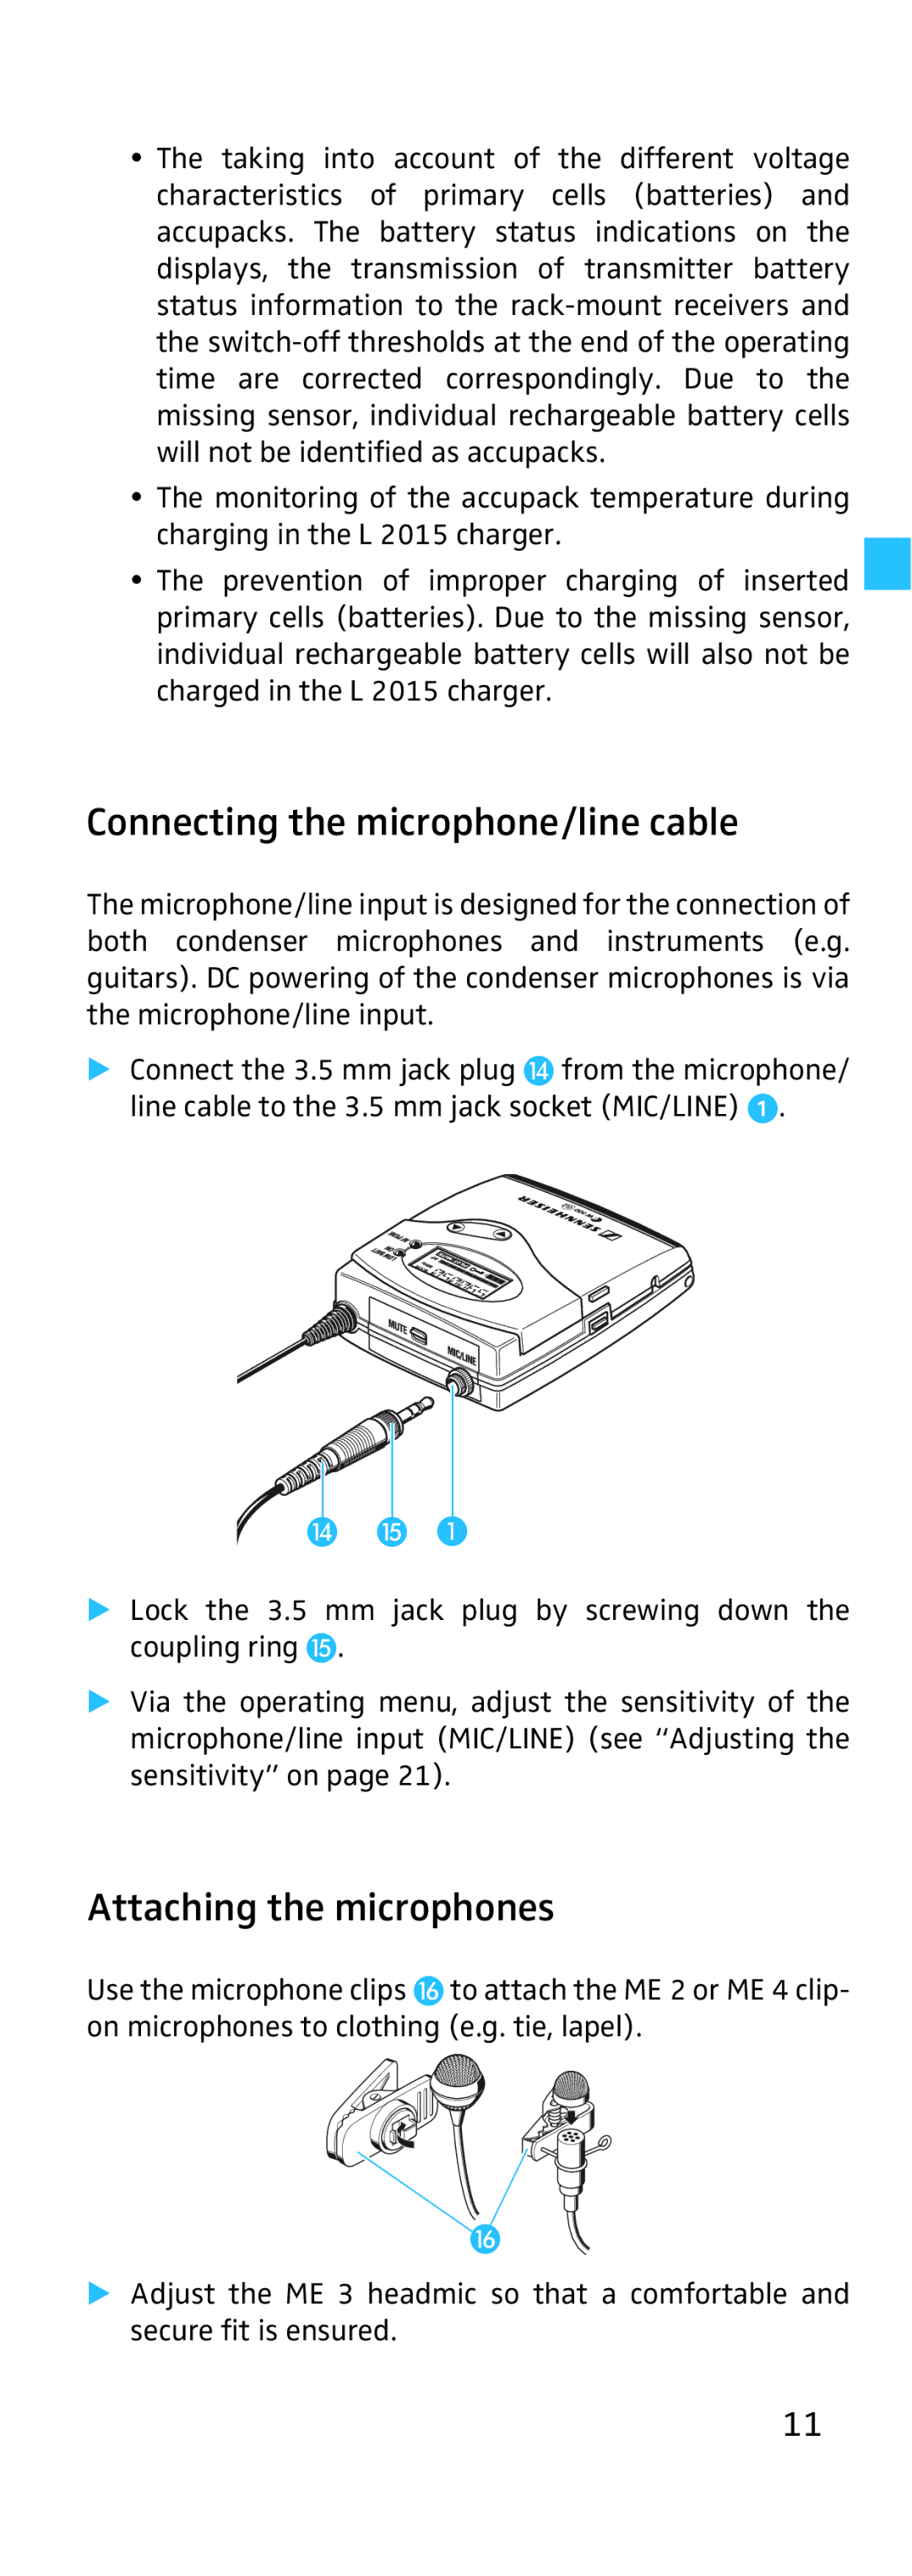
This bodypack transmitter features an intuitive user interface, including an easy-to-read LCD display that provides critical information such as battery status, signal strength, and frequency selection. Navigating the menu is simple, thanks to the user-friendly controls, making it accessible even for those who are new to wireless systems.
The SK 500 also prioritizes durability and user comfort. The rugged metal housing is designed to withstand the rigors of professional use, ensuring longevity and reliability even in challenging conditions. Furthermore, the lightweight design makes it comfortable for prolonged wear, essential for performers who require mobility without the bulk of heavy equipment.
Another important characteristic of the SK 500 is its compatibility with a variety of Sennheiser microphones, offering users the flexibility to choose the appropriate microphone for their specific needs. Whether for vocal performances or instrument amplification, this compatibility allows for tailored sound solutions.
In summary, the Sennheiser SK 500 bodypack transmitter represents a blend of advanced technology and practical design, suitable for a range of professional audio applications. Its impressive sound quality, extensive operating range, user-friendly interface, and solid build quality make it an essential tool for anyone looking to achieve top-tier audio performance in live settings.

