Quick Start
Quick Start
fig. 5
fig. 1
fig. 3
fig. 2
fig. 4
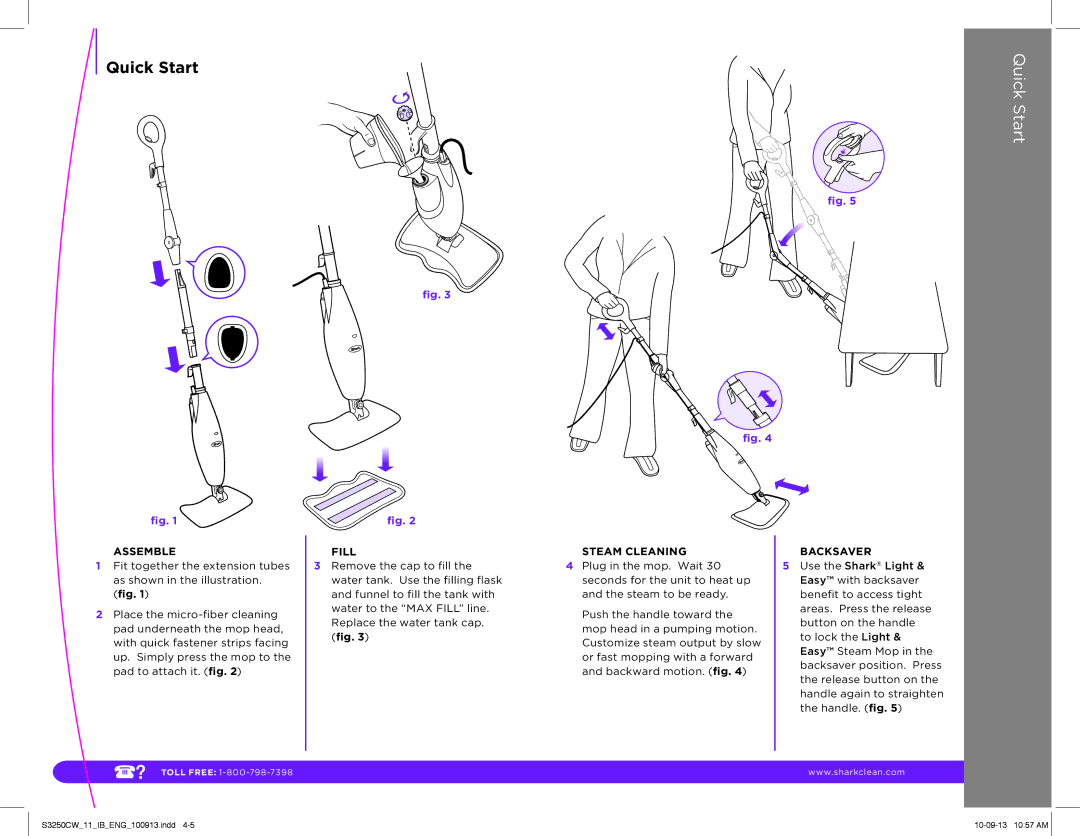
ASSEMBLE
1Fit together the extension tubes as shown in the illustration. (fig. 1)
2Place the
FILL
3Remove the cap to fill the water tank. Use the filling flask and funnel to fill the tank with water to the “MAX FILL” line. Replace the water tank cap. (fig. 3)
STEAM CLEANING
4Plug in the mop. Wait 30 seconds for the unit to heat up and the steam to be ready.
Push the handle toward the mop head in a pumping motion. Customize steam output by slow or fast mopping with a forward and backward motion. (fig. 4)
BACKSAVER
5Use the Shark® Light & Easy™ with backsaver benefit to access tight areas. Press the release button on the handle to lock the Light & Easy™ Steam Mop in the backsaver position. Press the release button on the handle again to straighten the handle. (fig. 5)
TOLL FREE:
S3250CW_11_IB_ENG_100913.indd
www.sharkclean.com
![]()