AR-122E specifications
The Sharp AR-152E and AR-122E are advanced multifunction monochrome copiers designed to meet the diverse needs of small to medium-sized businesses. These models offer a combination of efficiency, reliability, and essential features that facilitate smooth document management processes.One of the standout features of both the AR-152E and AR-122E is their robust copying capabilities. The AR-152E operates at a speed of 15 pages per minute, while the AR-122E is slightly faster at 22 pages per minute. This efficiency allows businesses to handle high-volume print jobs with ease. Both models also include automatic document feeders, enabling users to load multiple pages for copying or scanning without manual intervention, thereby saving time and streamlining workflows.
In terms of document handling, the AR-152E and AR-122E are equipped with a standard paper capacity of up to 250 sheets, which can be expanded with optional trays for increased capacity. This feature allows users to manage larger print jobs without frequent interruptions. The printers support various paper sizes, including A4, A5, and B5, ensuring versatility in document presentation.
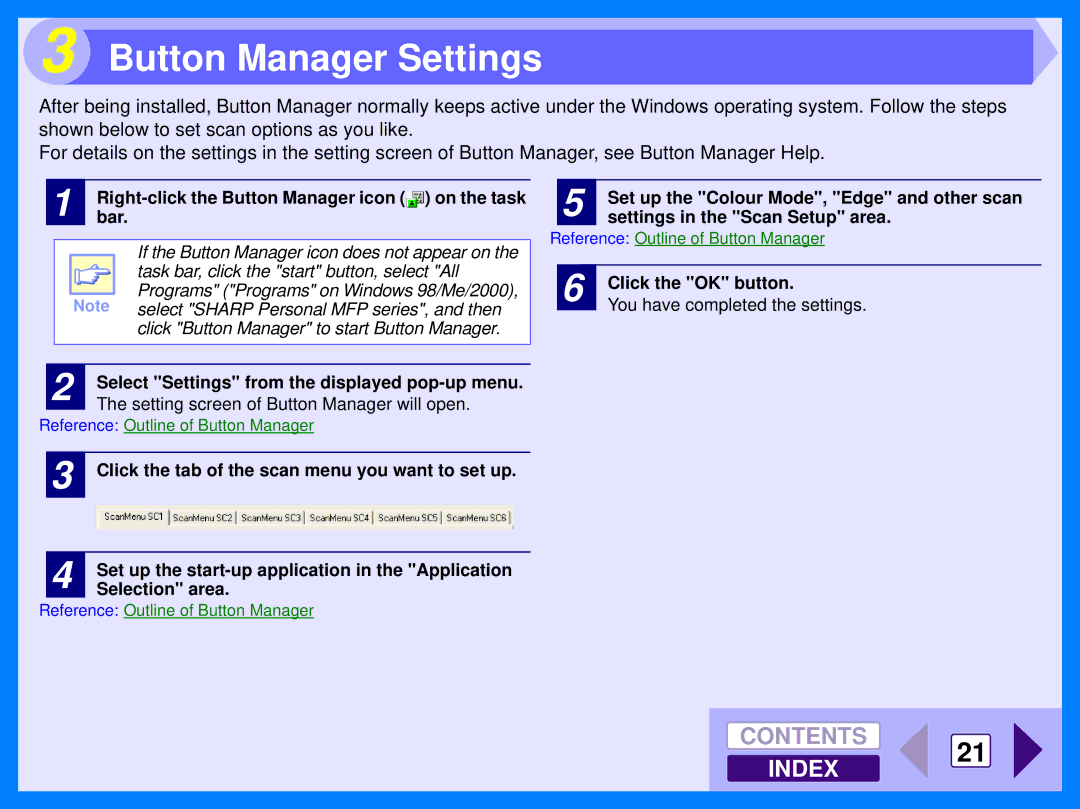
The AR-152E and AR-122E are not just copiers; they also integrate scanning and printing functionalities. Both machines support network printing, allowing users to print directly from their computers or mobile devices. The inclusion of a built-in scanner enables users to digitize documents quickly, with options for saving scanned files in different formats, including PDF and JPEG. This adaptability is essential in today's digital workspace.
These models are designed with energy efficiency in mind. They use Sharp's advanced Energy Save mode, which reduces power consumption during periods of inactivity, contributing to lower operating costs. Additionally, they boast a fast warm-up time, ensuring that the machines are ready to operate almost instantaneously after being turned on, further enhancing their efficiency.
Moreover, the AR-152E and AR-122E feature user-friendly control panels, making it easy for users to navigate through various functions and settings. Their compact design ensures that they can fit comfortably into a small office environment without taking up excessive space.
In conclusion, the Sharp AR-152E and AR-122E deliver a combination of high-speed performance, multifunction capabilities, and efficiency that make them suitable for various business environments. Their key features, including fast copying speeds, flexible document handling, and energy-saving technologies, position them as reliable solutions for organizations aiming to enhance productivity while managing costs effectively.

