Deleting a Timer

Select the timer you want to delete by pressing “ ” or “” button.

Press RED button.

Select YES by using “” or “” buttons to delete the timer. Select NO to cancel.

Recording Configuration

Select Recording Configuration item in the Settings menu to configure recording settings. The following menu is displayed for recording configuration.

The following options are available for adjustments:

Start Early (*)

You set recording timer’s starting time to start earlier by using this setting.

(*)Available only for EU country options. End Late (*)

You set recording timer’s end time to end later by using this settings.

(*)Available only for EU country options. Max Timeshift

This setting allows you to set the maximum time allowed for timeshifting. Duration options are approximate and can change accordingly, depending on the broadcast received.

Format Disk

IMPORTANT: Note that ALL the data stored on the USB disk will be lost and then the disk format will be converted to FAT32 if you activate this feature.

•If you want to delete all files on the connected USB hard disk drive or memory stick, you can use Format Disk option.

Also, if your USB disk malfunctions, you can try formatting the USB disk. In most cases formatting the USB disk will restore normal operation; however, ALL the data stored on the USB disk will be lost in such a case.

Press OK button while the Format Disk option is highlighted. A menu will appear on the screen, requiring you to enter a pin number. If you have not changed the pin number, the factory default is 0000.

Note: If the Country option is set to France, you can use 4725 as the default code.

After you enter the pin, a pop-up menu appears on the screen to ensure that the hard disk should be formatted, select “YES” and press OK to format the hard disk. Select “NO” and press OK to cancel. Ensure you back up important recordings before you format the USB disk unit.

Hard Disk Info

To view the details about the USB disk, highlight Hard Disk Info by using “” or “” key and press OK. USB disk information will be displayed:

Configuring Date/Time Settings

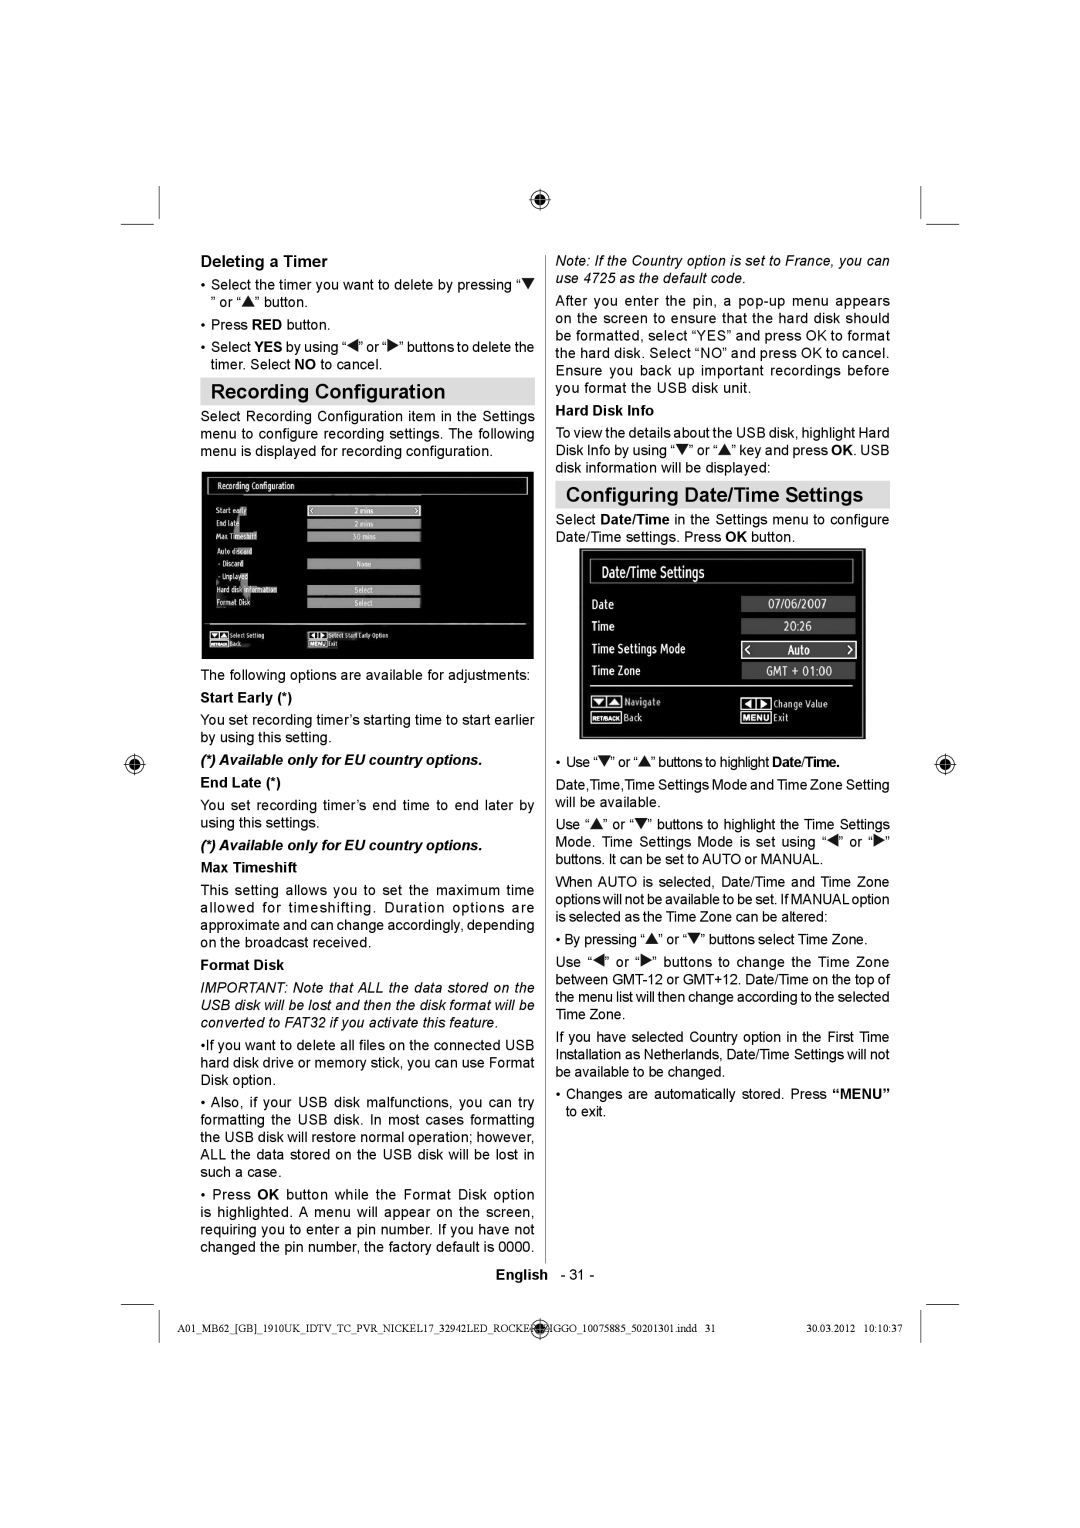
Select Date/Time in the Settings menu to configure Date/Time settings. Press OK button.

• Use “” or “” buttons to highlight Date/Time.

Date,Time,Time Settings Mode and Time Zone Setting will be available.

Use “” or “” buttons to highlight the Time Settings Mode. Time Settings Mode is set using “” or “” buttons. It can be set to AUTO or MANUAL.

When AUTO is selected, Date/Time and Time Zone options will not be available to be set. If MANUAL option is selected as the Time Zone can be altered:

By pressing “” or “” buttons select Time Zone.

Use “” or “” buttons to change the Time Zone between GMT-12 or GMT+12. Date/Time on the top of the menu list will then change according to the selected Time Zone.

If you have selected Country option in the First Time Installation as Netherlands, Date/Time Settings will not be available to be changed.

Changes are automatically stored. Press “MENU” to exit.

English - 31 -

A01_MB62_[GB]_1910UK_IDTV_TC_PVR_NICKEL17_32942LED_ROCKER

_

ZIGGO_10075885_50201301.indd 31

30.03.2012 10:10:37

Page 32
Image 32
Sharp LC-32LE140E operation manual Recording Configuration, Configuring Date/Time Settings, Deleting a Timer

LC-32LE140E specifications

The Sharp LC-32LE140E is a sophisticated television that combines advanced technology with a sleek design, providing an immersive viewing experience. With its 32-inch screen size, it is ideal for smaller living rooms, bedrooms, or kitchens, making it a versatile choice for various settings.

One of the standout features of the LC-32LE140E is its LED backlighting, which enhances picture quality by delivering bright and vibrant colors. This technology allows for deeper contrasts and improved clarity, ensuring that every scene is depicted with stunning detail. The Full HD resolution of 1920 x 1080 pixels further enhances the viewing experience, providing crisp images and making it perfect for HD content.

The television is equipped with a range of connectivity options, including multiple HDMI ports that allow users to connect various devices such as Blu-ray players, gaming consoles, and laptops. Additionally, USB ports provide the convenience of playing multimedia content directly from USB drives, enabling viewers to enjoy photos, music, and videos effortlessly.

The LC-32LE140E incorporates several picture enhancement technologies, including the Active Contrast feature, which automatically adjusts the brightness and contrast of the image based on the content being displayed. This ensures optimal viewing in different lighting conditions, whether you’re watching during the day or at night.

Sound is equally important in providing a complete entertainment experience, and the LC-32LE140E doesn’t disappoint. It comes equipped with built-in speakers that produce clear and dynamic audio. For those seeking an even more enhanced sound experience, the TV is compatible with various external audio systems.

The design of the Sharp LC-32LE140E is modern and minimalist, with slim bezels that maximize the screen space for an immersive experience. The lightweight construction makes it easy to mount on walls or place on a stand, enabling flexibility in arranging your living space.

In summary, the Sharp LC-32LE140E is a feature-rich television that delivers superior picture quality, versatile connectivity options, and an elegant design. It is an excellent choice for anyone looking to upgrade their viewing experience without compromising on space or style. Whether watching movies, playing games, or streaming content, this television promises to enhance your enjoyment.