DTV menu operations


Installation

Select

Use this function to jump to the specifi c service in one step. This is useful when there are many services displayed on screen to scroll through.

1Press on the remote control. Now you can change the service number on the left side of the screen.

2Enter the number using - numeric buttons, and then press OK. The highlight moves to the selected service.

Erase

Erase the selected service(s) from the memory.

1Press a/b to select the desired service.

2Press on the remote control. An icon displays indicating the service to be erased.

Pressing will turn the erase icon on and off.

Do not press END to exit the screen here if you wish to register the change.

3Press OK.

• A confi rmation message displays.

4Press c/d to select “Yes”, and then press OK.

Label

Change individual service names.

1Press a/b to select the desired service.

2Press on the remote control. A character set screen displays.

3Enter new name for the service. See page 24 for operations using the character set screen.

View

Tune to the service shown in the picture window.

1Press a/b to select the desired service.

2Press on the remote control.

• The image shown in the picture window changes.

3Press END to exit the Programme Setup screen to view the image in full screen.

This section describes how to reconfi gure the DTV settings after conducting Initial auto installation (DTV) on page 8.

Auto Installation

The TV automatically detects and stores all available services in your area. See Initial auto installation (DTV) on page 8 for details.

NOTE

If the TV detects a new carrier/service that has become available after performing “Auto Installation”, the message

“Do you want to save?” displays.

Press c/d to select “Yes” or “No”, and then press OK.

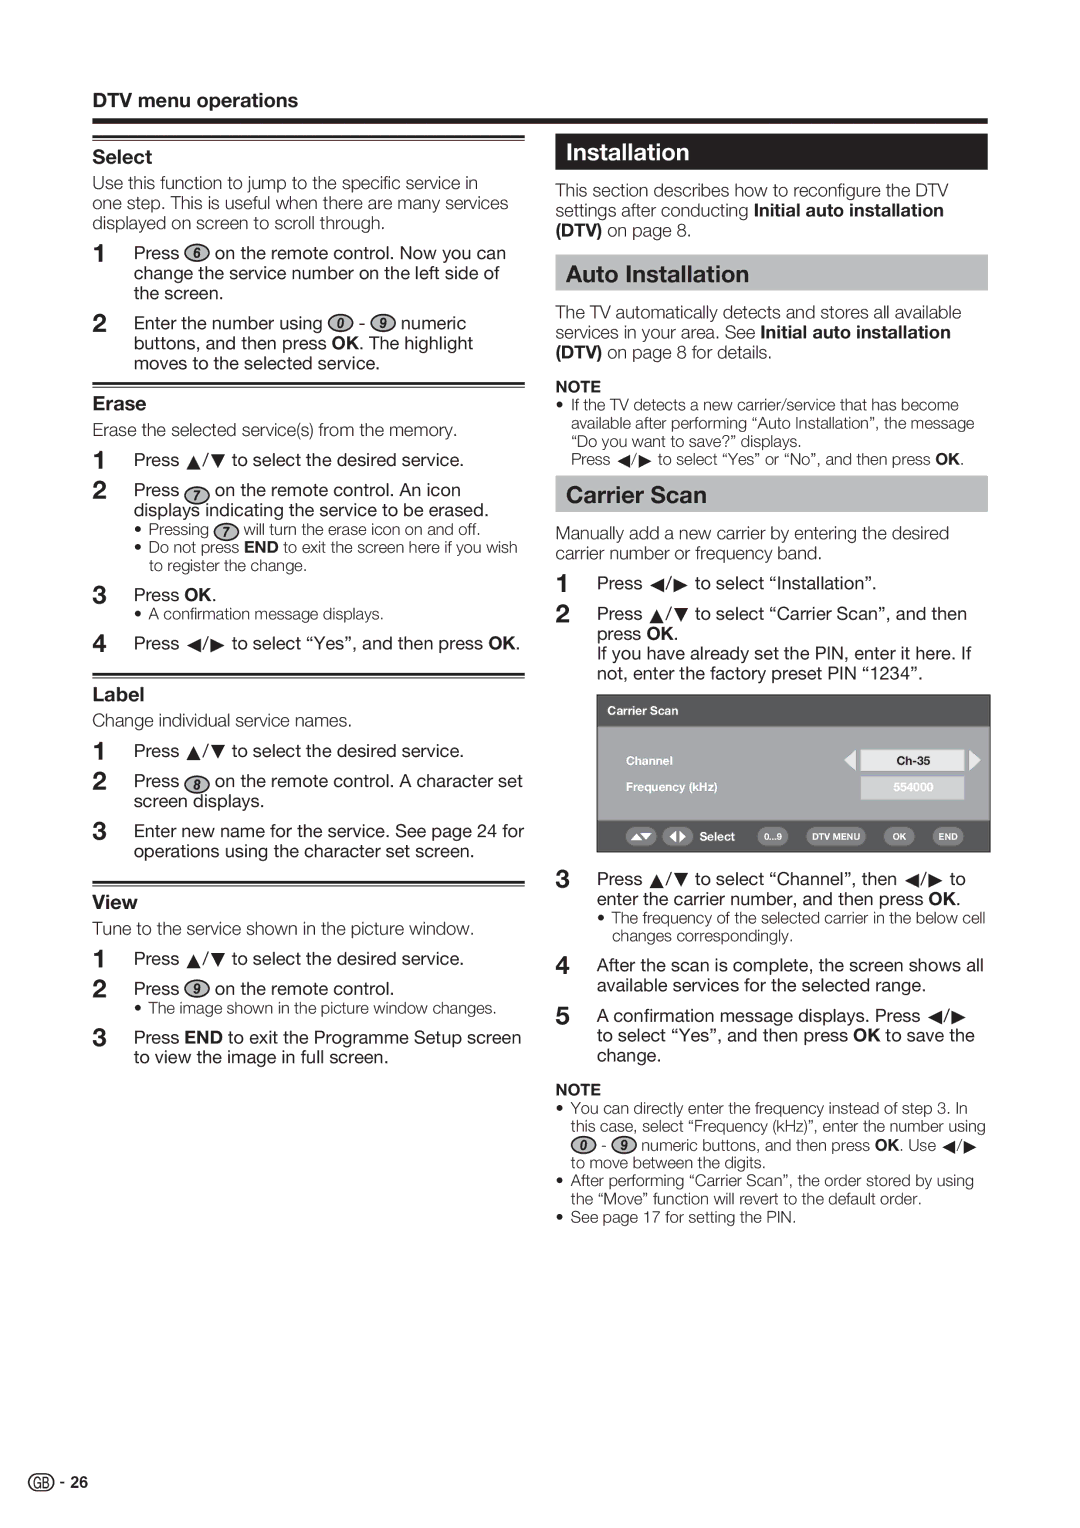
Carrier Scan

Manually add a new carrier by entering the desired carrier number or frequency band.

1Press c/d to select “Installation”.

2Press a/b to select “Carrier Scan”, and then press OK.

If you have already set the PIN, enter it here. If not, enter the factory preset PIN “1234”.

Carrier Scan

Channel


Ch-35


Frequency (kHz)


554000


Select

0...9

DTV MENU

OK

END


3Press a/b to select “Channel”, then c/d to enter the carrier number, and then press OK.

The frequency of the selected carrier in the below cell changes correspondingly.

4After the scan is complete, the screen shows all available services for the selected range.

5A confirmation message displays. Press c/d to select “Yes”, and then press OK to save the change.

NOTE

You can directly enter the frequency instead of step 3. In

this case, select “Frequency (kHz)”, enter the number using

- numeric buttons, and then press OK. Use c/d to move between the digits.

After performing “Carrier Scan”, the order stored by using the “Move” function will revert to the default order.

See page 17 for setting the PIN.

26

Page 28
Image 28
Sharp LC-46XD1E, LC-52XD1E operation manual Auto Installation, Carrier Scan

LC-52XD1E, LC-46XD1E specifications

The Sharp LC-46XD1E and LC-52XD1E are part of Sharp's acclaimed series of LCD televisions known for their exceptional quality and innovative features. These models, which flaunt screen sizes of 46 inches and 52 inches respectively, are ideal for those seeking a large viewing experience without compromising on picture clarity and performance.

One of the standout features of both the LC-46XD1E and LC-52XD1E is their use of Sharp's proprietary XXV technology, which significantly enhances the picture quality. This technology optimizes color reproduction and provides sharp, vibrant images, making them perfect for watching movies, sports, or playing video games. Coupled with a high dynamic contrast ratio, viewers can expect deeper blacks and brighter whites, ensuring a more immersive visual experience.

The viewing angles on these models are also noteworthy, thanks to the use of advanced LCD panel technology that minimizes color distortion at wider angles. This means that whether you are sitting directly in front of the television or off to the side, you can enjoy a consistently high-quality picture.

Both models are equipped with a 1080p Full HD resolution, providing a significant upgrade over standard HD televisions. This resolution delivers finer details and sharper images, making your viewing experience more engaging. Furthermore, the incorporation of 120Hz refresh rate technology helps reduce motion blur during fast-moving scenes, which is particularly beneficial for action-packed content like sports or action movies.

In terms of connectivity, the LC-46XD1E and LC-52XD1E come with multiple HDMI ports, allowing for easy connection to various devices such as Blu-ray players, gaming consoles, and streaming devices. An integrated USB port allows users to view personal photos or videos directly from USB storage devices, adding another layer of versatility.

Sound quality is equally impressive, with a built-in audio system that offers clear and balanced sound. The models also support various audio codecs, ensuring compatibility with different formats for a better auditory experience.

Overall, the Sharp LC-46XD1E and LC-52XD1E televisions are exceptional choices for consumers seeking high-quality visuals and sound wrapped in a stylish design. Their advanced technologies and user-friendly features make these TVs a great addition to any home entertainment system, providing entertainment that meets the demands of modern viewers.