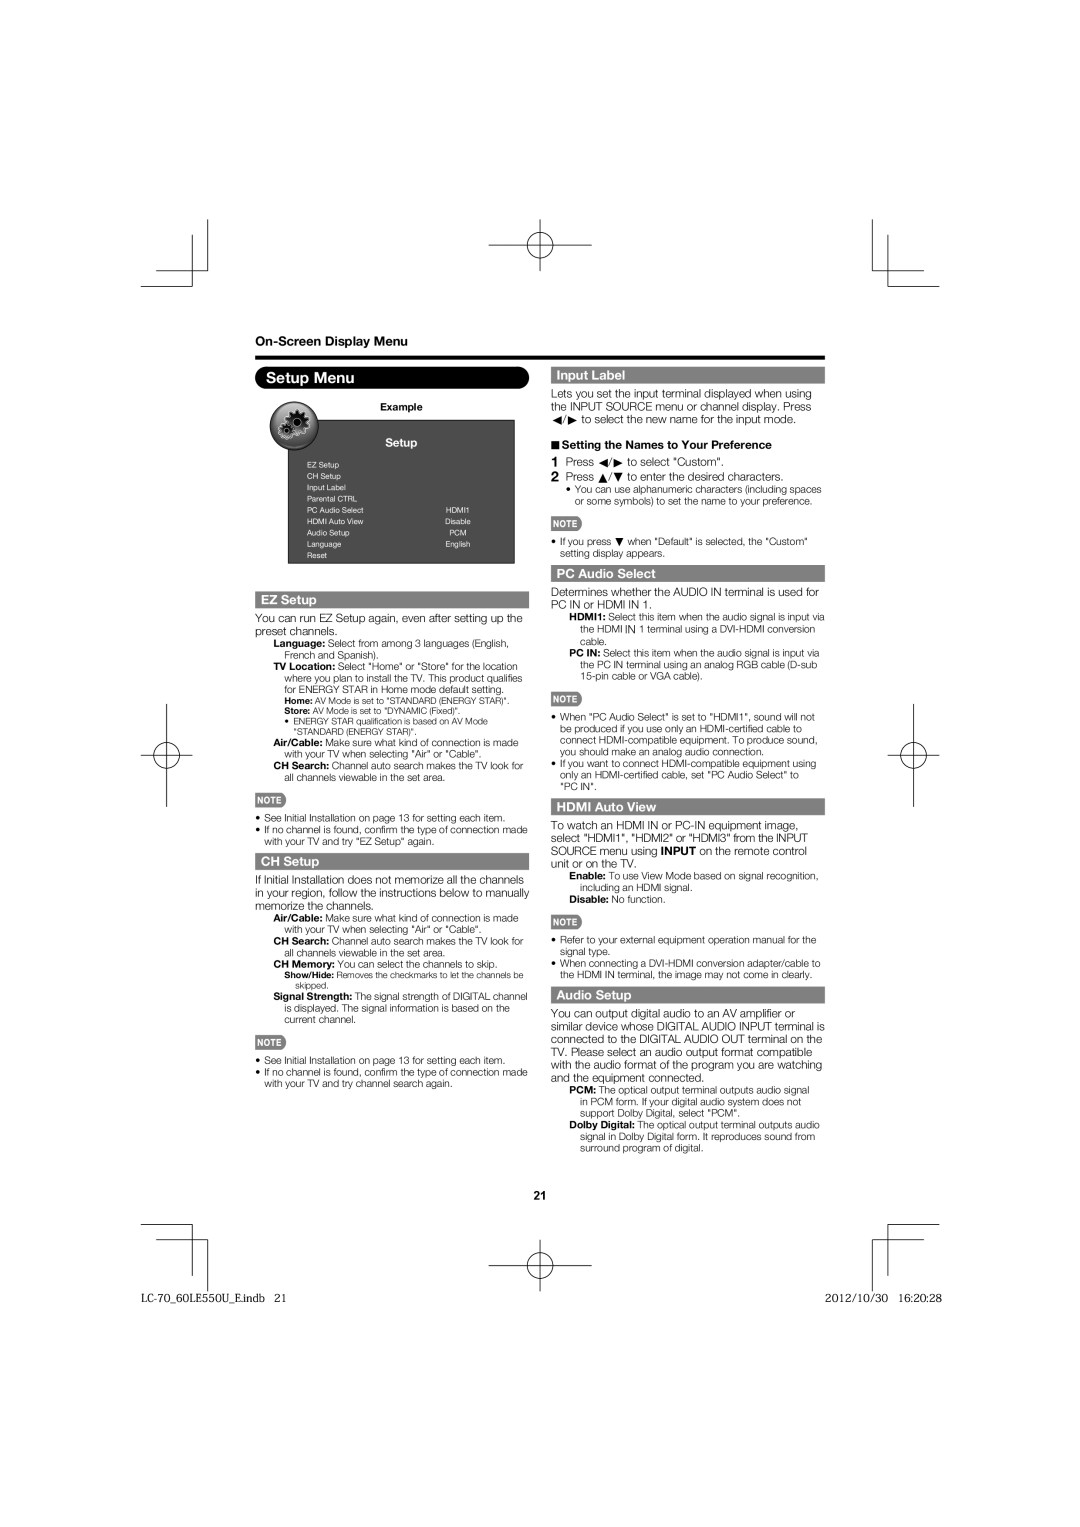
Setup Menu
Example
| Setup |
EZ Setup |
|
CH Setup |
|
Input Label |
|
Parental CTRL |
|
PC Audio Select | HDMI1 |
HDMI Auto View | Disable |
Audio Setup | PCM |
Language | English |
Reset |
|
|
|
Input Label
Lets you set the input terminal displayed when using the INPUT SOURCE menu or channel display. Press c/d to select the new name for the input mode.
■Setting the Names to Your Preference
1Press c/d to select "Custom".
2Press a/b to enter the desired characters.
•You can use alphanumeric characters (including spaces or some symbols) to set the name to your preference.
•If you press b when "Default" is selected, the "Custom" setting display appears.
EZ Setup
You can run EZ Setup again, even after setting up the preset channels.
Language: Select from among 3 languages (English, French and Spanish).
TV Location: Select "Home" or "Store" for the location where you plan to install the TV. This product qualifi es for ENERGY STAR in Home mode default setting.
Home: AV Mode is set to "STANDARD (ENERGY STAR)".
Store: AV Mode is set to "DYNAMIC (Fixed)".
•ENERGY STAR qualifi cation is based on AV Mode "STANDARD (ENERGY STAR)".
Air/Cable: Make sure what kind of connection is made with your TV when selecting "Air" or "Cable".
CH Search: Channel auto search makes the TV look for all channels viewable in the set area.
PC Audio Select
Determines whether the AUDIO IN terminal is used for PC IN or HDMI IN 1.
HDMI1: Select this item when the audio signal is input via the HDMI IN 1 terminal using a
PC IN: Select this item when the audio signal is input via the PC IN terminal using an analog RGB cable
•When "PC Audio Select" is set to "HDMI1", sound will not be produced if you use only an
•If you want to connect
•See Initial Installation on page 13 for setting each item.
•If no channel is found, confi rm the type of connection made with your TV and try "EZ Setup" again.
CH Setup
If Initial Installation does not memorize all the channels in your region, follow the instructions below to manually memorize the channels.
Air/Cable: Make sure what kind of connection is made with your TV when selecting "Air" or "Cable".
CH Search: Channel auto search makes the TV look for all channels viewable in the set area.
CH Memory: You can select the channels to skip.
Show/Hide: Removes the checkmarks to let the channels be skipped.
Signal Strength: The signal strength of DIGITAL channel is displayed. The signal information is based on the current channel.
•See Initial Installation on page 13 for setting each item.
•If no channel is found, confi rm the type of connection made with your TV and try channel search again.
HDMI Auto View
To watch an HDMI IN or
Enable: To use View Mode based on signal recognition, including an HDMI signal.
Disable: No function.
•Refer to your external equipment operation manual for the signal type.
•When connecting a
Audio Setup
You can output digital audio to an AV amplifi er or similar device whose DIGITAL AUDIO INPUT terminal is connected to the DIGITAL AUDIO OUT terminal on the TV. Please select an audio output format compatible with the audio format of the program you are watching and the equipment connected.
PCM: The optical output terminal outputs audio signal in PCM form. If your digital audio system does not support Dolby Digital, select "PCM".
Dolby Digital: The optical output terminal outputs audio signal in Dolby Digital form. It reproduces sound from surround program of digital.
21
2012/10/30 16:20:28 |
