Menu operations
Colour Temp.
Adjust the colour temperature to give the best white image.
I/P Setting
Adjust the image and input signal can give you a more beautiful picture.
Item
High: White with bluish tone
Middle: Natural tone
Low: White with reddish tone
Item
Interlace: Display finely detailed images for TV or video, etc.
Progressive: Display smooth images for still images or graphics, etc.
Black
For easier viewing, change the viewing depth by selecting a level for automatically adjusting the dark portion of an image.
NOTE
•The I/P Setting is set to “Progressive” when Film Mode is “On”.
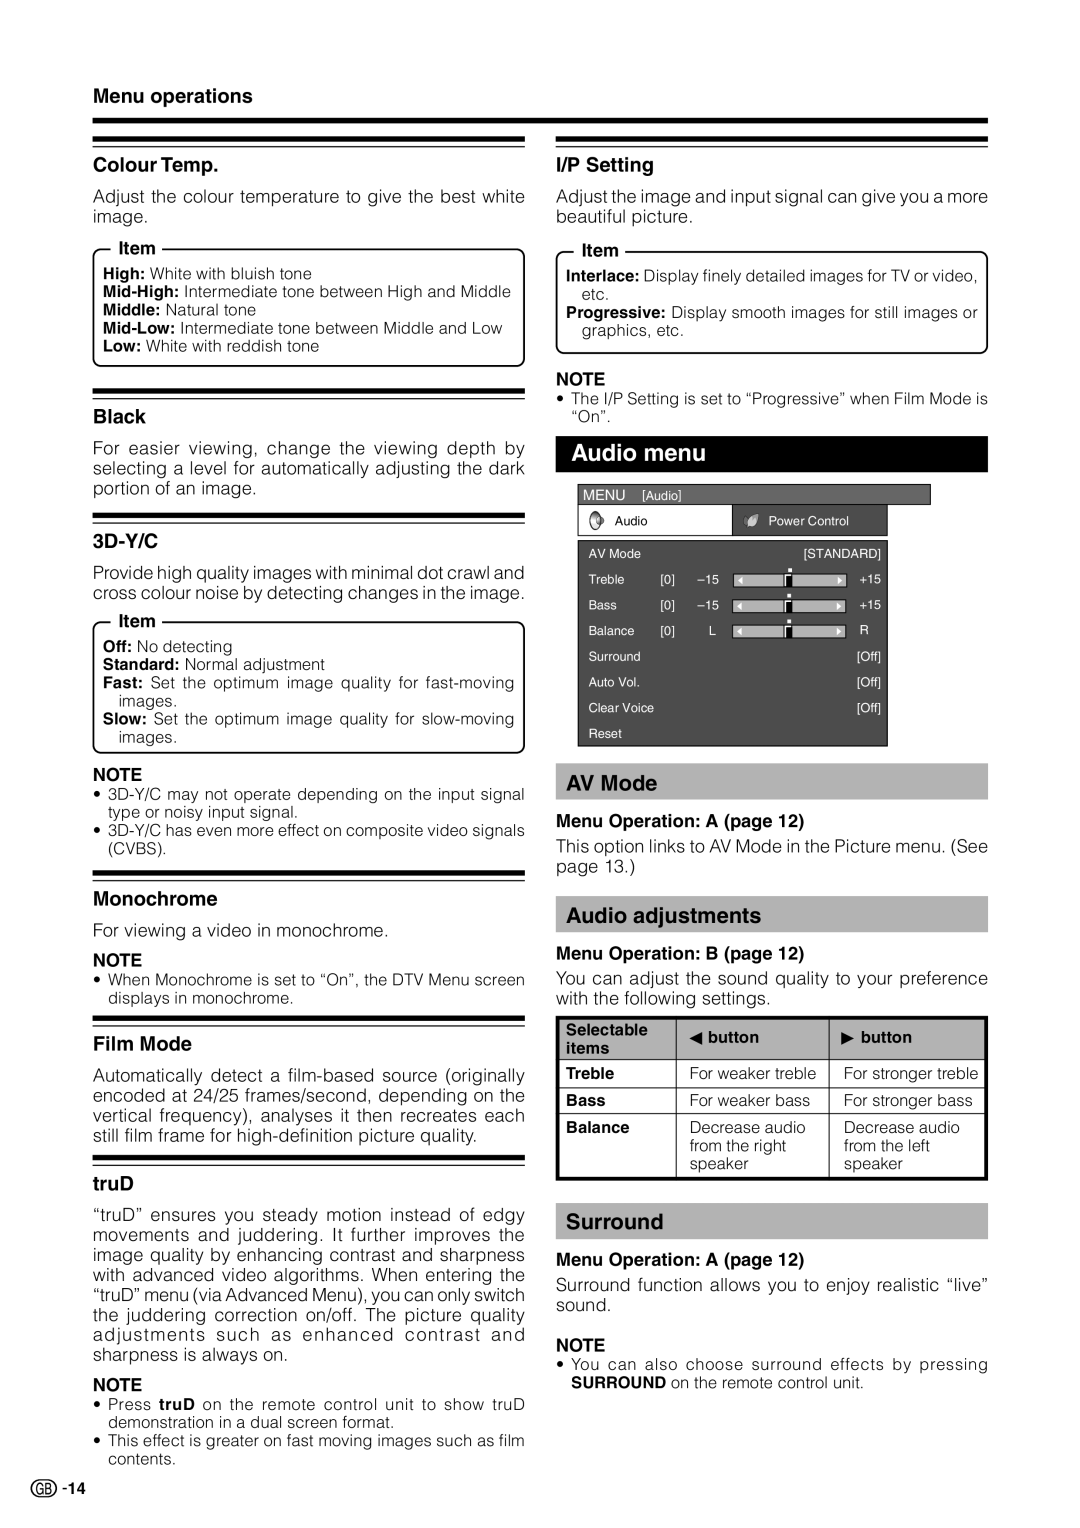
Audio menu
MENU [Audio]
Audio | Power Control |
Provide high quality images with minimal dot crawl and cross colour noise by detecting changes in the image.
Item
Off: No detecting
Standard: Normal adjustment
Fast: Set the optimum image quality for
Slow: Set the optimum image quality for
AV Mode |
|
|
Treble | [0] | |
Bass | [0] | |
Balance | [0] | L |
Surround |
|
|
Auto Vol. |
|
|
Clear Voice
Reset
[STANDARD]
![]()
![]()
![]() +15
+15
![]()
![]()
![]() +15
+15
![]()
![]()
![]() R [Off] [Off] [Off]
R [Off] [Off] [Off]
NOTE
•
•
Monochrome
For viewing a video in monochrome.
NOTE
•When Monochrome is set to “On”, the DTV Menu screen displays in monochrome.
Film Mode
Automatically detect a
truD
“truD” ensures you steady motion instead of edgy movements and juddering. It further improves the image quality by enhancing contrast and sharpness with advanced video algorithms. When entering the “truD” menu (via Advanced Menu), you can only switch the juddering correction on/off. The picture quality adjustments such as enhanced contrast and sharpness is always on.
NOTE
•Press truD on the remote control unit to show truD demonstration in a dual screen format.
•This effect is greater on fast moving images such as film contents.
AV Mode
Menu Operation: A (page 12)
This option links to AV Mode in the Picture menu. (See page 13.)
Audio adjustments
Menu Operation: B (page 12)
You can adjust the sound quality to your preference with the following settings.
Selectable | cbutton | dbutton |
items |
|
|
Treble | For weaker treble | For stronger treble |
|
|
|
Bass | For weaker bass | For stronger bass |
|
|
|
Balance | Decrease audio | Decrease audio |
| from the right | from the left |
| speaker | speaker |
|
|
|
Surround
Menu Operation: A (page 12)
Surround function allows you to enjoy realistic “live” sound.
NOTE
•You can also choose surround effects by pressing SURROUND on the remote control unit.
![]()
![]() 14
14