PNL702B, PNL602B, PNL802B specifications
The Sharp PN-L802B, PN-L602B, PN-L702B, and PNL802B and PNL602B are a series of cutting-edge interactive displays that focus on enhancing collaboration and communication in various settings, including educational institutions, corporate environments, and creative studios. These models are designed to transform the way users engage with content, enabling seamless collaboration and improving overall productivity.One of the standout features of the Sharp PN-L series is its large-sized display technology, with models such as the PN-L802B boasting an impressive 80-inch diagonal screen and the PN-L602B offering a 60-inch option. These expansive screens provide vivid visuals with 4K Ultra HD resolution, delivering stunning clarity and detail that captivates viewers. The enhanced brightness and wide viewing angles ensure that content is easily viewable from various positions in the room.
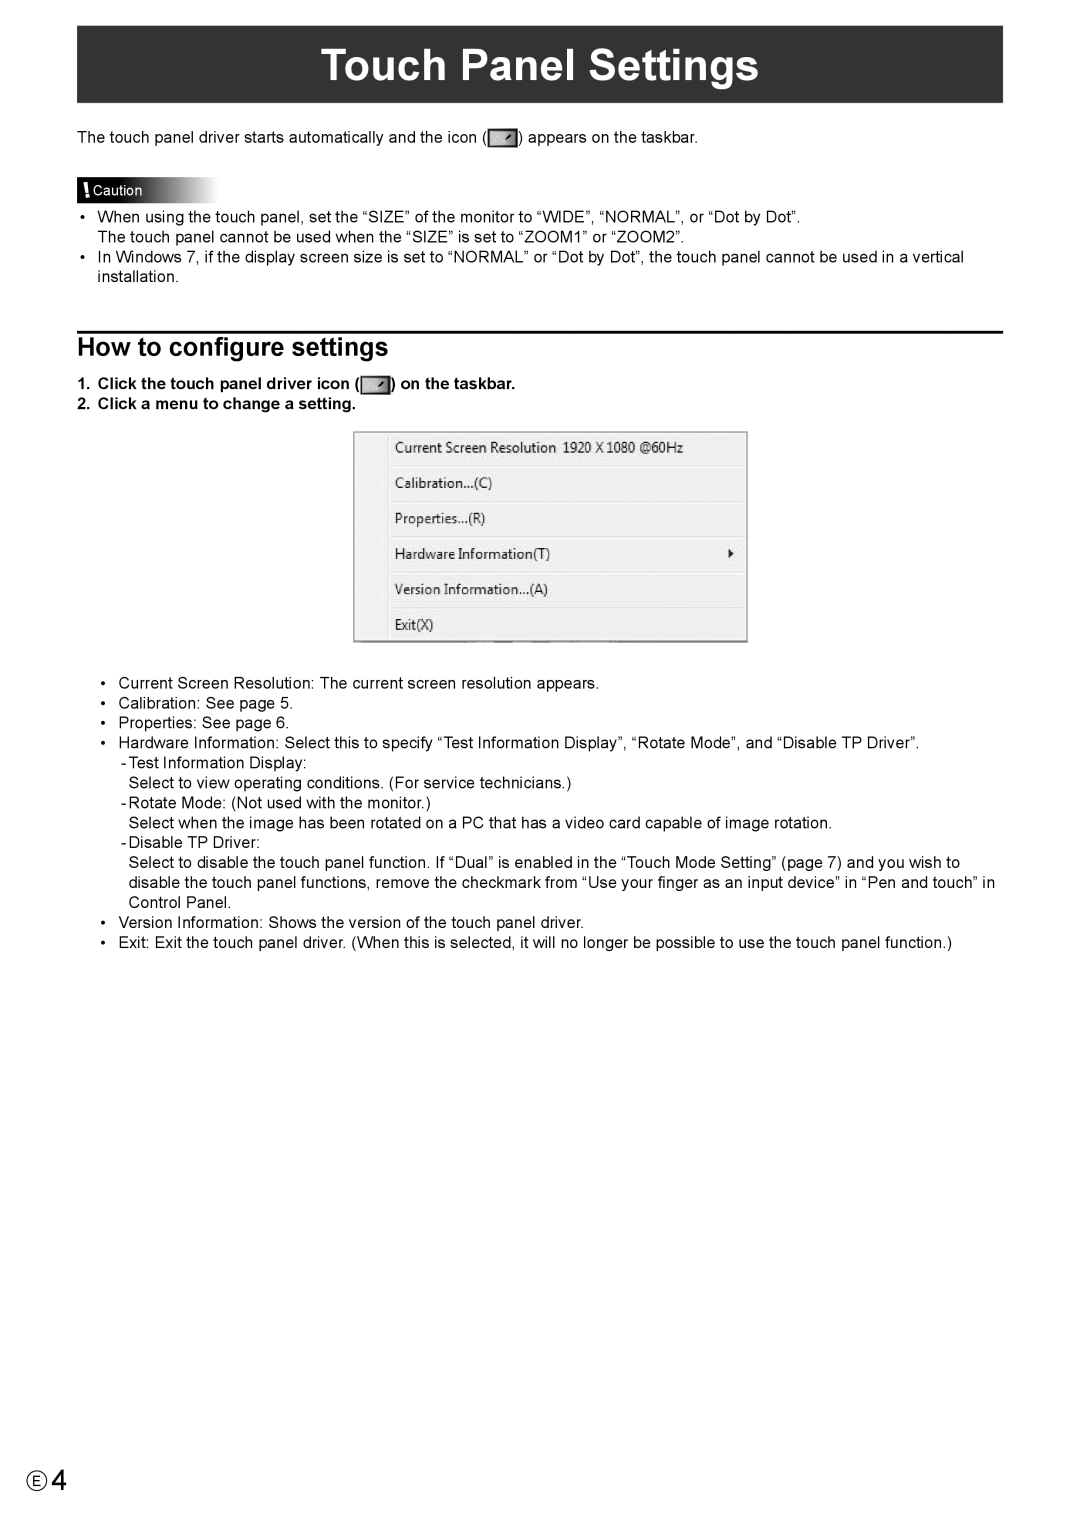
Touch technology is another defining characteristic of the Sharp PN-L series. The displays utilize advanced infrared touch technology, allowing for up to 10 points of simultaneous touch. This multi-touch capability enables multiple users to interact with the display at the same time, fostering a dynamic and interactive experience for collaboration and brainstorming sessions. The seamless touch responsiveness enhances user engagement, making it easier to navigate content and annotate directly on the screen.
The models also come equipped with Sharp's powerful software solutions, such as the easy-to-use Sharp Pen Software, which allows users to write and draw directly on the screen, making annotations and modifications in real-time. Additionally, the displays support various connectivity options, including HDMI, USB-C, and wireless sharing, facilitating easy integration with other devices and systems.
Moreover, the PN-L series is designed with a focus on durability and ease of use. The anti-glare surface reduces reflections and distractions, while the ergonomic design ensures that the displays can be easily installed at convenient heights for user interaction. Enhanced security features are also built in, safeguarding content and user data.
In summary, the Sharp PN-L802B, PN-L602B, PN-L702B, PNL802B, and PNL602B bring together large-scale interactive technology, rich visuals, and collaborative features that set a new standard for interactive displays. Their versatility and advanced capabilities make them an ideal choice for any environment where teamwork and communication are pivotal.
