R-309YV, R-309YW, R-309Y, R-309YK specifications
The Sharp R-309 series of microwaves, including the R-309YK, R-309Y, R-309YW, and R-309YV models, are designed to cater to a variety of cooking needs, combining innovative technologies with user-friendly features. These models stand out for their versatility, efficiency, and ease of use, making them suitable for both home cooking and professional settings.One of the key features of the R-309 series is the inverter technology. This technology provides a steady stream of cooking power at all temperature settings, allowing for more precise cooking results. Unlike traditional microwave ovens that cycle on and off, inverter technology ensures that food is heated evenly, reducing the risk of overcooking or cold spots. This feature is particularly beneficial for delicate tasks such as defrosting meat or cooking fish, where temperature control is crucial.
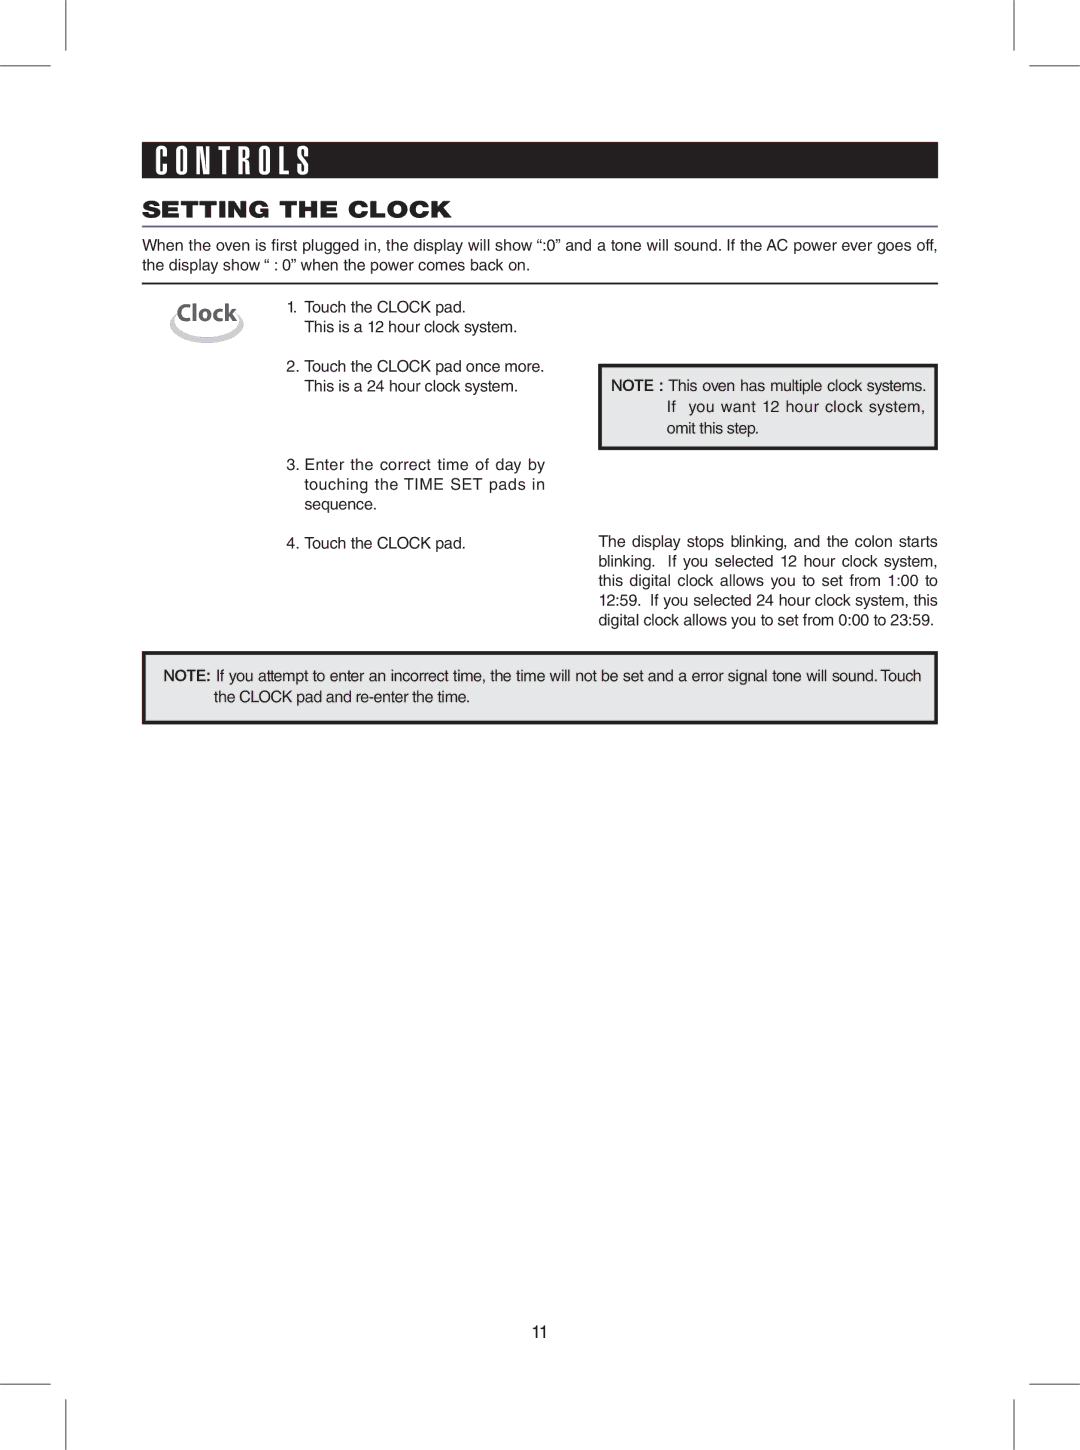
The R-309 series incorporates a spacious interior, allowing for the accommodation of large dishes and containers. The user-friendly control panel features a digital display, making it easy to set cooking times and power levels. Additionally, the series includes pre-programmed settings for various foods, enabling rapid cooking with just the press of a button. This convenience is complemented by the series' quick-start function, which allows users to immediately set the microwave for a set time with a single press.
Another notable technology in these models is the multi-stage cooking feature. This functionality allows users to program multiple cooking steps into a single cycle, making it possible to execute complex recipes seamlessly. For instance, a dish can be set to microwave, then grill, and finally keep warm, all without manual intervention between stages.
Moreover, the R-309 series models come equipped with an easy-to-clean interior, designed to resist stains and odors. This practical design aids in maintaining hygiene and ensures that the microwave remains in good condition over time. Safety features such as child lock options also enhance usability, making these models suitable for families.
In summary, the Sharp R-309YK, R-309Y, R-309YW, and R-309YV microwaves are excellent choices for those seeking reliable, technologically advanced appliances. With features like inverter cooking, a spacious interior, user-friendly controls, and multi-stage cooking capabilities, they cater to a wide range of culinary requirements while ensuring efficiency and convenience in the kitchen. These models illustrate Sharp's commitment to quality and innovation in home appliances.

