
VL-AH160U, VL-AH150U specifications
The Sharp VL-AH150U and VL-AH160U are notable camcorders that cater to both amateur videographers and professional users seeking high-quality video recording capabilities. These models are part of Sharp's innovative lineup, providing advanced features and technologies designed to enhance the user experience.One of the key highlights of both camcorders is the inclusion of a high-quality CCD sensor. This sensor ensures excellent image clarity and detail, allowing users to capture vibrant colors and sharp contrasts in various lighting conditions. The VL-AH150U and VL-AH160U support various video resolutions, enabling users to record in standard and high-definition formats. This versatility makes them suitable for a wide range of applications, from home videos to professional projects.
Both models are equipped with a powerful optical zoom capability. The VL-AH160U boasts a zoom range of up to 20x, enabling close-up shots without compromising image quality. This feature is particularly beneficial for nature enthusiasts or those who enjoy capturing distant subjects, as it enhances compositional flexibility without the need for additional equipment.
The camcorders also offer built-in digital effects and transitions, allowing users to add creative elements to their recordings. These features are user-friendly, making it easy for even novice users to produce engaging content.
In terms of audio, the VL-AH150U and VL-AH160U are equipped with high-quality built-in microphones that deliver clear sound quality. For those seeking enhanced audio, both models offer external microphone input, providing options for professional-grade audio recording.
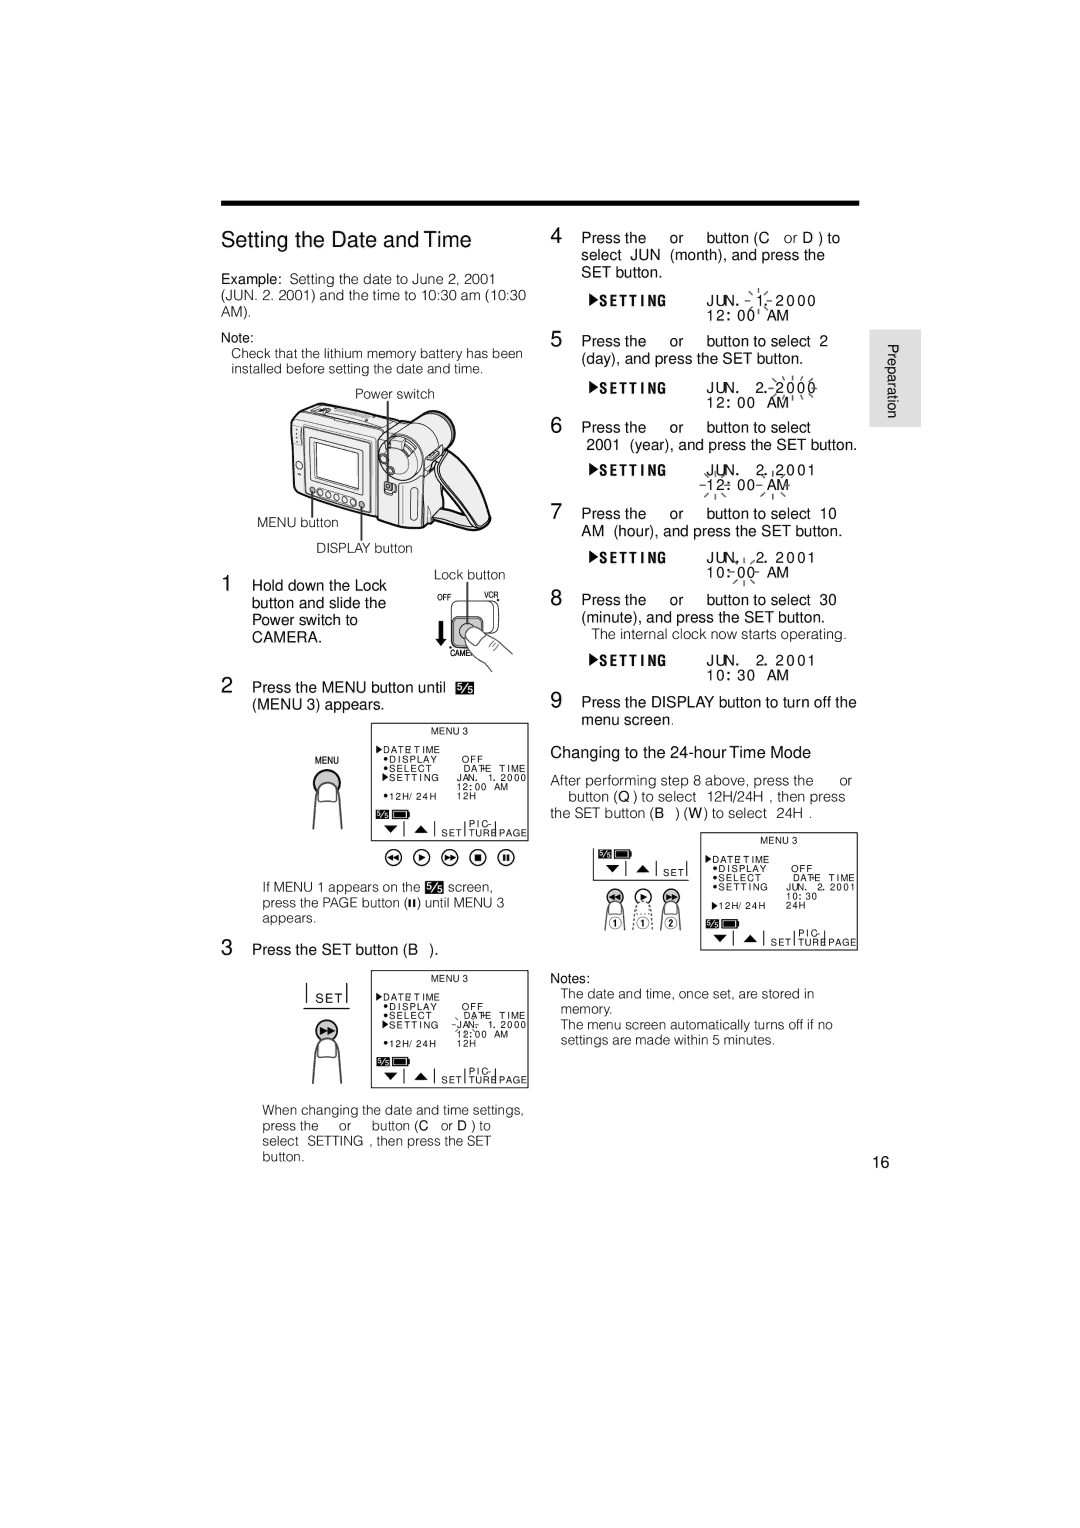
The design of both camcorders emphasizes portability and user comfort. Ergonomically crafted, they fit comfortably in the hand, making extended periods of use more manageable. The intuitive controls and LCD display make navigation simple, allowing users to focus on capturing the moment rather than fiddling with complicated settings.
In addition, both camcorders feature versatile storage options. They offer compatibility with various memory cards, providing ample storage space for long recording sessions. This flexibility allows users to film without the concern of running out of memory mid-project.
Regarding power, these models are equipped with efficient batteries that provide extended recording times. This durability is crucial for events or outings that require lengthy shooting sessions without frequent charging interruptions.
Overall, the Sharp VL-AH150U and VL-AH160U camcorders are excellent choices for those looking to combine user-friendly features with advanced video recording technologies. Their array of capabilities positions them as reliable tools for capturing memories and creating stunning visual content.