HSB-600(A) 2006.4.25 12:29 PM 페이지 6
Part Names and Functions
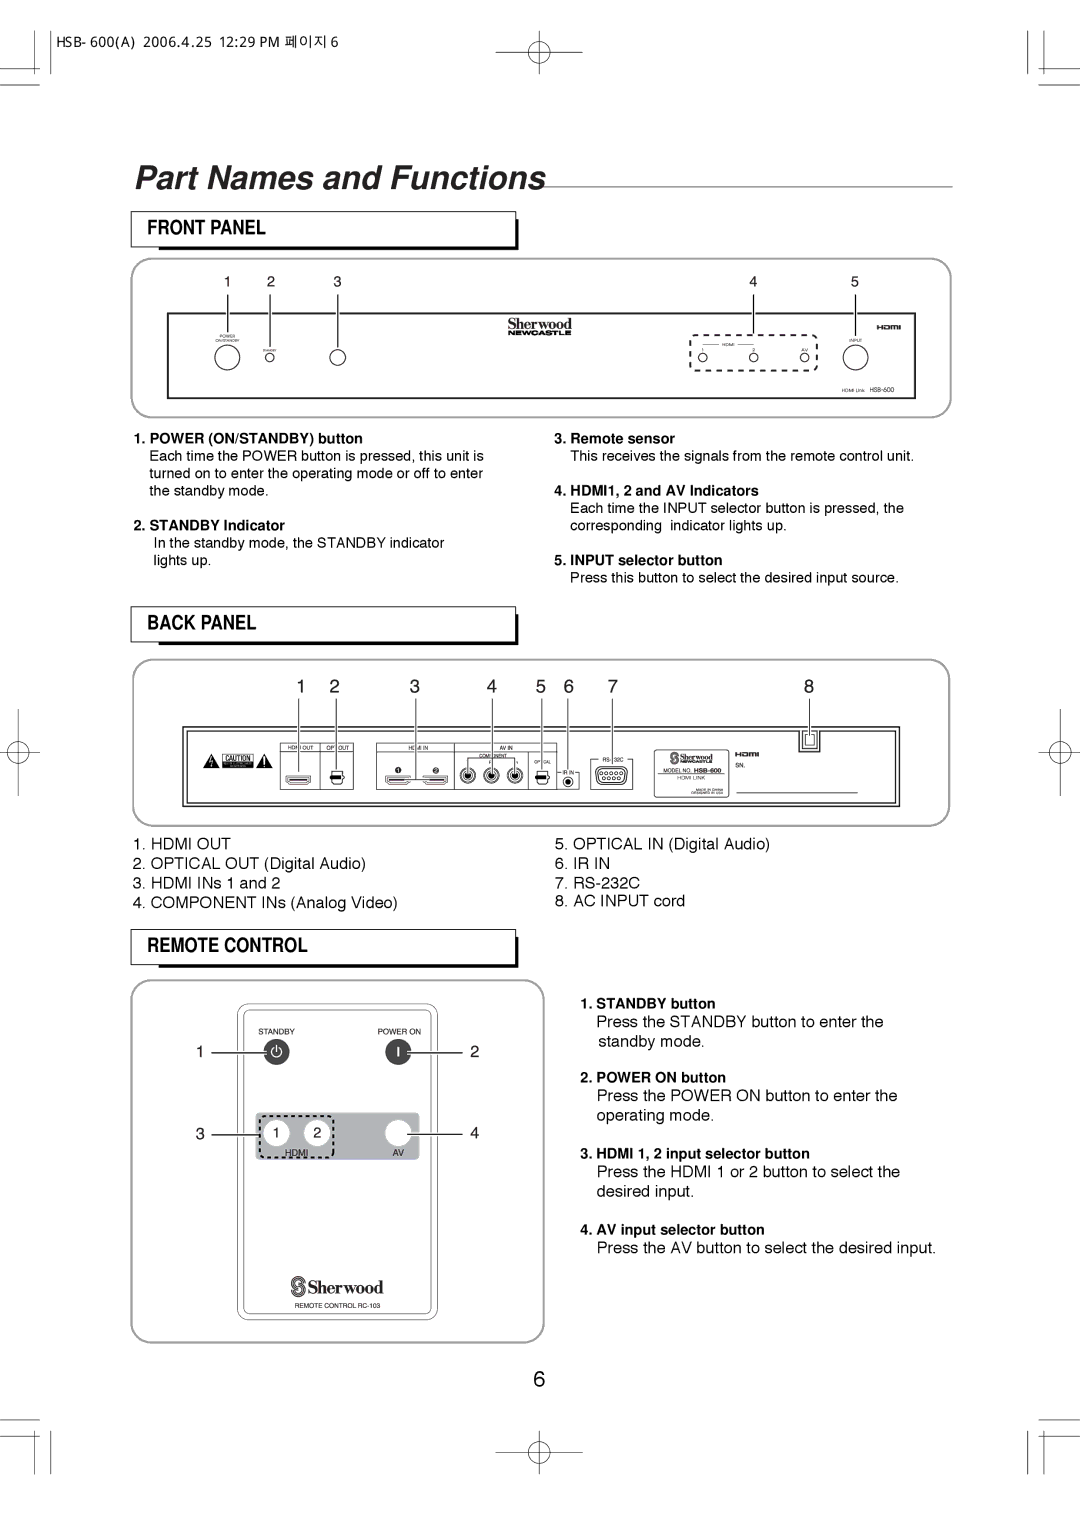
FRONT PANEL
1.POWER (ON/STANDBY) button
Each time the POWER button is pressed, this unit is turned on to enter the operating mode or off to enter the standby mode.
2.STANDBY Indicator
In the standby mode, the STANDBY indicator lights up.
3.Remote sensor
This receives the signals from the remote control unit.
4.HDMI1, 2 and AV Indicators
Each time the INPUT selector button is pressed, the corresponding indicator lights up.
5.INPUT selector button
Press this button to select the desired input source.
BACK PANEL
1. | HDMI OUT | 5. | OPTICAL IN (Digital Audio) |
2. | OPTICAL OUT (Digital Audio) | 6. | IR IN |
3. | HDMI INs 1 and 2 | 7. | |
4. COMPONENT INs (Analog Video) | 8. AC INPUT cord | ||
REMOTE CONTROL
1. STANDBY button
Press the STANDBY button to enter the standby mode.
2. POWER ON button
Press the POWER ON button to enter the operating mode.
3. HDMI 1, 2 input selector button
Press the HDMI 1 or 2 button to select the desired input.
4. AV input selector button
Press the AV button to select the desired input.
6