CAUTION
If any grease or oil gets on the flow control element assembly, the air flow will be impeded.
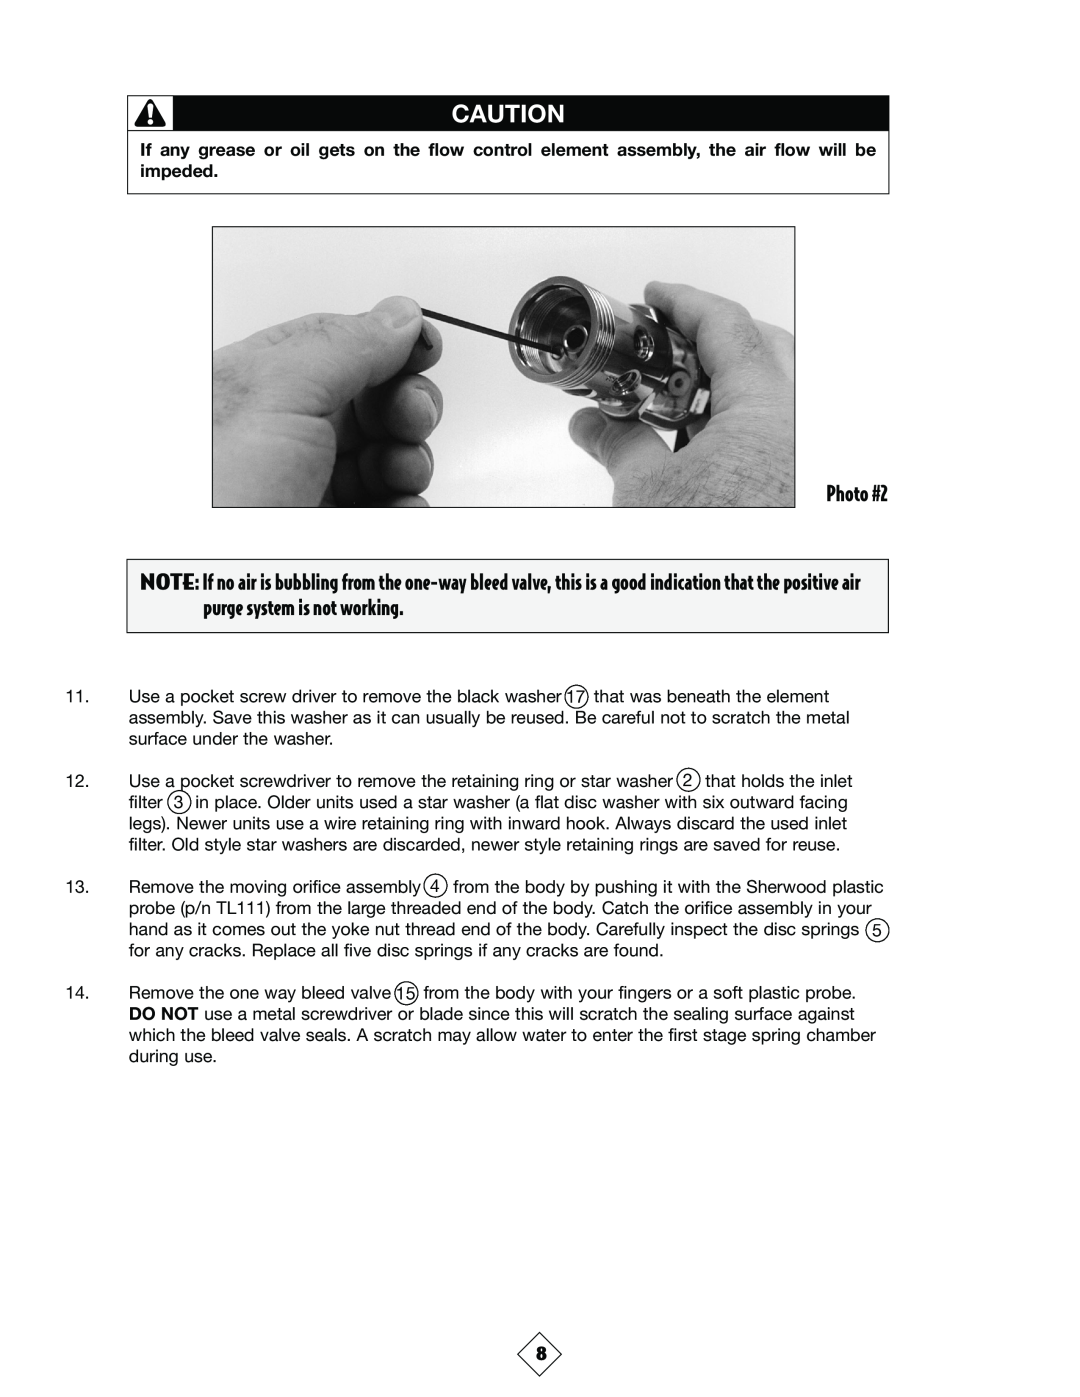
Photo #2
NOTE: If no air is bubbling from the
11.Use a pocket screw driver to remove the black washer 17 that was beneath the element assembly. Save this washer as it can usually be reused. Be careful not to scratch the metal surface under the washer.
12.Use a pocket screwdriver to remove the retaining ring or star washer 2 that holds the inlet filter 3 in place. Older units used a star washer (a flat disc washer with six outward facing legs). Newer units use a wire retaining ring with inward hook. Always discard the used inlet filter. Old style star washers are discarded, newer style retaining rings are saved for reuse.
13.Remove the moving orifice assembly 4 from the body by pushing it with the Sherwood plastic probe (p/n TL111) from the large threaded end of the body. Catch the orifice assembly in your hand as it comes out the yoke nut thread end of the body. Carefully inspect the disc springs 5 for any cracks. Replace all five disc springs if any cracks are found.
14.Remove the one way bleed valve 15 from the body with your fingers or a soft plastic probe. DO NOT use a metal screwdriver or blade since this will scratch the sealing surface against which the bleed valve seals. A scratch may allow water to enter the first stage spring chamber during use.
8
