Photo #4
7.Look across the case and gauge tool. The tip of the lever should be even with the bottom surface of the gauge. If you are
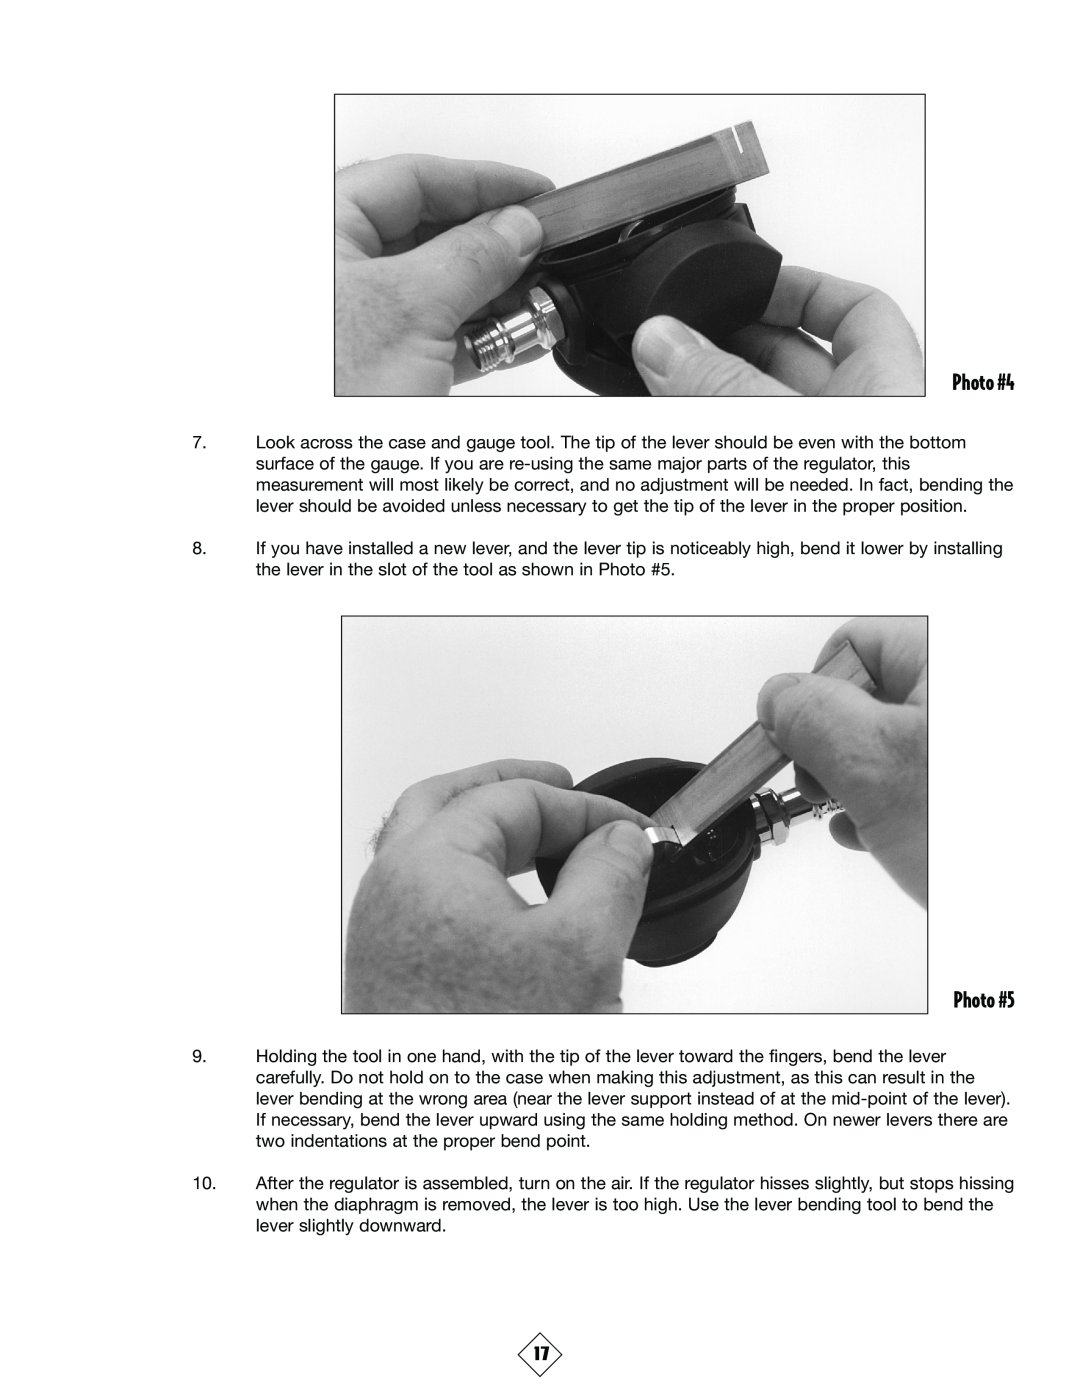
8.If you have installed a new lever, and the lever tip is noticeably high, bend it lower by installing the lever in the slot of the tool as shown in Photo #5.
Photo #5
9.Holding the tool in one hand, with the tip of the lever toward the fingers, bend the lever carefully. Do not hold on to the case when making this adjustment, as this can result in the lever bending at the wrong area (near the lever support instead of at the
10.After the regulator is assembled, turn on the air. If the regulator hisses slightly, but stops hissing when the diaphragm is removed, the lever is too high. Use the lever bending tool to bend the lever slightly downward.
17