Step 3 Print Server Set-up (optional)
Consult the User Guide on
Printer Port Driver Installation for Windows:
1.Ensure that the printer is connected to the parallel port on the router and both the printer and router are powered on.
2.Insert the supplied
3.At the Choose Components screen, select the Printer Port Driver option. Follow the
4.After the driver installation is complete, the Printer Port Setup screen will appear.
5.Select the desired device and port number. Click Add.
6.A
•Select the correct Printer Manufacturer and Model, or use the "Have Disk" option if appropriate.
•If desired, change the Printer name so it is easily recognized
•If prompted about Sharing, do NOT enable Sharing.
7.Installation is now complete.
8.Repeat the procedure for each PC that will share the printer.
For
 Common PC Configuration Procedures
For PCs that are new to your network or were not previously connected to your broadband connection, ensure that you have completed both of the PC Setup procedures below for each PC on the network.
PC Setup- Windows 95/98/98SE/Me
NOTE: Windows XP Users: The following are general procedures covering most Windows operating systems. Refer to the User’s Guide on
TCP/IP Setup
1.
2.Select TCP/IP-> Ethernet Adapter
3.Ensure Obtain an IP Address Automatically is selected. The DHCP server in the SpeedStream router will provide an IP address for the PC.
4.Click OK twice, then restart your PC even if no changes were made.
Internet Access
1.Select Start
2.Select the Connections tab and click the Setup button.
3.Select I want to set up my Internet Connection manually or I want to connect through a Local Area Network (LAN) and click Next.
4.Select I connect through a Local Area Network (LAN) and click Next.
5.Uncheck all boxes on the Local Area Network Internet Configuration screen and click Next.
6.Follow the remaining
Using the Wireless Connection
The SpeedStream Wireless Router is configured to work seamlessly with other SpeedStream wireless products right out of the box.
You may need to reconfigure some wireless settings to ensure that all settings match between wireless devices if you are:
a)Also using another manufacturer’s wireless products
OR
b)Adding the SpeedStream router to an existing wireless network
NOTE: Mismatched wireless settings will prevent successful wireless network connections between devices.
Default Wireless Interface Settings:
SSID: SpeedStream
Channel: 11
WEP: Disabled
Technical Support for North America is available 24 hours a day, 7 days a week, by phone, email or online:
Phone:
Email: support@speedstream.com
Online: http://www.support.speedstream.com
For more information regarding SpeedStream® products visit: www.speedstream.com. Efficient Networks, Inc.
A Siemens Company
4849 Alpha Road
Dallas, TX 75244
©2002 Efficient Networks, Inc. A Siemens Company. All rights reserved. Efficient Networks, its logos, "Live a Broadband Life" and SpeedStream are registered and unregistered trademarks of Efficient Networks, Inc. Siemens and the Siemens logo are registered trademarks of Siemens AG, Germany. All other brand names and trademarks are held by their respective companies. Efficient Networks reserves the right to make changes to product specifications at any time without notice.
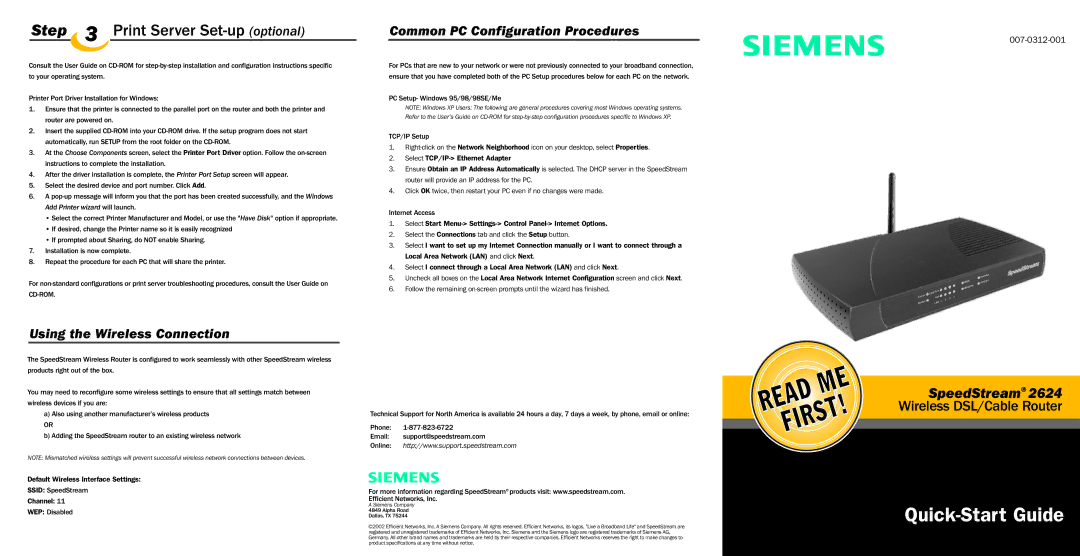
SpeedStream® 2624
Wireless DSL/Cable Router