Preparation - General information | EN |
–Before connecting the battery or switching the main power supply on, unplug the in- ternal siren for the time of the installation (small plug with cable, directly on the left lower side of the display).
–If the internal buzzer starts beeping: Press ![]()
![]() to silence it.
to silence it.
–To exit the system at any time: Press and hold the button ![]() .
.
Reset back to factory setting:
–Reset all pins and numbers: Press ![]() 200
200![]()
![]() 9
9![]()
![]() .
.
–Reset all individually changed parameters: Press ![]() 200
200![]()
![]() 10
10![]()
![]() .
.
 Language setting
1.Press Ctrl ![]()
![]() simultaneously t the “Local Mode” opens.
simultaneously t the “Local Mode” opens.
2.Scroll with the buttons ![]()
![]()
![]() /
/![]() to the posi- tion “Language” and press
to the posi- tion “Language” and press ![]()
![]() to select.
to select.
3.Scroll with the buttons ![]()
![]()
![]() /
/![]() to the lan- guage you prefer and press
to the lan- guage you prefer and press ![]()
![]() to save.
to save.
4.To exit press and hold the button ![]() .
.
tthe keypad will start beeping to indicate that learn mode has been activated.
2.Press the tamper contact on the detector or remove the magnet from the door contact
tit will send a transmission signal. The panel will confirm if a detector is found with the message “Found”.
3.Press ![]()
![]() to confirm.
to confirm.
4.Repeat actions 1 - 3 to follow up for the
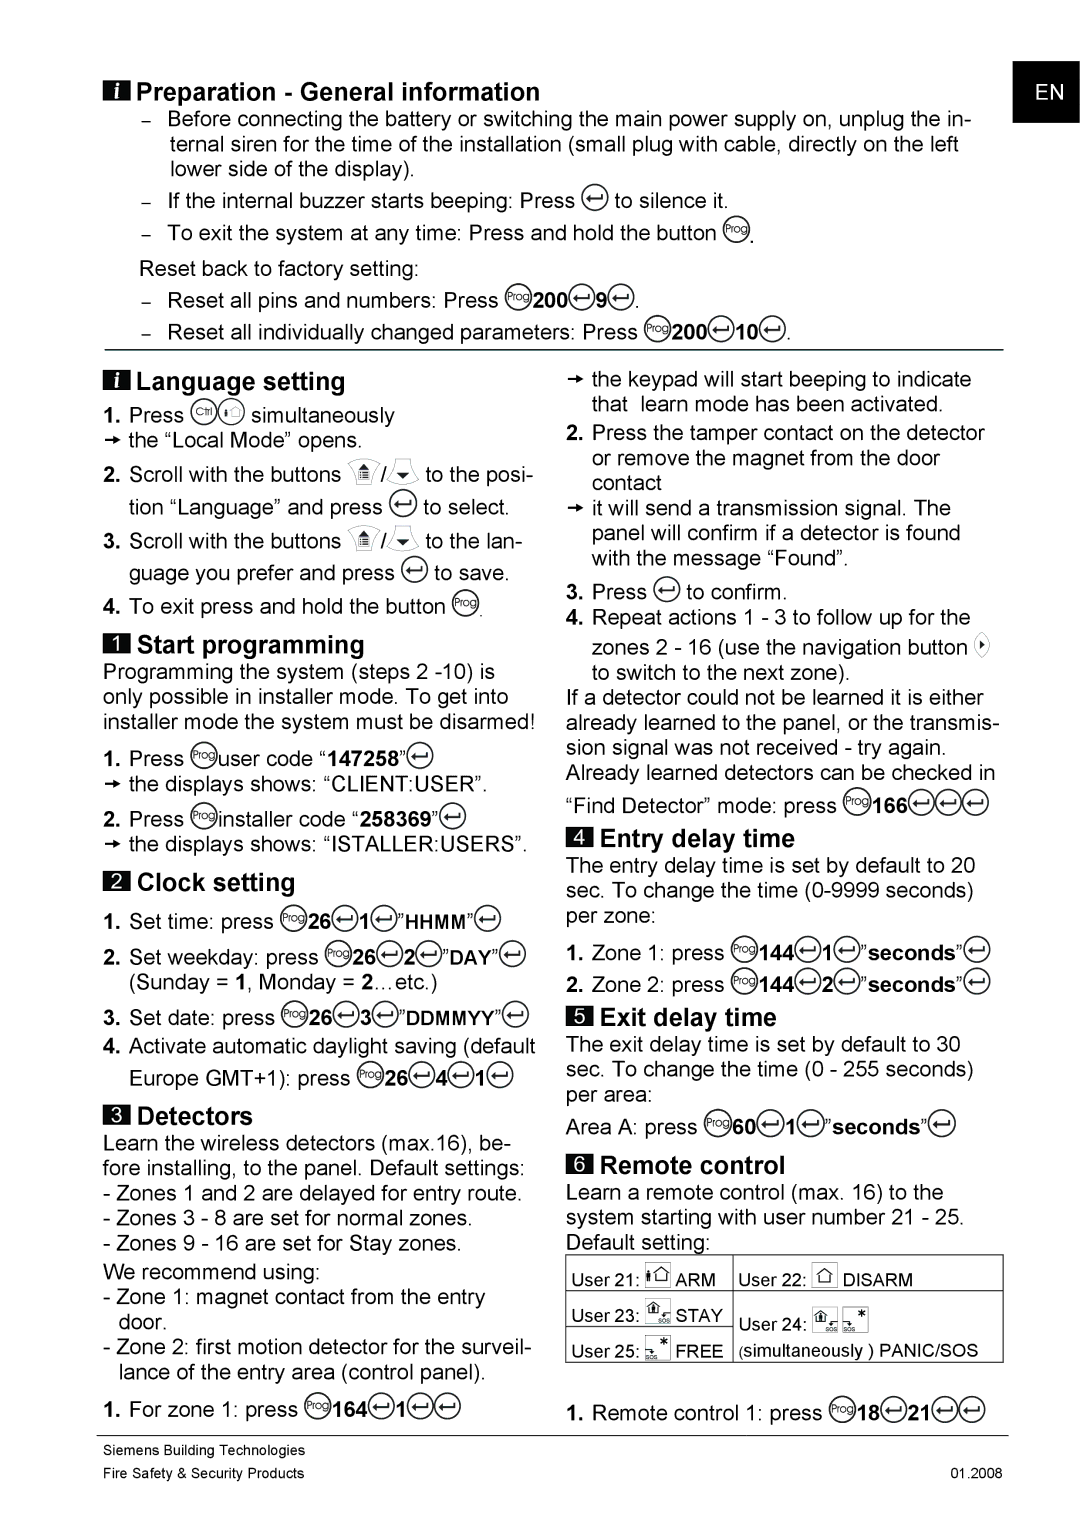
 Start programming
Programming the system (steps 2
1.Press ![]() user code “147258”
user code “147258”![]()
![]()
tthe displays shows: “CLIENT:USER”.
2.Press ![]() installer code “258369”
installer code “258369”![]()
![]()
tthe displays shows: “ISTALLER:USERS”.
 Clock setting
1. Set time: press ![]() 26
26![]()
![]() 1
1![]()
![]() ”HHMM”
”HHMM”![]()
![]()
2.Set weekday: press ![]() 26
26![]()
![]() 2
2![]()
![]() ”DAY”
”DAY”![]()
![]() (Sunday = 1, Monday = 2…etc.)
(Sunday = 1, Monday = 2…etc.)
3.Set date: press ![]() 26
26![]()
![]() 3
3![]()
![]() ”DDMMYY”
”DDMMYY”![]()
![]()
4.Activate automatic daylight saving (default Europe GMT+1): press ![]() 26
26![]()
![]() 4
4![]()
![]() 1
1![]()
![]()
 Detectors
Learn the wireless detectors (max.16), be- fore installing, to the panel. Default settings:
-Zones 1 and 2 are delayed for entry route.
-Zones 3 - 8 are set for normal zones.
-Zones 9 - 16 are set for Stay zones.
We recommend using:
-Zone 1: magnet contact from the entry door.
-Zone 2: first motion detector for the surveil- lance of the entry area (control panel).
1.For zone 1: press ![]() 164
164![]()
![]() 1
1![]()
![]()
![]()
![]()
zones 2 - 16 (use the navigation button ![]() to switch to the next zone).
to switch to the next zone).
If a detector could not be learned it is either already learned to the panel, or the transmis- sion signal was not received - try again. Already learned detectors can be checked in
“Find Detector” mode: press ![]() 166
166![]()
![]()
![]()
![]()
![]()
![]()
 Entry delay time
The entry delay time is set by default to 20 sec. To change the time
1.Zone 1: press ![]() 144
144![]()
![]() 1
1![]()
![]() ”seconds”
”seconds”![]()
![]()
2.Zone 2: press ![]() 144
144![]()
![]() 2
2![]()
![]() ”seconds”
”seconds”![]()
![]()
 Exit delay time
The exit delay time is set by default to 30 sec. To change the time (0 - 255 seconds) per area:
Area A: press ![]() 60
60![]()
![]() 1
1![]()
![]() ”seconds”
”seconds”![]()
![]()
 Remote control
Learn a remote control (max. 16) to the system starting with user number 21 - 25. Default setting:
User 21: | ARM | User 22: | DISARM | x |
User 23: | STAY | User 24: |
|
|
|
|
|
| |
User 25: | FREE | (simultaneously ) PANIC/SOS |
| |
1.Remote control 1: press ![]() 18
18![]()
![]() 21
21![]()
![]()
![]()
![]()
Siemens Building Technologies |
|
Fire Safety & Security Products | 01.2008 |
