| Model |
1. INTRODUCTION | 3. PROGRAMMING TRANSMITTERS (TC SERIES)(CONT) |
Thank you for your purchase of a SkylinkHomeTM
The
All wireless signal communications within the SkylinkHomeTM System are based on rolling code technology to ensure highest security is used.
The following items are included in this package:
-
-Antenna
-User's Instructions
Antenna
2. SETUP
There is no wiring involved in setting up the
Insert the antenna to the
CAUTION ![]()
1. Turn off the light switch of the empty socket where you plan to install the
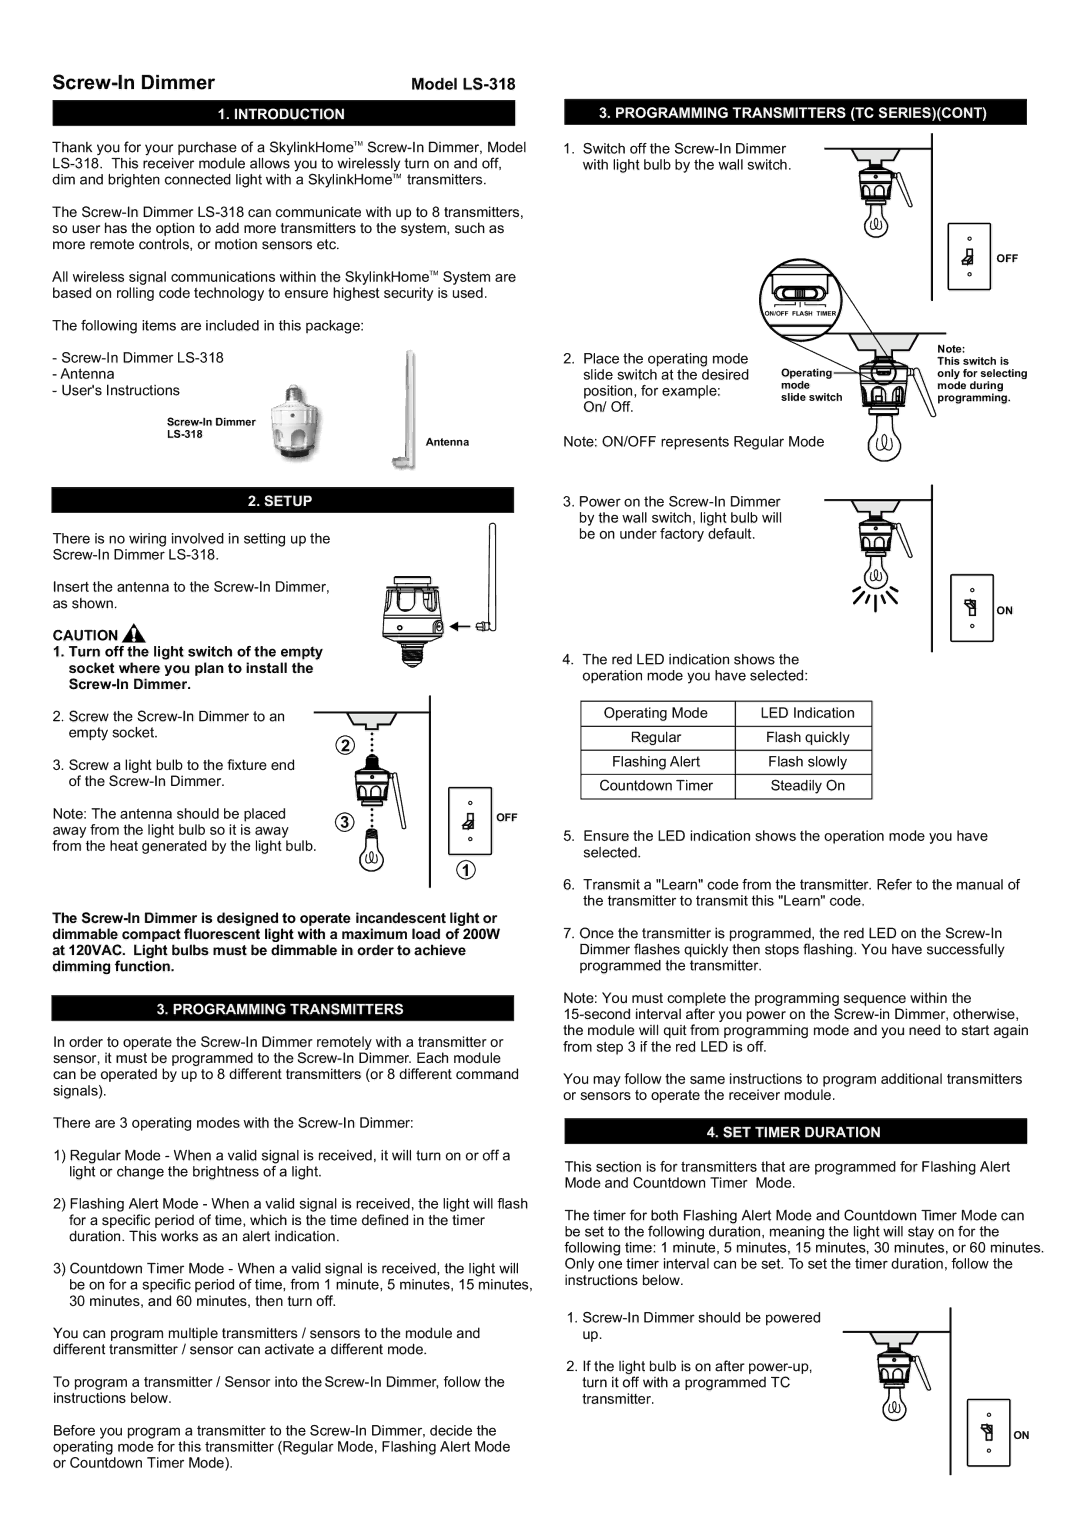
1. Switch off the
| ON/OFF FLASH TIMER | |
2. Place the operating mode |
| |
slide switch at the desired | Operating | |
position, for example: | mode | |
slide switch | ||
On/ Off. | ||
|
Note: ON/OFF represents Regular Mode
3. Power on the
4.The red LED indication shows the operation mode you have selected:
OFF
Note:
This switch is only for selecting mode during programming.
ON
2.Screw the
3. Screw a light bulb to the fixture end of the
Note: The antenna should be placed away from the light bulb so it is away from the heat generated by the light bulb.
2
3
OFF
1
Operating Mode | LED Indication |
|
|
Regular | Flash quickly |
|
|
Flashing Alert | Flash slowly |
|
|
Countdown Timer | Steadily On |
|
|
5. | Ensure the LED indication shows the operation mode you have |
| selected. |
6. | Transmit a "Learn" code from the transmitter. Refer to the manual of |
| the transmitter to transmit this "Learn" code. |
The
3. PROGRAMMING TRANSMITTERS
In order to operate the
There are 3 operating modes with the
1)Regular Mode - When a valid signal is received, it will turn on or off a light or change the brightness of a light.
2)Flashing Alert Mode - When a valid signal is received, the light will flash for a specific period of time, which is the time defined in the timer duration. This works as an alert indication.
3)Countdown Timer Mode - When a valid signal is received, the light will be on for a specific period of time, from 1 minute, 5 minutes, 15 minutes, 30 minutes, and 60 minutes, then turn off.
You can program multiple transmitters / sensors to the module and different transmitter / sensor can activate a different mode.
To program a transmitter / Sensor into the
Before you program a transmitter to the
7. Once the transmitter is programmed, the red LED on the |
Dimmer flashes quickly then stops flashing. You have successfully |
programmed the transmitter. |
Note: You must complete the programming sequence within the
You may follow the same instructions to program additional transmitters or sensors to operate the receiver module.
4. SET TIMER DURATION
This section is for transmitters that are programmed for Flashing Alert Mode and Countdown Timer Mode.
The timer for both Flashing Alert Mode and Countdown Timer Mode can be set to the following duration, meaning the light will stay on for the following time: 1 minute, 5 minutes, 15 minutes, 30 minutes, or 60 minutes. Only one timer interval can be set. To set the timer duration, follow the instructions below.
1.
2. If the light bulb is on after
ON