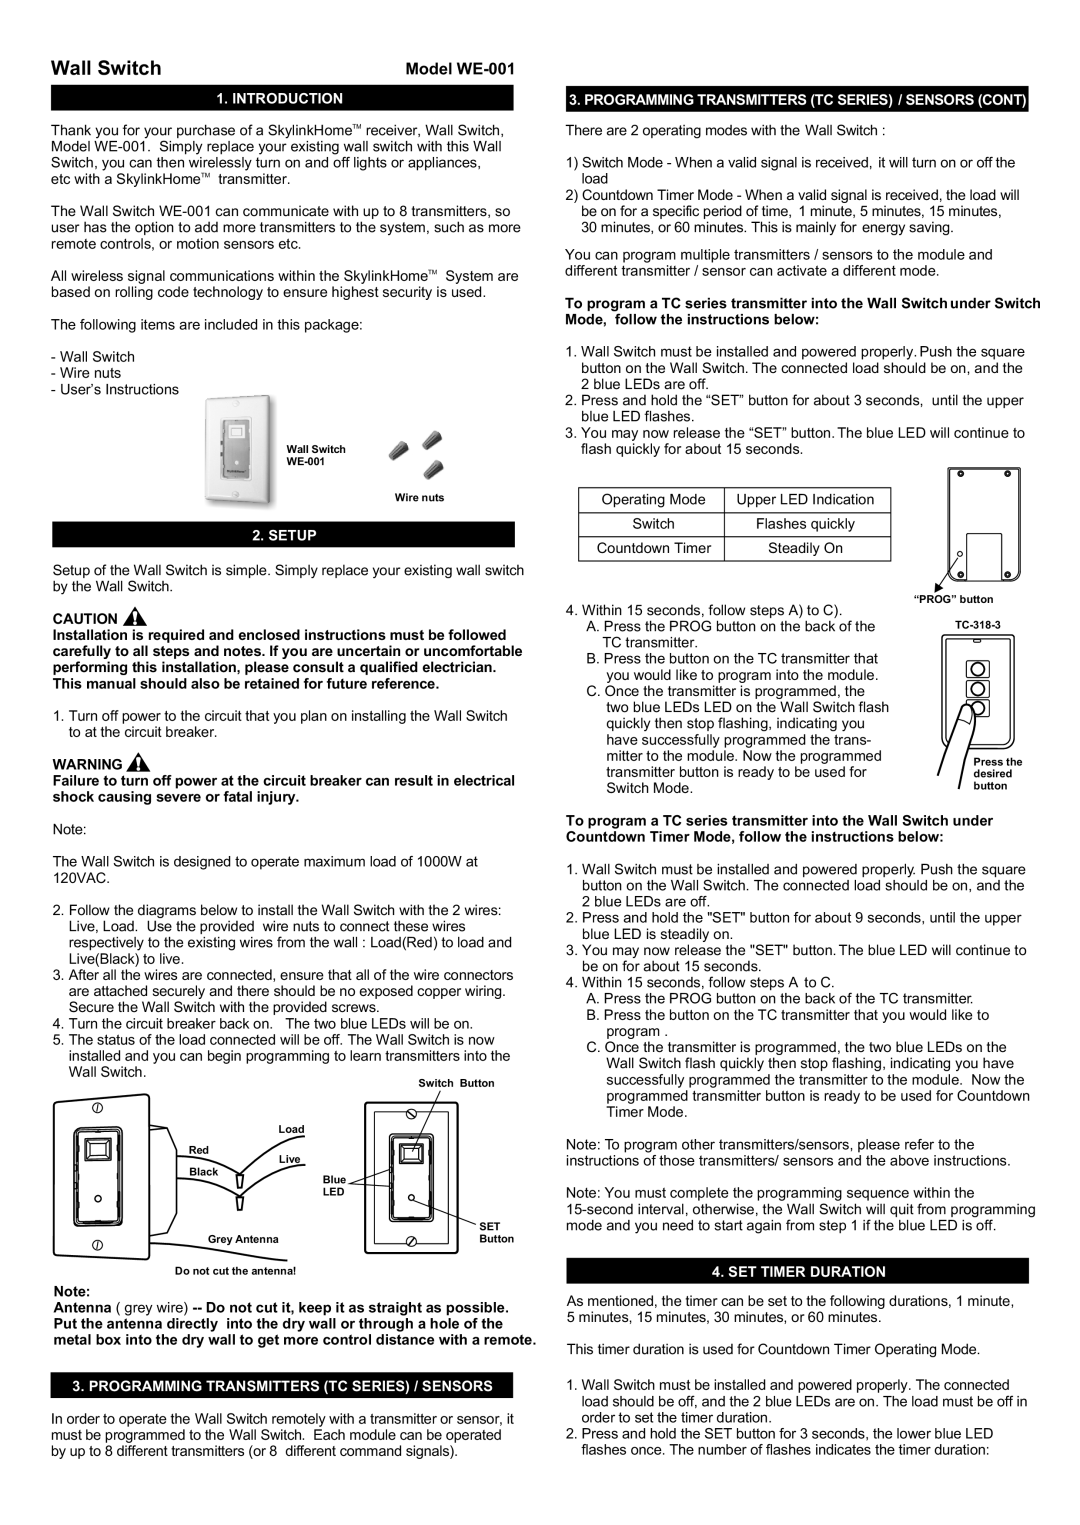
Wall Switch | Model |
1. INTRODUCTION
Thank you for your purchase of a SkylinkHomeTM receiver, Wall Switch, Model
The Wall Switch
All wireless signal communications within the SkylinkHomeTM System are based on rolling code technology to ensure highest security is used.
The following items are included in this package:
-Wall Switch
-Wire nuts
-User’s Instructions
Wall Switch
3. PROGRAMMING TRANSMITTERS (TC SERIES) / SENSORS (CONT)
There are 2 operating modes with the Wall Switch :
1)Switch Mode - When a valid signal is received, it will turn on or off the load
2)Countdown Timer Mode - When a valid signal is received, the load will be on for a specific period of time, 1 minute, 5 minutes, 15 minutes, 30 minutes, or 60 minutes. This is mainly for energy saving.
You can program multiple transmitters / sensors to the module and different transmitter / sensor can activate a different mode.
To program a TC series transmitter into the Wall Switch under Switch Mode, follow the instructions below:
1.Wall Switch must be installed and powered properly. Push the square button on the Wall Switch. The connected load should be on, and the 2 blue LEDs are off.
2.Press and hold the “SET” button for about 3 seconds, until the upper blue LED flashes.
3.You may now release the “SET” button. The blue LED will continue to flash quickly for about 15 seconds.
Wire nuts
2. SETUP
Setup of the Wall Switch is simple. Simply replace your existing wall switch by the Wall Switch.
CAUTION ![]()
Installation is required and enclosed instructions must be followed carefully to all steps and notes. If you are uncertain or uncomfortable performing this installation, please consult a qualified electrician. This manual should also be retained for future reference.
1.Turn off power to the circuit that you plan on installing the Wall Switch to at the circuit breaker.
WARNING ![]()
Failure to turn off power at the circuit breaker can result in electrical shock causing severe or fatal injury.
Operating Mode | Upper LED Indication |
|
|
Switch | Flashes quickly |
|
|
Countdown Timer | Steadily On |
|
|
4.Within 15 seconds, follow steps A) to C).
A.Press the PROG button on the back of the TC transmitter.
B.Press the button on the TC transmitter that you would like to program into the module.
C.Once the transmitter is programmed, the two blue LEDs LED on the Wall Switch flash quickly then stop flashing, indicating you have successfully programmed the trans- mitter to the module. Now the programmed transmitter button is ready to be used for Switch Mode.
“PROG” button
Press the desired button
Note:
The Wall Switch is designed to operate maximum load of 1000W at 120VAC.
2.Follow the diagrams below to install the Wall Switch with the 2 wires: Live, Load. Use the provided wire nuts to connect these wires respectively to the existing wires from the wall : Load(Red) to load and Live(Black) to live.
3.After all the wires are connected, ensure that all of the wire connectors are attached securely and there should be no exposed copper wiring. Secure the Wall Switch with the provided screws.
4.Turn the circuit breaker back on. The two blue LEDs will be on.
5.The status of the load connected will be off. The Wall Switch is now installed and you can begin programming to learn transmitters into the Wall Switch.
Switch Button
| Load | |
Red | Live | |
Black | ||
Blue | ||
| ||
| LED | |
| SET | |
Grey Antenna | Button |
Do not cut the antenna!
Note:
Antenna ( grey wire)
Put the antenna directly into the dry wall or through a hole of the metal box into the dry wall to get more control distance with a remote.
3. PROGRAMMING TRANSMITTERS (TC SERIES) / SENSORS
In order to operate the Wall Switch remotely with a transmitter or sensor, it must be programmed to the Wall Switch. Each module can be operated by up to 8 different transmitters (or 8 different command signals).
To program a TC series transmitter into the Wall Switch under Countdown Timer Mode, follow the instructions below:
1.Wall Switch must be installed and powered properly. Push the square button on the Wall Switch. The connected load should be on, and the 2 blue LEDs are off.
2.Press and hold the "SET" button for about 9 seconds, until the upper blue LED is steadily on.
3.You may now release the "SET" button. The blue LED will continue to be on for about 15 seconds.
4.Within 15 seconds, follow steps A to C.
A.Press the PROG button on the back of the TC transmitter.
B.Press the button on the TC transmitter that you would like to program .
C.Once the transmitter is programmed, the two blue LEDs on the Wall Switch flash quickly then stop flashing, indicating you have successfully programmed the transmitter to the module. Now the programmed transmitter button is ready to be used for Countdown Timer Mode.
Note: To program other transmitters/sensors, please refer to the instructions of those transmitters/ sensors and the above instructions.
Note: You must complete the programming sequence within the
4. SET TIMER DURATION
As mentioned, the timer can be set to the following durations, 1 minute, 5 minutes, 15 minutes, 30 minutes, or 60 minutes.
This timer duration is used for Countdown Timer Operating Mode.
1.Wall Switch must be installed and powered properly. The connected load should be off, and the 2 blue LEDs are on. The load must be off in order to set the timer duration.
2.Press and hold the SET button for 3 seconds, the lower blue LED flashes once. The number of flashes indicates the timer duration:
