INSTALLING THE MODULE
6.Secure the new module: Secure the new module in place by screwing the attached screws clockwise into the switch’s chassis. Tighten them enough to secure the module, but not so tight as to prevent them from being unscrewed by hand.
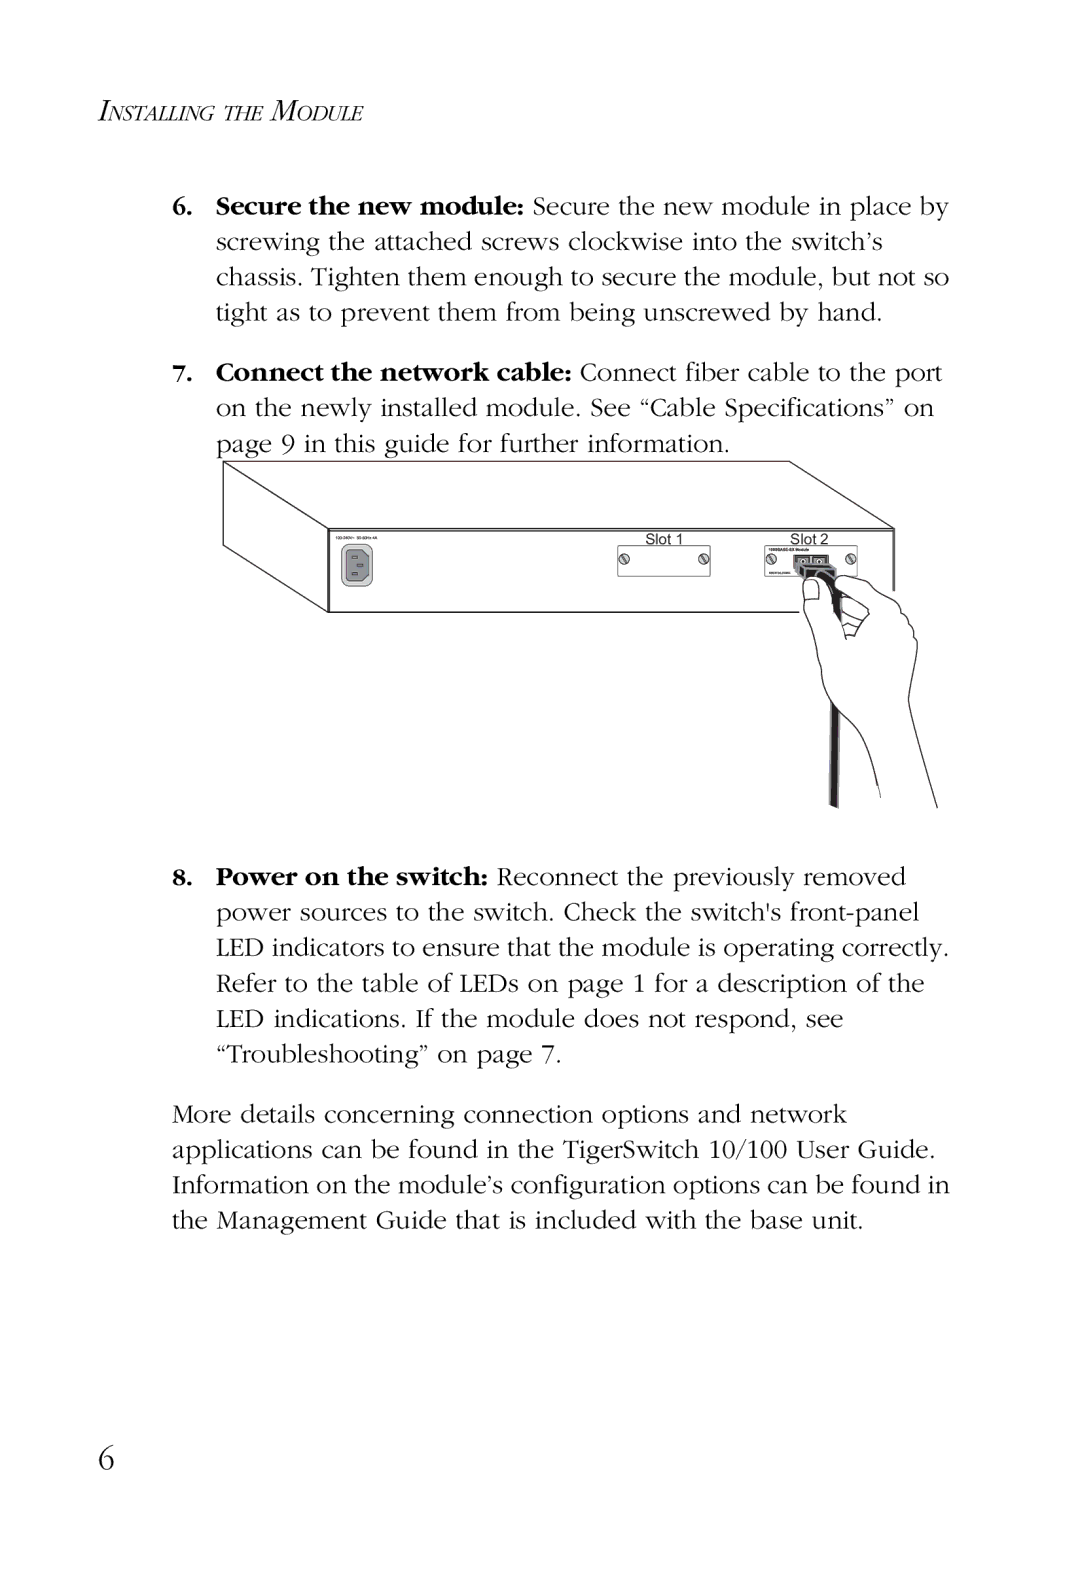
7.Connect the network cable: Connect fiber cable to the port on the newly installed module. See “Cable Specifications” on page 9 in this guide for further information.
Slot 1 | Slot 2 |
8.Power on the switch: Reconnect the previously removed power sources to the switch. Check the switch's
More details concerning connection options and network applications can be found in the TigerSwitch 10/100 User Guide. Information on the module’s configuration options can be found in the Management Guide that is included with the base unit.
6