Instructions for the installer
2. INSTALLATION OF THE APPLIANCE
The following operation requires building and/or carpentry work so must be carried out by a competent tradesman.
Installation can be carried out on various materials such as masonry, metal, solid wood or plastic laminated wood as long as they are heat resistant (T 90°C).
2.1Attachment to support structure
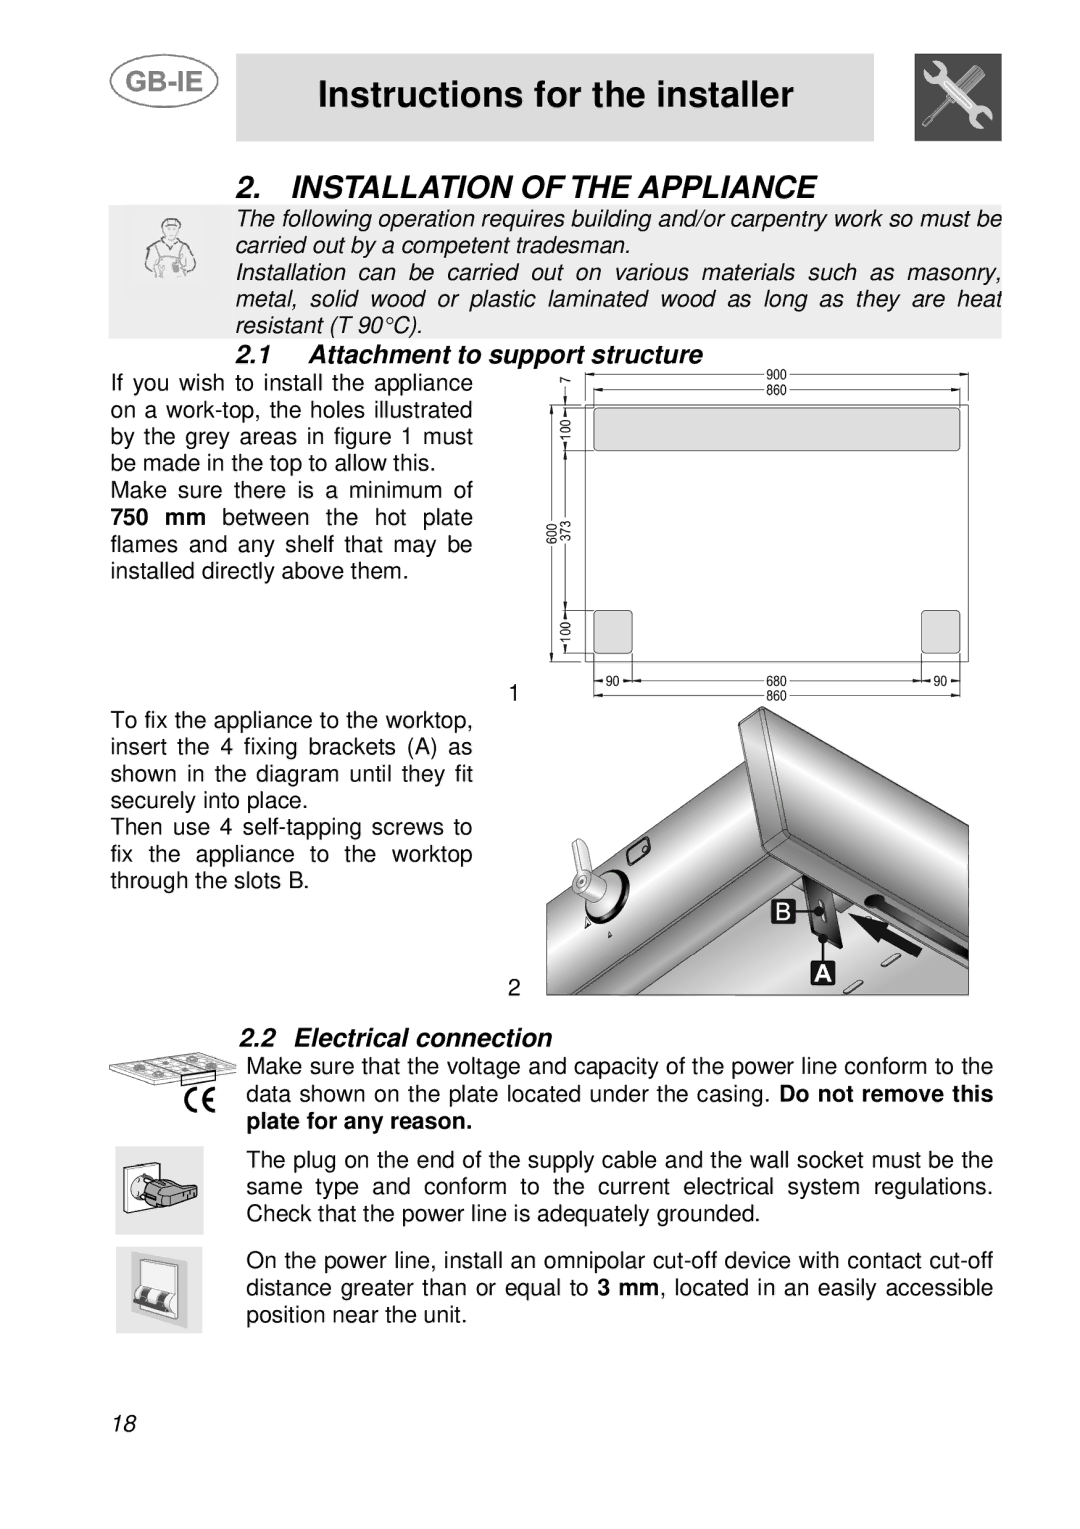
If you wish to install the appliance on a
Make sure there is a minimum of 750 mm between the hot plate flames and any shelf that may be installed directly above them.
1
To fix the appliance to the worktop, insert the 4 fixing brackets (A) as shown in the diagram until they fit securely into place.
Then use 4
2
2.2 Electrical connection
Make sure that the voltage and capacity of the power line conform to the data shown on the plate located under the casing. Do not remove this plate for any reason.
The plug on the end of the supply cable and the wall socket must be the same type and conform to the current electrical system regulations. Check that the power line is adequately grounded.
On the power line, install an omnipolar
18