Snapper 3500 PSI Pressure Washer
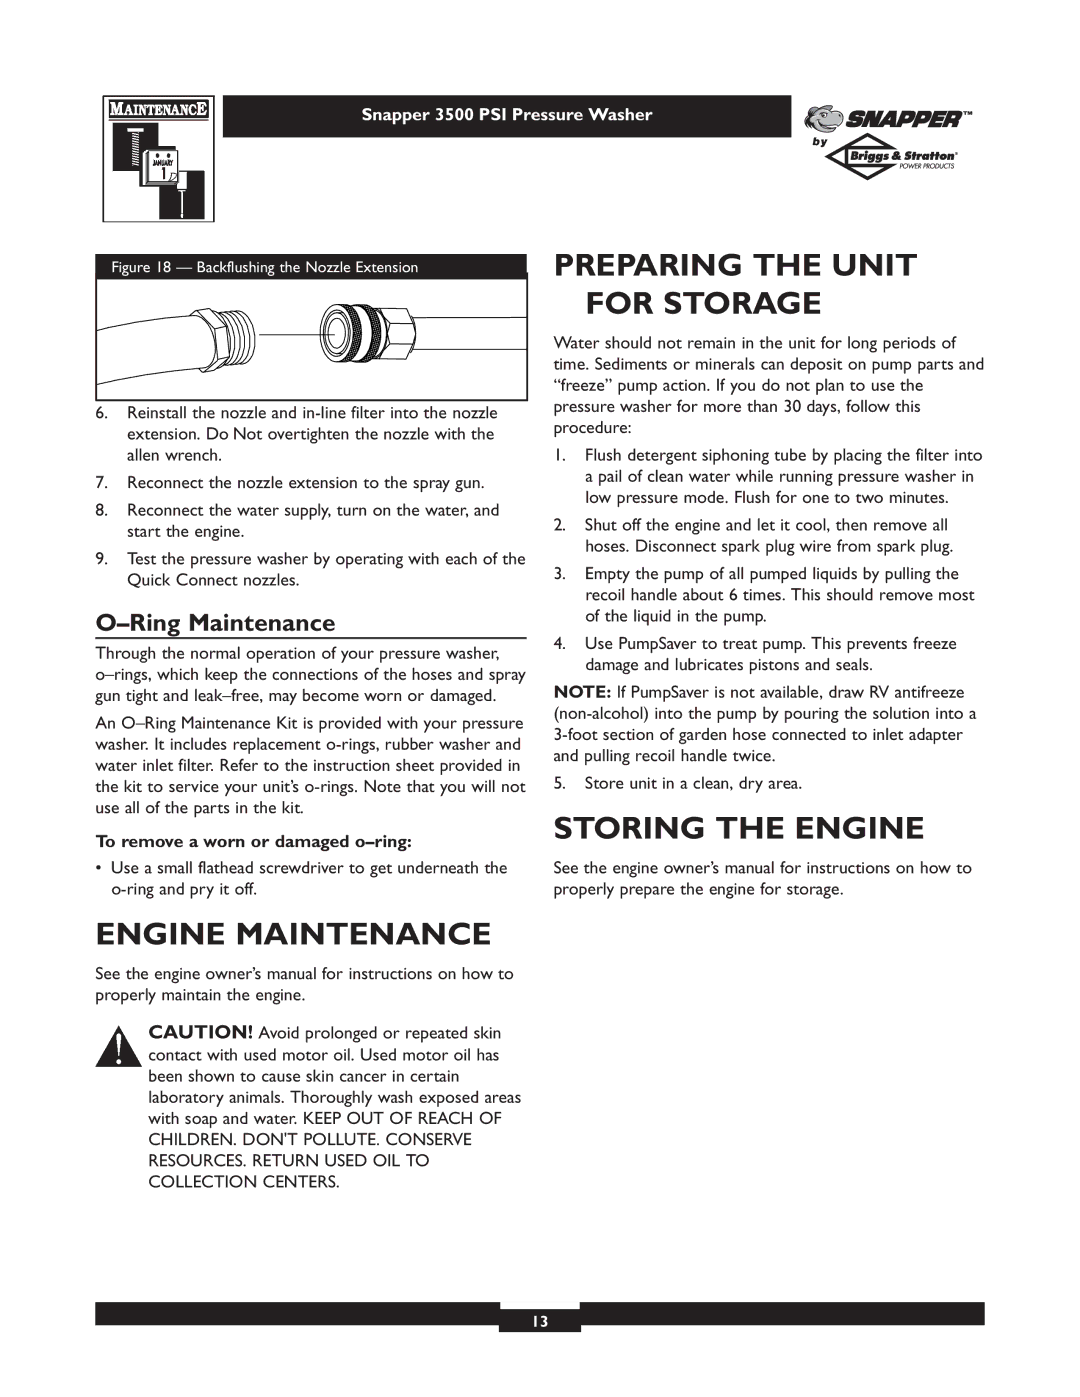
Figure 18 — Backflushing the Nozzle Extension
6.Reinstall the nozzle and
7.Reconnect the nozzle extension to the spray gun.
8.Reconnect the water supply, turn on the water, and start the engine.
9.Test the pressure washer by operating with each of the Quick Connect nozzles.
O–Ring Maintenance
Through the normal operation of your pressure washer,
An
To remove a worn or damaged o–ring:
•Use a small flathead screwdriver to get underneath the
PREPARING THE UNIT FOR STORAGE
Water should not remain in the unit for long periods of time. Sediments or minerals can deposit on pump parts and “freeze” pump action. If you do not plan to use the pressure washer for more than 30 days, follow this procedure:
1.Flush detergent siphoning tube by placing the filter into a pail of clean water while running pressure washer in low pressure mode. Flush for one to two minutes.
2.Shut off the engine and let it cool, then remove all hoses. Disconnect spark plug wire from spark plug.
3.Empty the pump of all pumped liquids by pulling the recoil handle about 6 times. This should remove most of the liquid in the pump.
4.Use PumpSaver to treat pump. This prevents freeze damage and lubricates pistons and seals.
NOTE: If PumpSaver is not available, draw RV antifreeze
5.Store unit in a clean, dry area.
STORING THE ENGINE
See the engine owner’s manual for instructions on how to properly prepare the engine for storage.
ENGINE MAINTENANCE
See the engine owner’s manual for instructions on how to properly maintain the engine.
![]() CAUTION! Avoid prolonged or repeated skin contact with used motor oil. Used motor oil has been shown to cause skin cancer in certain laboratory animals. Thoroughly wash exposed areas with soap and water. KEEP OUT OF REACH OF CHILDREN. DON'T POLLUTE. CONSERVE RESOURCES. RETURN USED OIL TO COLLECTION CENTERS.
CAUTION! Avoid prolonged or repeated skin contact with used motor oil. Used motor oil has been shown to cause skin cancer in certain laboratory animals. Thoroughly wash exposed areas with soap and water. KEEP OUT OF REACH OF CHILDREN. DON'T POLLUTE. CONSERVE RESOURCES. RETURN USED OIL TO COLLECTION CENTERS.
13