Snapper 3500 PSI Pressure Washer
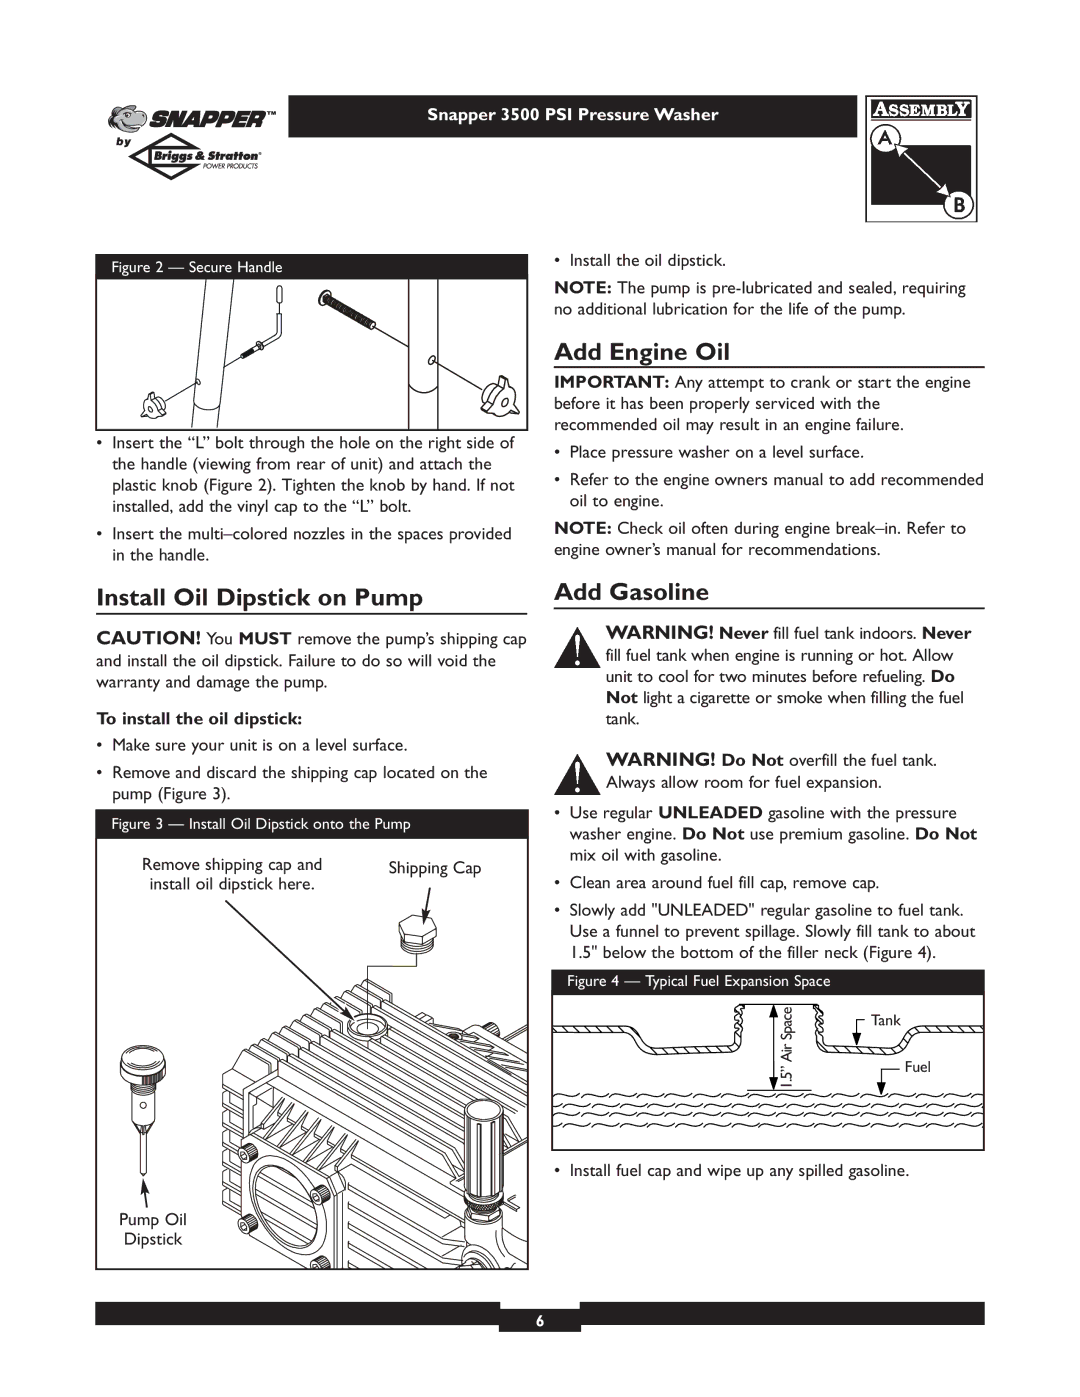
Figure 2 — Secure Handle |
•Insert the “L” bolt through the hole on the right side of the handle (viewing from rear of unit) and attach the plastic knob (Figure 2). Tighten the knob by hand. If not installed, add the vinyl cap to the “L” bolt.
•Insert the
• Install the oil dipstick.
NOTE: The pump is
Add Engine Oil
IMPORTANT: Any attempt to crank or start the engine before it has been properly serviced with the recommended oil may result in an engine failure.
•Place pressure washer on a level surface.
•Refer to the engine owners manual to add recommended oil to engine.
NOTE: Check oil often during engine
Install Oil Dipstick on Pump
CAUTION! You MUST remove the pump’s shipping cap and install the oil dipstick. Failure to do so will void the warranty and damage the pump.
Add Gasoline
![]() WARNING! Never fill fuel tank indoors. Never fill fuel tank when engine is running or hot. Allow unit to cool for two minutes before refueling. Do Not light a cigarette or smoke when filling the fuel
WARNING! Never fill fuel tank indoors. Never fill fuel tank when engine is running or hot. Allow unit to cool for two minutes before refueling. Do Not light a cigarette or smoke when filling the fuel
To install the oil dipstick:
•Make sure your unit is on a level surface.
•Remove and discard the shipping cap located on the pump (Figure 3).
tank.
![]() WARNING! Do Not overfill the fuel tank. Always allow room for fuel expansion.
WARNING! Do Not overfill the fuel tank. Always allow room for fuel expansion.
| • | Use regular UNLEADED gasoline with the pressure | ||
Figure 3 — Install Oil Dipstick onto the Pump | washer engine. Do Not use premium gasoline. Do Not | |||
|
| |||
Remove shipping cap and | Shipping Cap | mix oil with gasoline. |
|
|
|
|
| ||
install oil dipstick here. | • | Clean area around fuel fill cap, remove cap. |
| |
| • | Slowly add "UNLEADED" regular gasoline to fuel tank. | ||
|
| Use a funnel to prevent spillage. Slowly fill tank to about | ||
|
| 1.5" below the bottom of the filler neck (Figure 4). | ||
|
| Figure 4 — Typical Fuel Expansion Space |
|
|
|
| SpaceAir | Tank |
|
|
|
|
| |
|
| 1.5” |
| Fuel |
|
|
|
| |
| • | Install fuel cap and wipe up any spilled gasoline. | ||
Pump Oil |
|
|
|
|
Dipstick |
|
|
|
|
| 6 |
|
|
|