Section 3 – MAINTENANCE
3.2.8.REVERSE LOCKOUT MECHANISM
Check function of Reverse Lockout Mechanism with engine off.
1.Depress and hold blade pedals.
2.Depress and hold clutch/brake pedal.
3.Shift lever must not go into reverse.
WARNING
DO NOT operate machine if Reverse Lockout Mechanism is not functioning properly. Contact your SNAPPER dealer immediately for assistance.
3.2.9.LUBRICATION – GREASE FITTINGS
The following components on the Rear Engine Rider are equipped with grease fittings and require periodic lubrication. Apply General Purpose grease (NLGI No.2) with a grease gun.
1.Front Wheel Bearings. Refer to Section “FRONT WHEEL BEARINGS – LUBRICATION”.
2.Rear Axle Bearing. Refer to Section “REAR AXLE BEARING – LUBRICATION”.
3.Mower Blade Spindle. Refer to Section “MOWER BLADE SPINDLE – LUBRICATION”.
3.3 SERVICE - EVERY 25 OPERATING HOURS
3.3.1.Perform all service required after the first 5 hours of operation. Refer to Section “SERVICE – AFTER 5 HOURS”.
WARNING
DO NOT attempt any adjustments, maintenance, service or repairs with the engine running. Stop engine. Stop blade. Engage parking brake. Remove key. Remove spark plug wire from spark plug and secure away from plug. Engine and components are HOT. Avoid serious burns, allow all parts to cool before working on machine. Fuel Filler Cap and Vent must be closed securely to prevent fuel spillage.
3.3.2.BATTERY FLUID LEVEL
1.Remove battery. Refer to Section “BATTERY REMOVAL”.
2.Remove battery caps. Check fluid level.
3.Add water only to bring fluid to proper level – approximately 3/16” above plates.
DO NOT OVERFILL.
4.Reinstall battery. Refer to Section “BATTERY INSTALLATION”.
3.3.3.MOWER DECK LEVELNESS
Check mower deck for proper level. Adjust as required. Refer to Section “MOWER DECK ADJUSTMENT –
LEVELNESS”.
3.3.4.CLEAN MOWER DECK
1.Follow WARNING statement found on this page.
2.Check fuel level in tank. If over 3/4 full, remove tank. Refer to Section “REMOVING FUEL TANK”. If 3/4 or less, proceed to next step.
3.Carefully stand Rear Engine Rider on rear bumper.
4.Clean underside of mower deck, removing all accumulation of grass clippings and debris.
5.Clean top of deck, removing all grass clippings and debris.
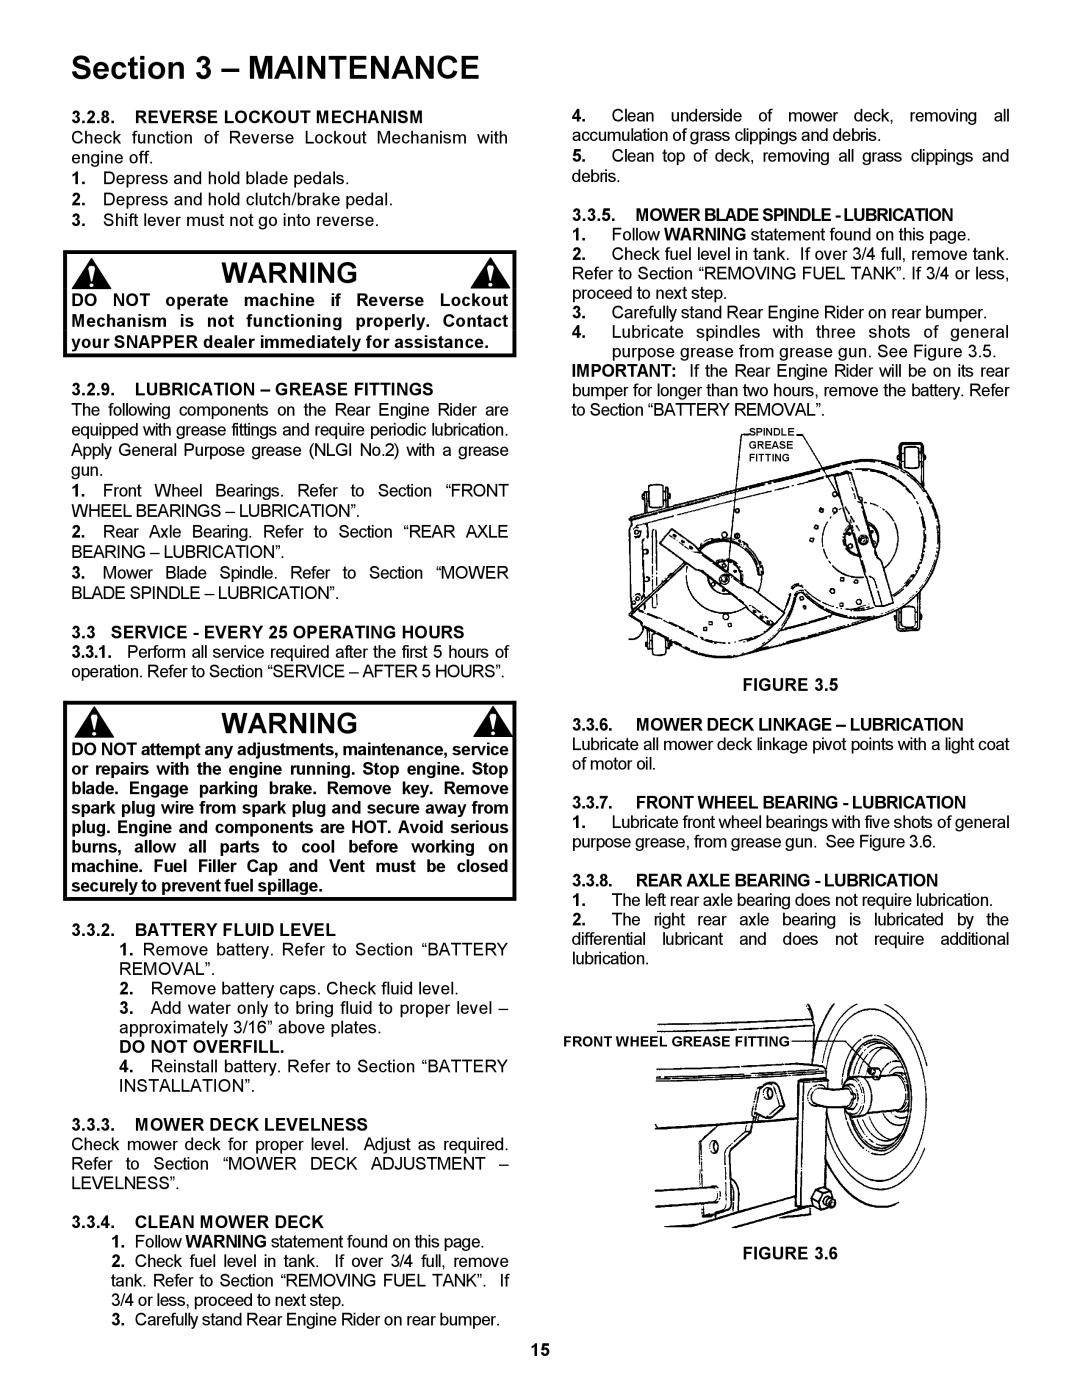
3.3.5.MOWER BLADE SPINDLE - LUBRICATION
1.Follow WARNING statement found on this page.
2.Check fuel level in tank. If over 3/4 full, remove tank. Refer to Section “REMOVING FUEL TANK”. If 3/4 or less, proceed to next step.
3.Carefully stand Rear Engine Rider on rear bumper.
4.Lubricate spindles with three shots of general purpose grease from grease gun. See Figure 3.5.
IMPORTANT: If the Rear Engine Rider will be on its rear bumper for longer than two hours, remove the battery. Refer to Section “BATTERY REMOVAL”.
SPINDLE
GREASE
FITTING
FIGURE 3.5
3.3.6.MOWER DECK LINKAGE – LUBRICATION Lubricate all mower deck linkage pivot points with a light coat of motor oil.
3.3.7.FRONT WHEEL BEARING - LUBRICATION
1.Lubricate front wheel bearings with five shots of general purpose grease, from grease gun. See Figure 3.6.
3.3.8.REAR AXLE BEARING - LUBRICATION
1.The left rear axle bearing does not require lubrication.
2.The right rear axle bearing is lubricated by the differential lubricant and does not require additional lubrication.
FRONT WHEEL GREASE FITTING
FIGURE 3.6
15