English
1
[ S N O M 3 2 0 Q U I C K I N S T A L L A T I O N V 1 . 0 0 ]
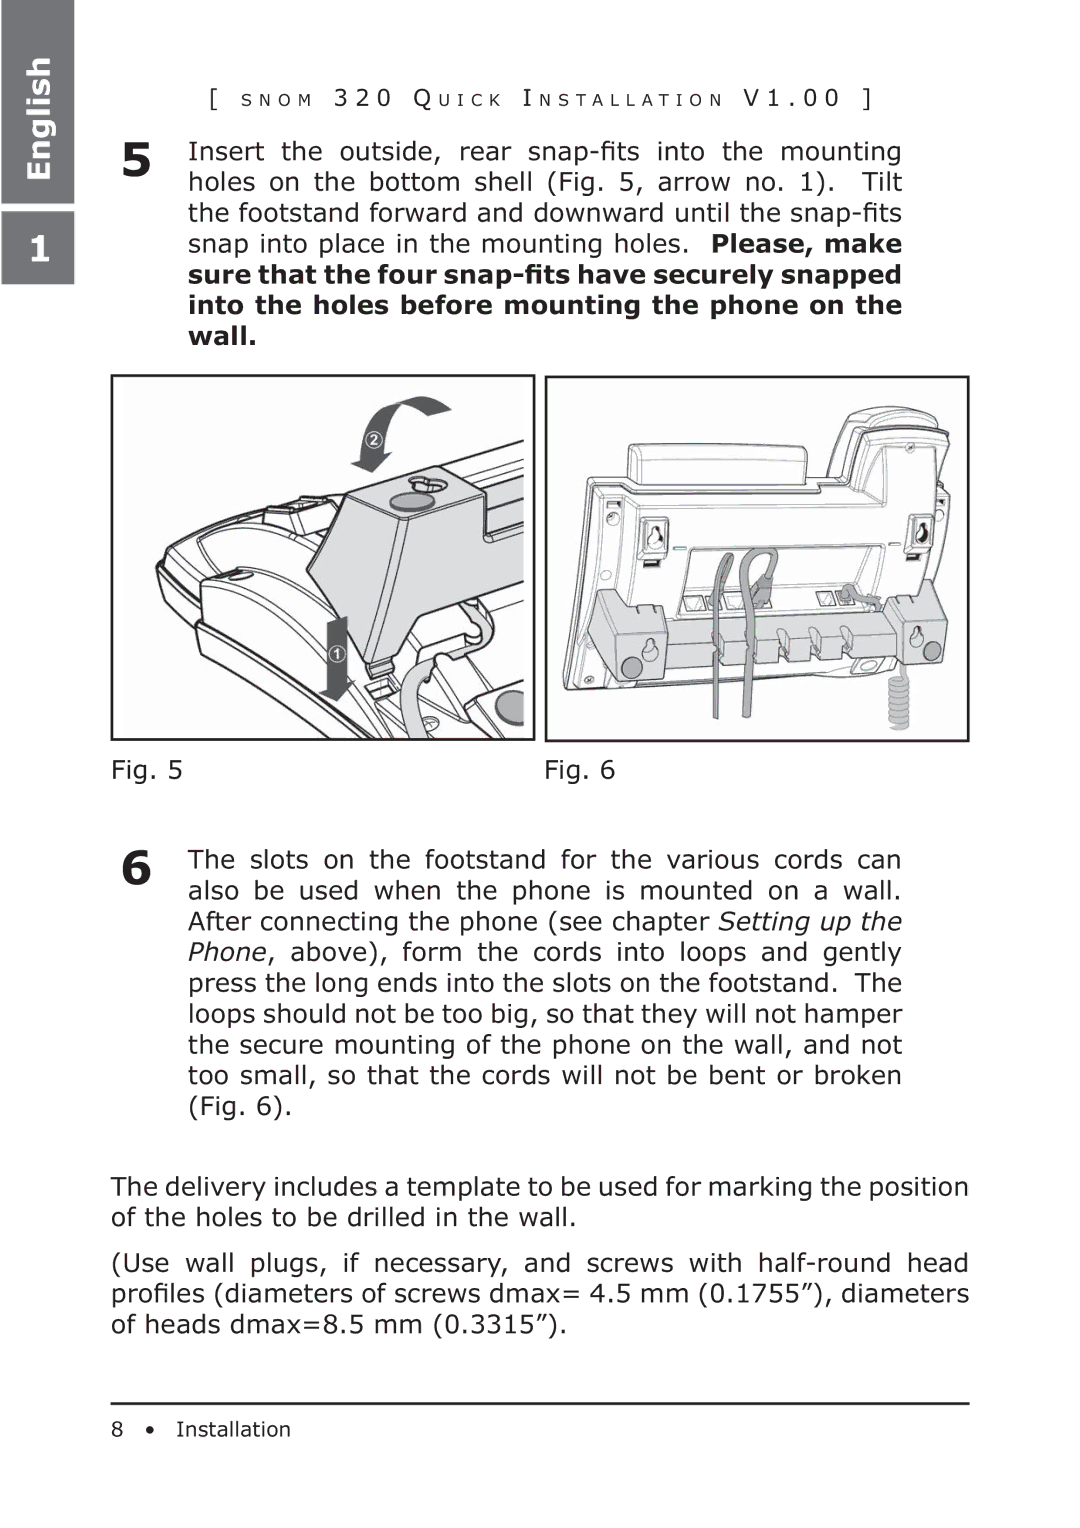
5Insert the outside, rear
Fig. 5 | Fig. 6 |
6The slots on the footstand for the various cords can also be used when the phone is mounted on a wall. After connecting the phone (see chapter Setting up the Phone, above), form the cords into loops and gently press the long ends into the slots on the footstand. The loops should not be too big, so that they will not hamper the secure mounting of the phone on the wall, and not too small, so that the cords will not be bent or broken (Fig. 6).
The delivery includes a template to be used for marking the position of the holes to be drilled in the wall.
(Use wall plugs, if necessary, and screws with
8 • Installation