
GM-WAC-25ESE-C specifications
The Soleus Air GM-WAC-25ESE-C represents a significant advancement in window air conditioning technology, designed to provide efficient cooling in a variety of spaces. With a focus on energy efficiency and user-friendly features, this unit is a popular choice for residential and commercial applications alike.One of the standout features of the GM-WAC-25ESE-C is its impressive cooling capacity. With a powerful 25,000 BTU rating, it effectively cools areas of up to 1,500 square feet, making it ideal for larger rooms or open floor plans. This high capacity is complemented by a range of fan speeds, allowing users to customize their cooling experience based on their needs.
Energy efficiency is a key characteristic of this model, boasting an Energy Efficiency Ratio (EER) that meets or exceeds industry standards. This enables users to enjoy a comfortable environment without incurring exorbitant electricity bills. The unit is also equipped with an Energy Saver mode, which automatically adjusts the cooling output to maintain the desired temperature while conserving energy.
Another technological feature of the Soleus Air GM-WAC-25ESE-C is its user-friendly remote control. This allows for easy adjustments from anywhere in the room, adding to the convenience of the unit. The air conditioner also includes a programmable timer, giving users the flexibility to set operation times that fit their schedules, further enhancing energy efficiency.
The dual motor design of the GM-WAC-25ESE-C offers improved airflow and more consistent cooling. This technology helps reduce temperature fluctuations, ensuring a more stable and comfortable indoor climate. Additionally, the unit features multiple modes, including dehumidification and fan-only modes, providing versatility for different weather conditions.
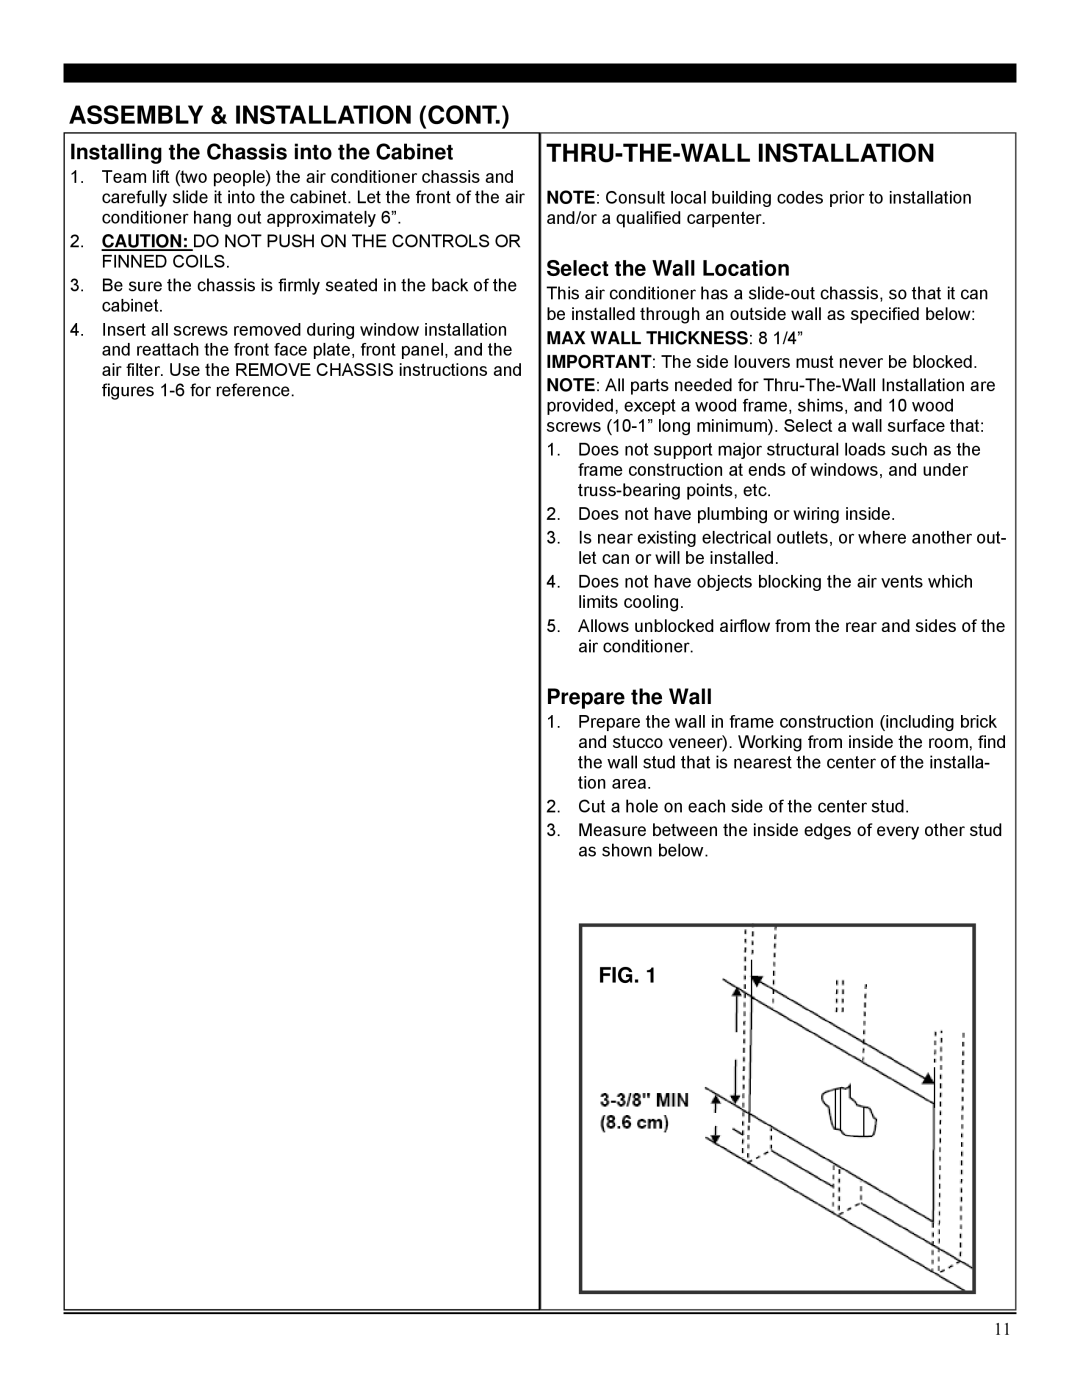
Installation is made simple with the included window kit, allowing for a straightforward setup process. The unit is also designed with a washable air filter, which not only helps maintain air quality but also extends the lifespan of the unit. Regular maintenance is made easy, contributing to its overall longevity.
In conclusion, the Soleus Air GM-WAC-25ESE-C stands out as a powerful, energy-efficient window air conditioner that combines advanced technologies with user-friendly features. It's an excellent choice for anyone looking to cool larger spaces while keeping energy use and costs to a minimum.