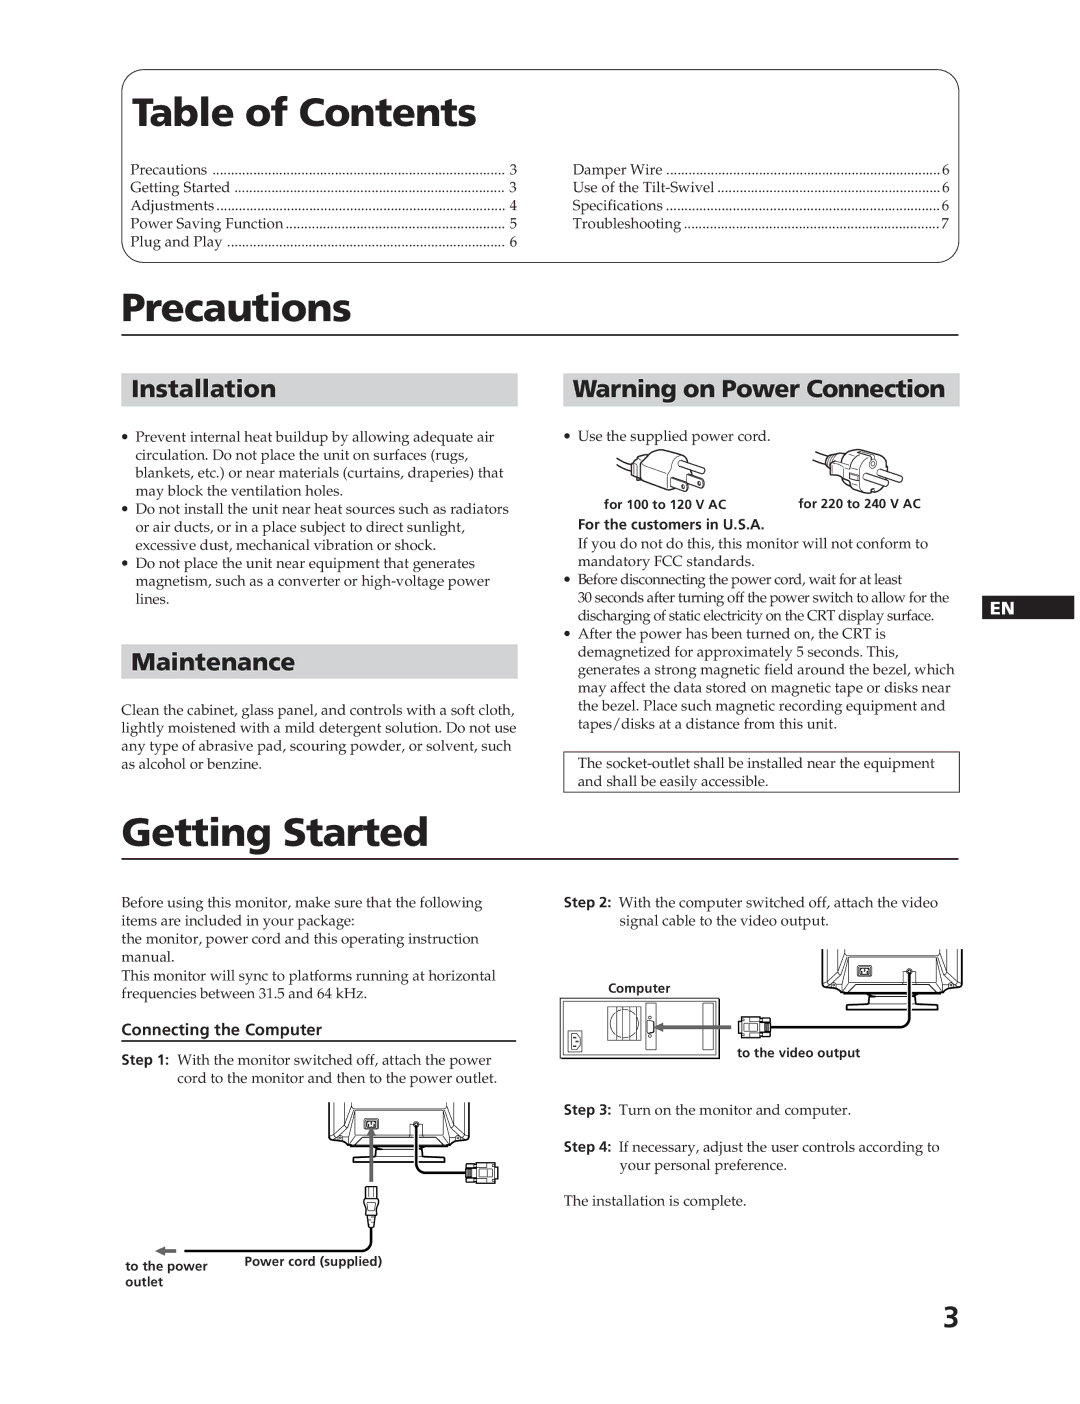
Table of Contents
Precautions | 3 | Damper Wire | 6 |
Getting Started | 3 | Use of the | 6 |
Adjustments | 4 | Specifications | 6 |
Power Saving Function | 5 | Troubleshooting | 7 |
Plug and Play | 6 |
|
|
Precautions
Installation
∙Prevent internal heat buildup by allowing adequate air circulation. Do not place the unit on surfaces (rugs, blankets, etc.) or near materials (curtains, draperies) that may block the ventilation holes.
∙Do not install the unit near heat sources such as radiators or air ducts, or in a place subject to direct sunlight, excessive dust, mechanical vibration or shock.
∙Do not place the unit near equipment that generates magnetism, such as a converter or
Maintenance
Clean the cabinet, glass panel, and controls with a soft cloth, lightly moistened with a mild detergent solution. Do not use any type of abrasive pad, scouring powder, or solvent, such as alcohol or benzine.
Warning on Power Connection
∙Use the supplied power cord.
for 100 to 120 V AC | for 220 to 240 V AC |
For the customers in U.S.A.
If you do not do this, this monitor will not conform to mandatory FCC standards.
∙Before disconnecting the power cord, wait for at least
30 seconds after turning off the power switch to allow for the discharging of static electricity on the CRT display surface.
∙After the power has been turned on, the CRT is demagnetized for approximately 5 seconds. This, generates a strong magnetic field around the bezel, which may affect the data stored on magnetic tape or disks near the bezel. Place such magnetic recording equipment and tapes/disks at a distance from this unit.
The
EN
Getting Started
Before using this monitor, make sure that the following items are included in your package:
the monitor, power cord and this operating instruction manual.
This monitor will sync to platforms running at horizontal frequencies between 31.5 and 64 kHz.
Connecting the Computer
Step 1: With the monitor switched off, attach the power cord to the monitor and then to the power outlet.
to the power | Power cord (supplied) |
| |
outlet |
|
Step 2: With the computer switched off, attach the video signal cable to the video output.
Computer
to the video output
Step 3: Turn on the monitor and computer.
Step 4: If necessary, adjust the user controls according to your personal preference.
The installation is complete.
3
