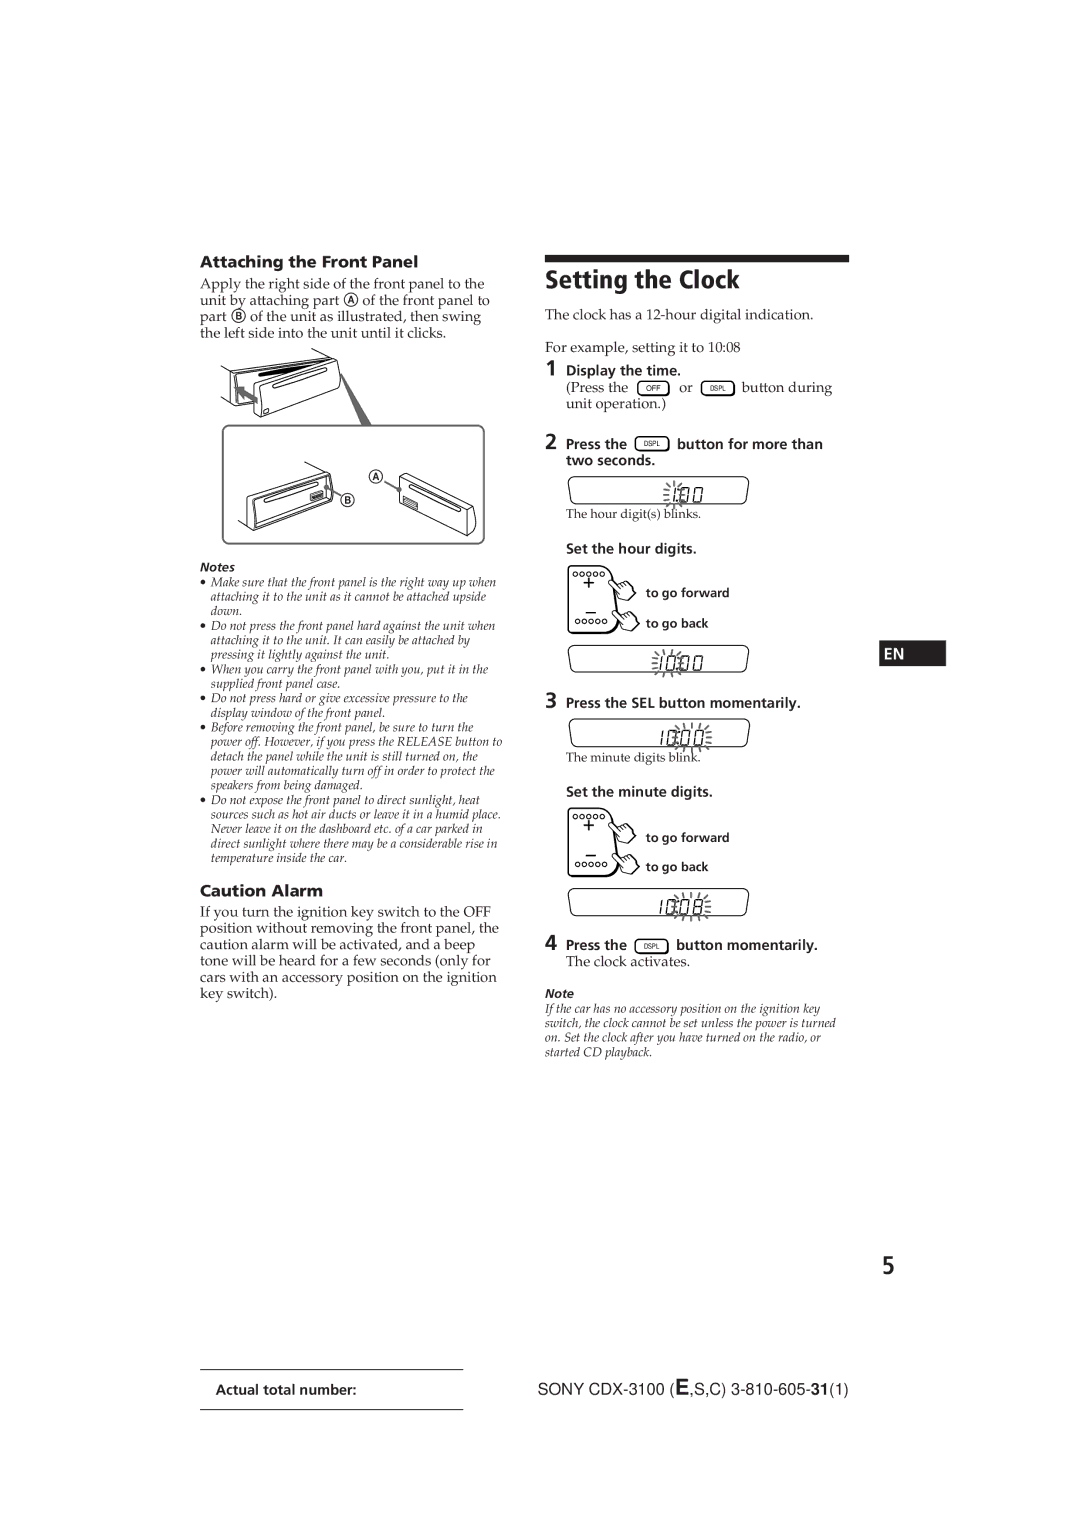
Model CDX-3100 specifications
The Sony Model CDX-3100 stands as a noteworthy example of classic automotive audio innovation. Introduced in the late 1990s, this CD player exemplifies precision in sound reproduction and user-friendly features designed to enhance the in-car listening experience.One of the most prominent features of the CDX-3100 is its compatibility with CDs, allowing audio enthusiasts to enjoy their favorite albums in high quality. The device comes equipped with a robust digital signal processing capability, which ensures that sound is rendered with clarity and depth. This feature was groundbreaking at the time, setting a new standard for how music could be enjoyed in vehicles.
The CDX-3100 also incorporates a built-in AM/FM tuner, which enables users to access a wide range of radio stations. With easy-to-use presets, finding and storing favorite channels is a seamless process. Moreover, the dynamic bass enhancements offered by the unit allow users to experience a more immersive sound, making every listening session more enjoyable.
An important aspect of the CDX-3100 is its user interface. With a straightforward control layout, this model allows for immediate access to various functions, including track selection, volume control, and equalization settings. The large, illuminated display not only facilitates nighttime use but also provides clear visibility of the selected track and artist information.
In terms of connectivity, the CDX-3100 features auxiliary input support, allowing for the integration of external devices such as portable music players or smartphones. This versatility caters to a growing trend towards digital music consumption, providing users with a solution for playing a broader range of music formats.
Durability and reliability are additional hallmarks of the Sony CDX-3100. Built with quality materials, this model withstands the rigors of daily use in automotive environments. The CD mechanism is engineered to resist skipping, ensuring uninterrupted playback even on bumpy roads.
In conclusion, the Sony CDX-3100 stands out not just for its sound quality, but also for its thoughtful design and practical features. Its combination of user-friendly interface, sound enhancement technologies, and solid construction makes it a memorable choice for audiophiles who appreciate quality audio in their vehicles. As an iconic model from Sony's lineup, the CDX-3100 continues to hold a special place in the hearts of those who cherish classic car audio systems.

