
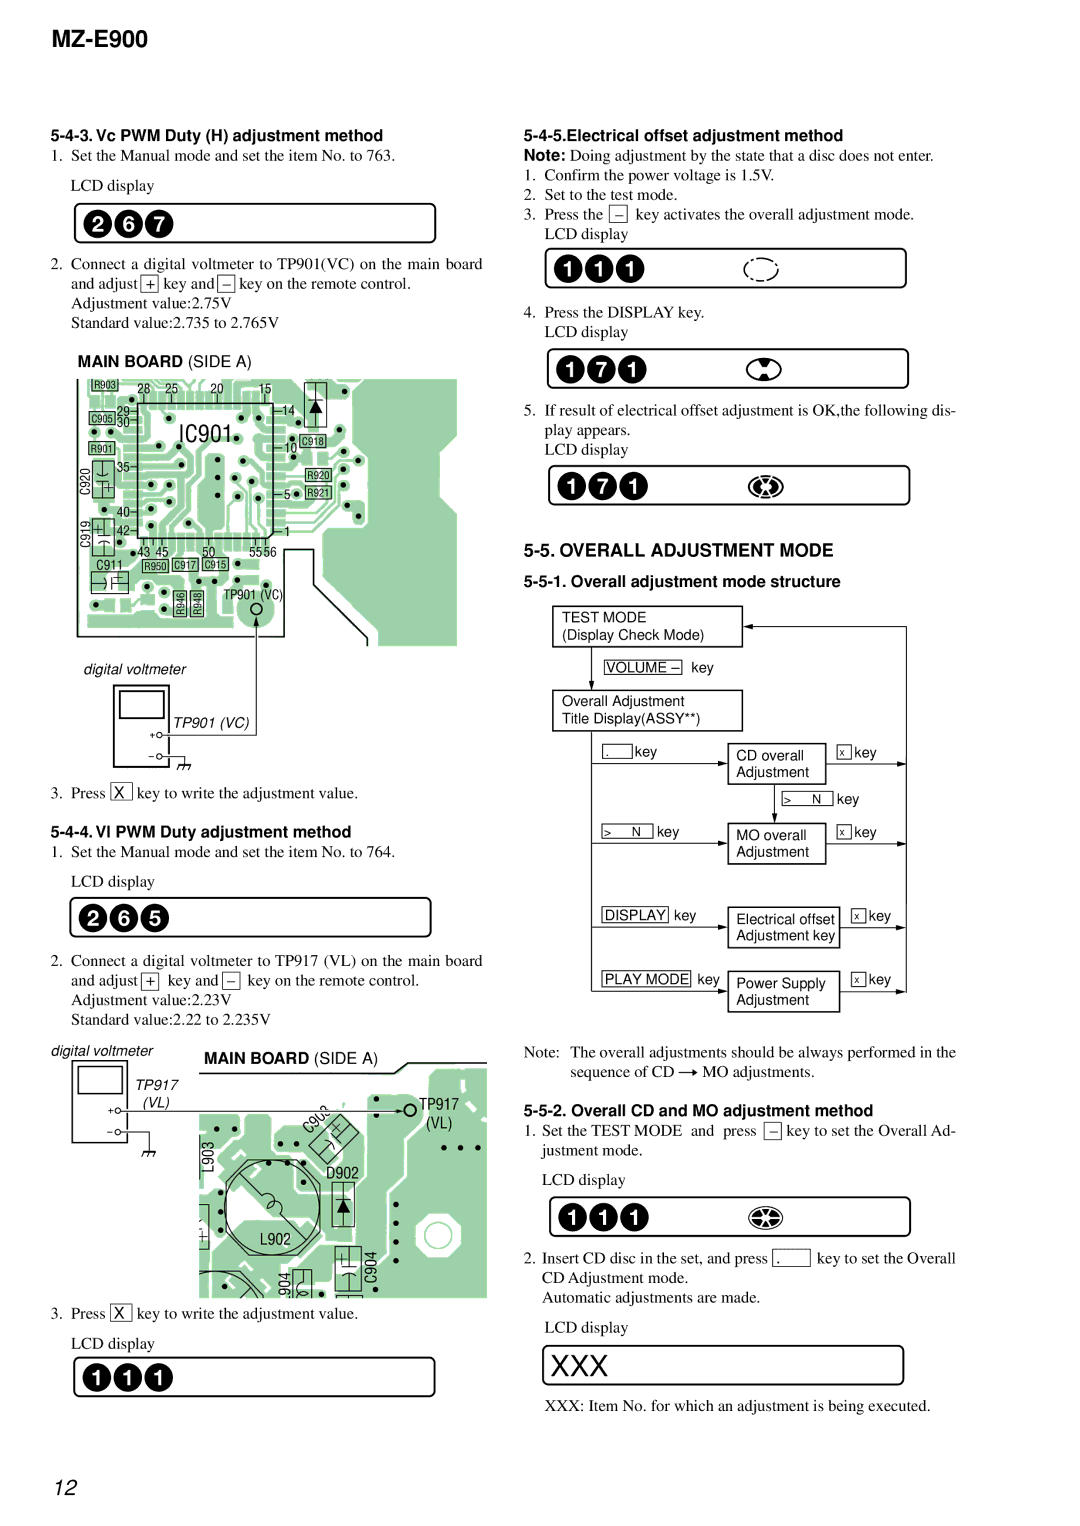
MZ-E900 specifications
The Sony MZ-E900, released in the early 2000s, represents a remarkable convergence of portable music technology and user-friendly design. As a MiniDisc player, the MZ-E900 was part of Sony's efforts to create a new standard in digital audio storage, allowing users to record, erase, and edit audio with unparalleled ease.One of the standout features of the MZ-E900 is its compact and lightweight design, making it an ideal companion for music lovers on the go. Weighing in at approximately 150 grams, it is particularly portable and can easily fit into a pocket or bag. The sleek exterior is both stylish and functional, with an intuitive interface that facilitates easy navigation through a user-friendly menu.
Technologically, the MZ-E900 was equipped with Sony's ATRAC (Adaptive Transform Acoustic Coding) audio compression technology, which delivered impressive sound quality while minimizing file sizes. This allowed users to fit more music onto a single MiniDisc, which could hold up to 80 minutes of high-quality audio in LP2 mode. Additionally, the player supported 24-bit digital-to-analog conversion, ensuring a rich and detailed listening experience.
Another notable feature is the MZ-E900's ability to record audio directly from various sources, such as FM radio or external devices, thanks to an integrated microphone and line-in capabilities. The unit also supported a range of playback modes, including shuffle and repeat functions, giving users greater flexibility in how they enjoy their music.
The MZ-E900 also boasted an impressive battery life, with the ability to play up to 40 hours on a single AA battery, making it perfect for long journeys or extended listening sessions. The inclusion of an ergonomic remote control further enhanced the user experience, allowing for convenient operation while on the move.
In terms of connectivity, the device included a small but versatile digital output, enabling users to connect to other audio equipment such as amplifiers or sound systems. This feature contributed to the versatility of the MZ-E900, allowing it to serve not just as a portable player, but as a component in a larger audio setup.
Overall, the Sony MZ-E900 stood out for its combination of portability, sound quality, and innovative features, making it a beloved device among audiophiles and casual listeners alike during its time. Its legacy remains a testament to Sony's commitment to advancing portable audio technology.