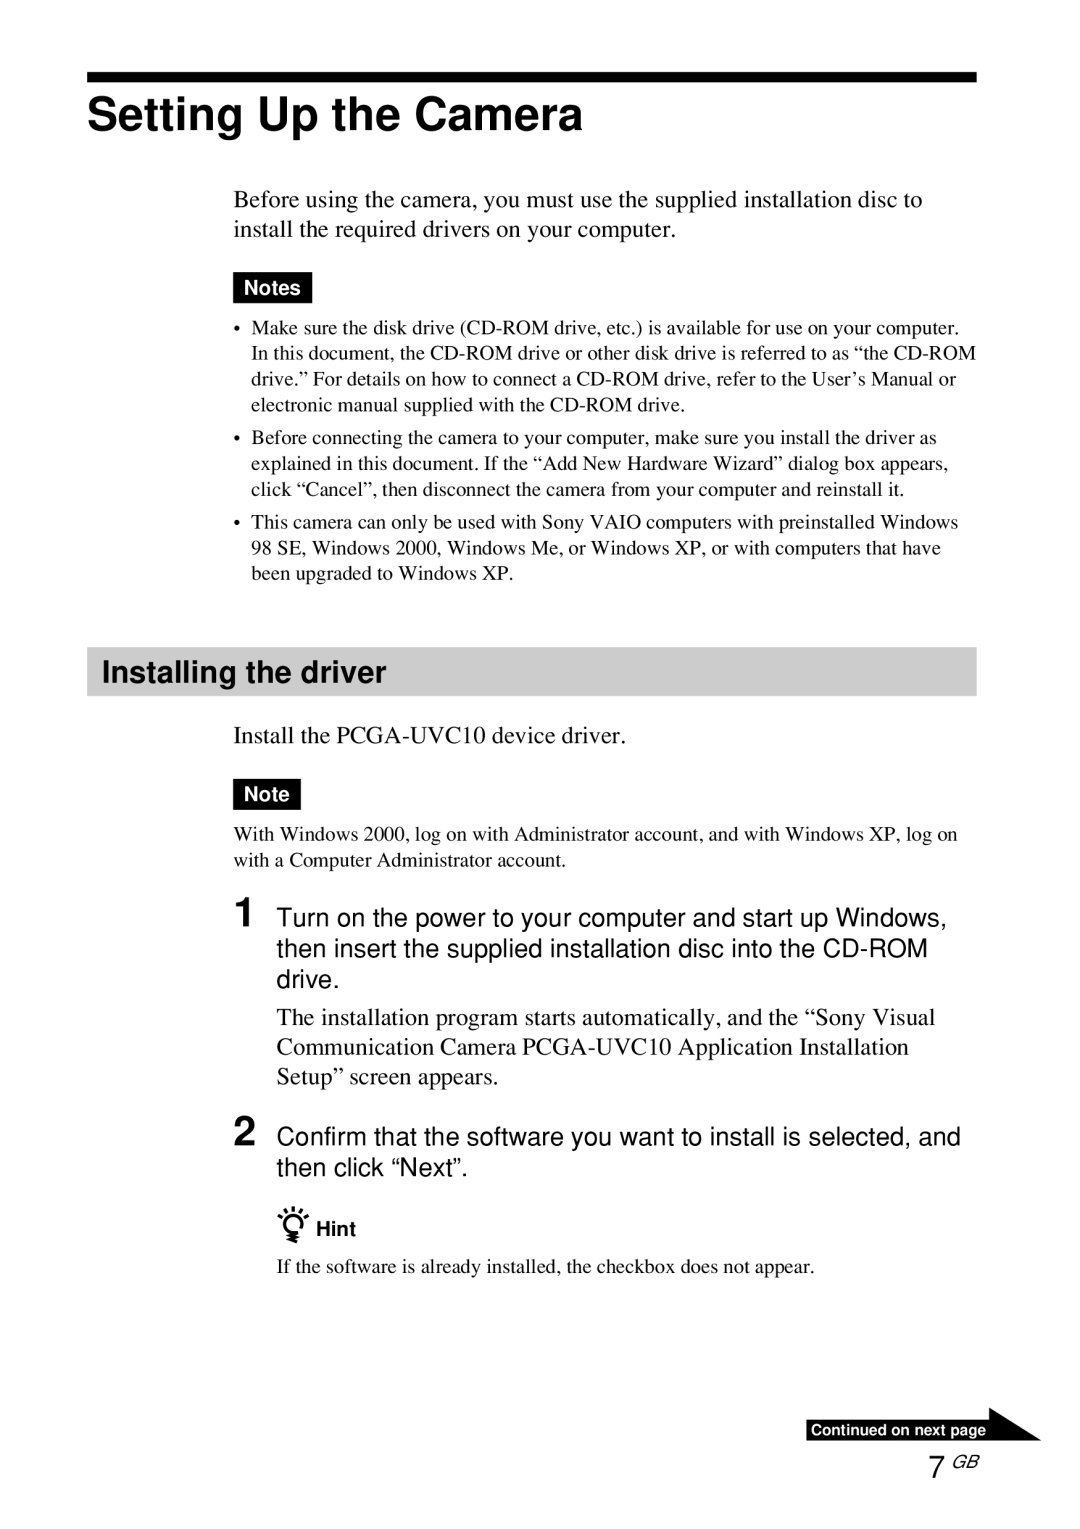
PCGA-UVC10 specifications
The Sony PCGA-UVC10 is a compact and versatile USB webcam designed to enhance video communication for users of Sony laptops and other compatible devices. This device is particularly praised for its ease of use and reliability, making it a popular choice among professionals, students, and everyday users seeking quality video streaming.One of the standout features of the PCGA-UVC10 is its impressive resolution capabilities. Offering up to 640 x 480 pixel resolution, it provides clear and crisp video quality, suitable for web conferencing, online classes, and video calls. This resolution ensures that users can engage in video interactions without compromising on clarity, making it an ideal choice for both personal and professional settings.
Equipped with a built-in microphone, the PCGA-UVC10 also caters to the auditory needs of users. The microphone captures audio with clear fidelity, eliminating the need for additional audio equipment in most scenarios. This all-in-one design simplifies the setup process, allowing users to quickly connect and start communicating without hassle.
Another notable aspect of the Sony PCGA-UVC10 is its Plug and Play functionality, which is compatible with a wide range of operating systems, including Windows. This feature means that users can easily connect the webcam to their laptop or computer without needing to install additional drivers, enhancing convenience.
The webcam's sleek and lightweight design makes it easily portable, allowing users to take it wherever they go. This portability is particularly beneficial for those who travel frequently or need to set up video conferencing in different locations. Its compact size means that it can easily fit into a laptop bag or even a large pocket.
In terms of design, the PCGA-UVC10 boasts a modern aesthetic that aligns well with Sony's branding. The webcam is typically finished in a shiny black color, giving it a polished and professional appearance that complements various workspaces.
Lastly, the Sony PCGA-UVC10 features adjustable positioning, enabling users to angle the camera optimally for their video calls. This flexibility ensures that users can find the best viewing position, resulting in an enhanced video conferencing experience.
In summary, the Sony PCGA-UVC10 is a highly functional webcam that stands out for its clear video quality, built-in microphone, uncomplicated setup, portability, and adjustable features. These characteristics make it a valuable tool for anyone looking to enhance their digital communication experience.

