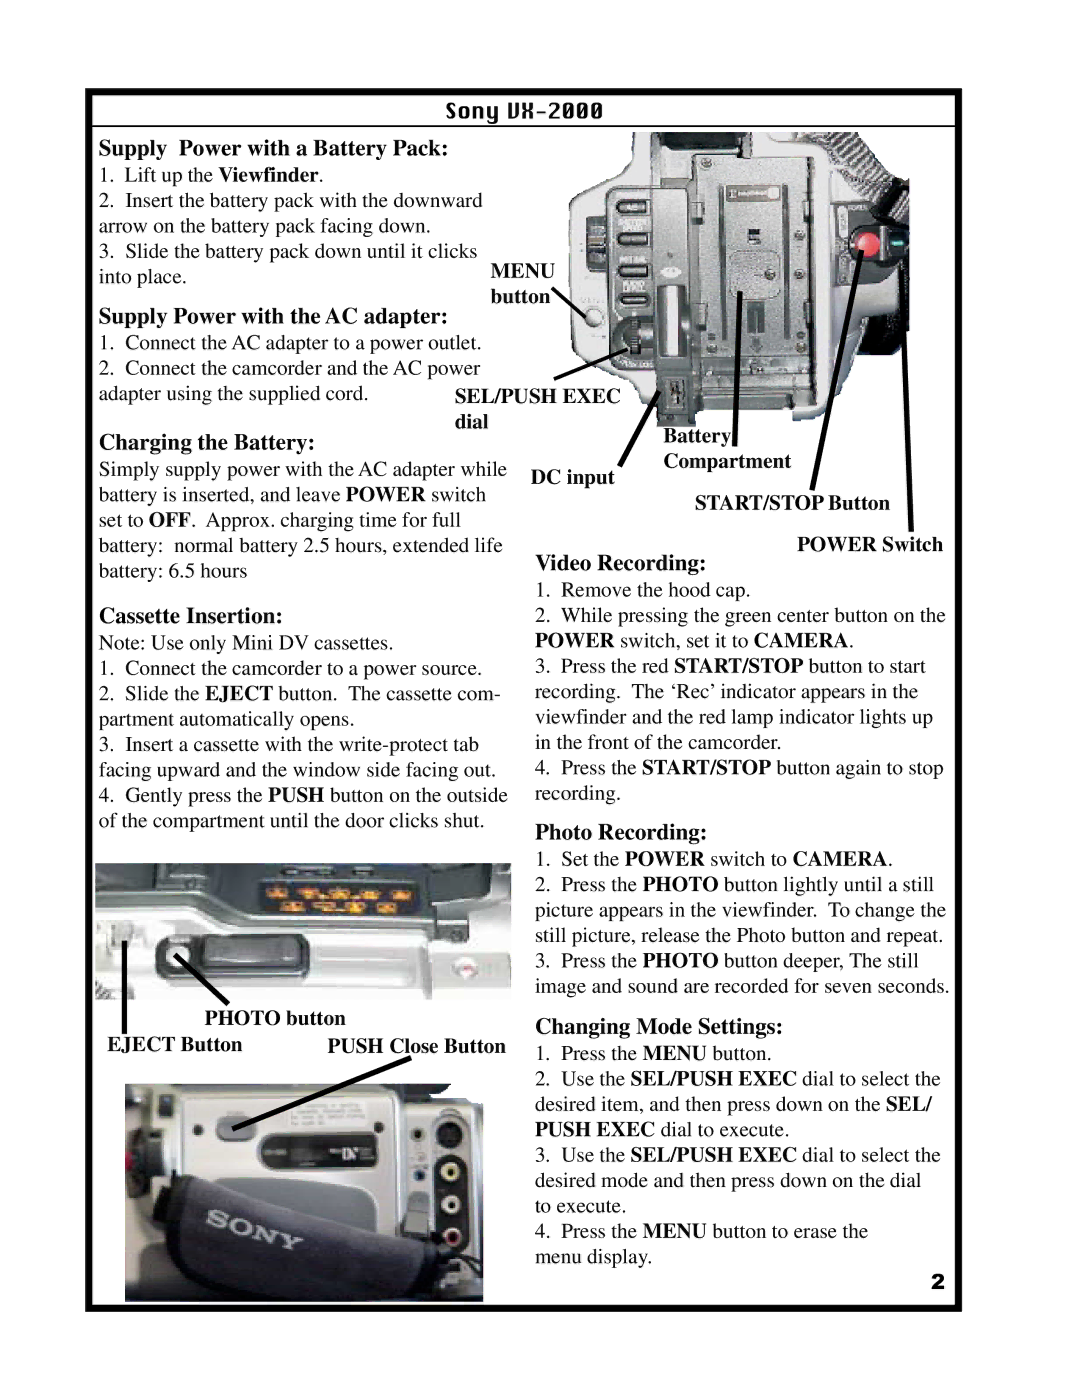
Sony
Supply Power with a Battery Pack:
1. Lift up the Viewfinder | . |
2.Insert the battery pack with the downward arrow on the battery pack facing down.
3.Slide the battery pack down until it clicks
into place. | MENU |
| button |
Supply Power with the AC adapter:
1.Connect the AC adapter to a power outlet.
2.Connect the camcorder and the AC power
adapter using the supplied cord. |
|
| SEL/PUSH EXEC |
|
|
|
|
|
|
|
| ||||
Charging the Battery: |
|
|
| dial |
|
| Battery |
|
|
|
|
| |||
|
|
|
|
|
|
|
|
|
|
| |||||
Simply supply power with the AC adapter while |
| DC input |
| Compartment |
|
|
| ||||||||
|
|
|
|
|
|
|
| ||||||||
battery is inserted, and leave |
| POWER |
|
|
|
|
|
|
|
| |||||
| switch |
|
| START/STOP Button |
|
| |||||||||
set to | OFF | . Approx. charging time for full |
|
|
|
|
|
| |||||||
|
|
|
|
|
|
|
|
|
| ||||||
battery: | normal battery 2.5 hours, extended life |
| Video Recording: |
|
|
| POWER Switch | ||||||||
battery: 6.5 hours |
|
|
|
|
|
|
|
|
| ||||||
|
|
| 1. Remove the hood cap. |
|
|
|
|
| |||||||
|
|
|
|
|
|
|
|
|
|
|
| ||||
Cassette Insertion: |
|
|
| 2. | While pressing the green center button on the |
|
| ||||||||
Note: Use only Mini DV cassettes. |
|
| POWER | switch, set it to | CAMERA | . |
| ||||||||
1. | Connect the camcorder to a power source. |
| 3. | Press the red | START/STOP | button to start | |||||||||
2. | Slide the | EJECT | button. | The cassette com- |
| recording. The ‘Rec’ indicator appears in the |
|
| |||||||
partment automatically opens. |
|
|
| viewfinder and the red lamp indicator lights up |
|
| |||||||||
3. | Insert a cassette with the |
| in the front of the camcorder. |
|
|
|
|
| |||||||
facing upward and the window side facing out. |
| 4. | Press the |
| START/STOP | button again to stop |
| ||||||||
4. | Gently press the | PUSH | button on the outside | recording. |
|
|
|
|
|
|
| ||||
of the compartment until the door clicks shut. |
| Photo Recording: |
|
|
|
|
|
| |||||||
|
|
|
|
|
|
|
|
|
|
|
|
| |||
|
|
|
|
|
|
| 1. | Set the | POWER | switch to | CAMERA | . | |||
|
|
|
|
|
|
| 2. | Press the |
| PHOTO |
| button lightly until a still |
| ||
|
|
|
|
|
|
| picture appears in the viewfinder. To change the |
|
| ||||||
|
|
|
|
|
|
| still picture, release the Photo button and repeat. |
|
| ||||||
|
|
|
|
|
|
| 3. | Press the |
| PHOTO |
| button deeper, The still |
| ||
|
|
|
|
|
|
| image and sound are recorded for seven seconds. |
|
| ||||||
|
|
| PHOTO button |
|
| Changing Mode Settings: |
|
|
|
|
| ||||
EJECT Button |
|
| PUSH Close Button |
|
|
|
|
|
| ||||||
|
|
| 1. | Press the |
| MENU |
| button. |
|
|
| ||||
|
|
|
|
|
|
|
|
|
|
|
| ||||
|
|
|
|
|
|
| 2. | Use the | SEL/PUSH EXEC |
|
| dial to select the | |||
|
|
|
|
|
|
| desired item, and then press down on the |
|
| SEL/ | |||||
|
|
|
|
|
|
| PUSH EXEC |
| dial to execute. |
|
|
| |||
|
|
|
|
|
|
| 3. | Use the | SEL/PUSH EXEC |
|
| dial to select the | |||
|
|
|
|
|
|
| desired mode and then press down on the dial |
|
|
| |||||
|
|
|
|
|
|
| to execute. |
|
|
|
|
|
|
| |
|
|
|
|
|
|
| 4. | Press the |
| MENU |
| button to erase the |
|
| |
|
|
|
|
|
|
| menu display. |
|
|
|
|
|
|
| |
2
