Resetting the unit
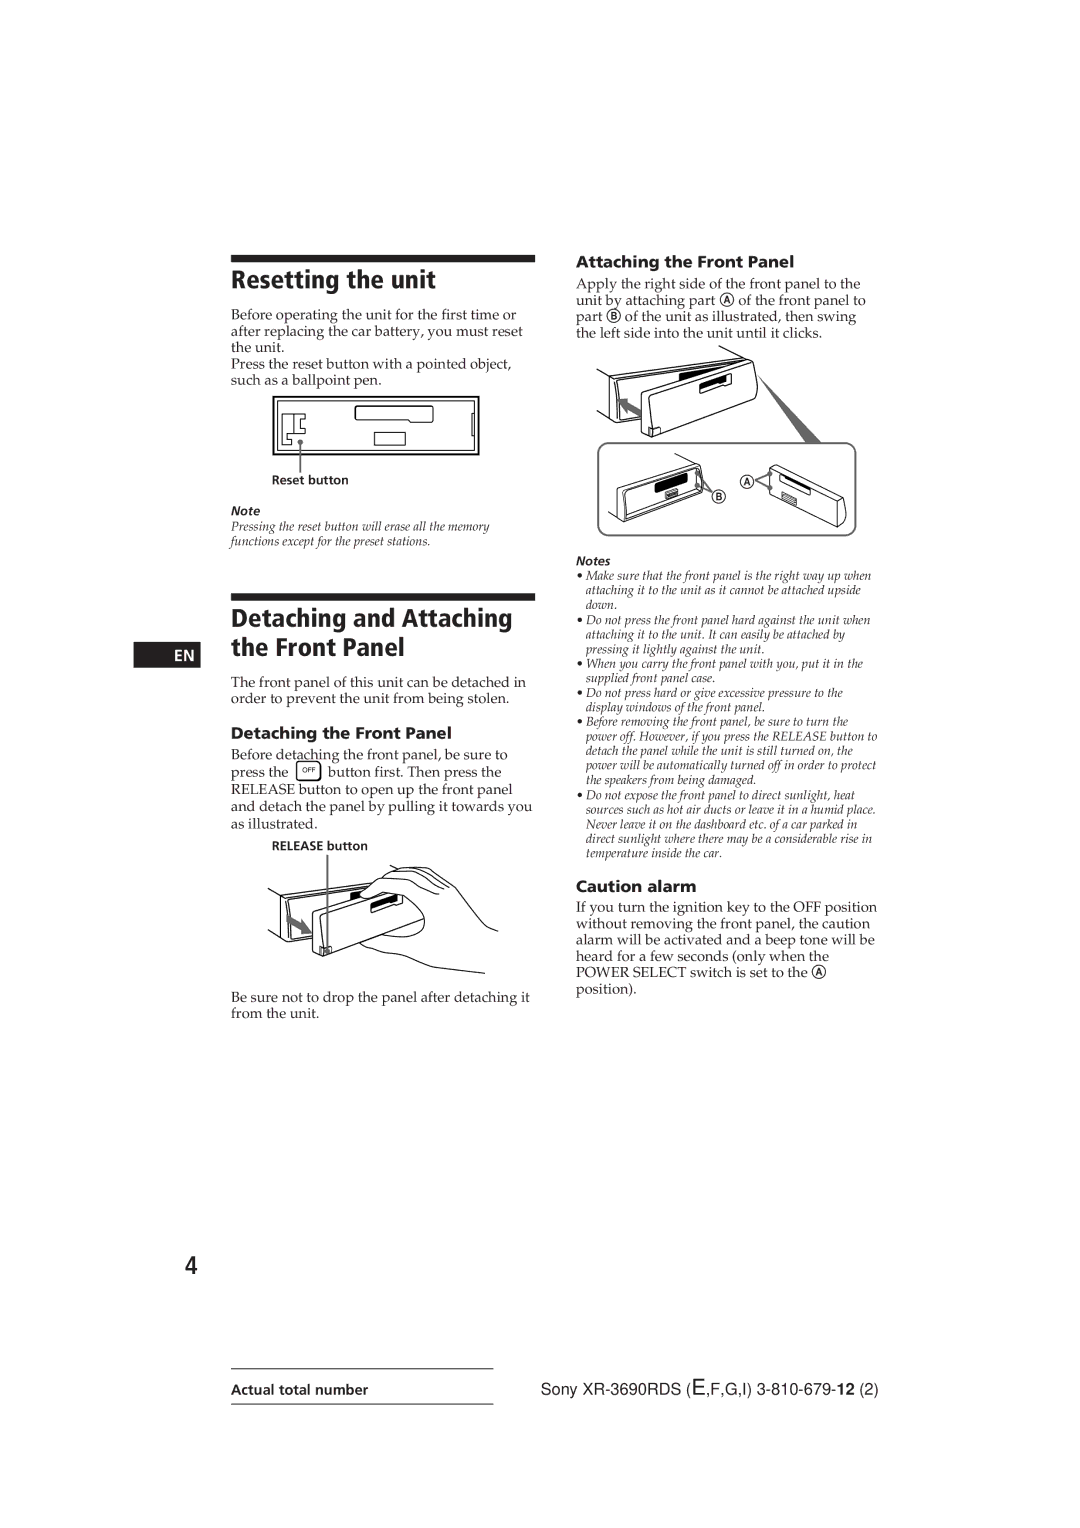
Before operating the unit for the first time or after replacing the car battery, you must reset the unit.
Press the reset button with a pointed object, such as a ballpoint pen.
Reset button
Note
Pressing the reset button will erase all the memory functions except for the preset stations.
Detaching and Attaching EN the Front Panel
The front panel of this unit can be detached in order to prevent the unit from being stolen.
Detaching the Front Panel
Before detaching the front panel, be sure to press the OFF button first. Then press the RELEASE button to open up the front panel and detach the panel by pulling it towards you as illustrated.
RELEASE button
Be sure not to drop the panel after detaching it from the unit.
Attaching the Front Panel
Apply the right side of the front panel to the unit by attaching part A of the front panel to part B of the unit as illustrated, then swing the left side into the unit until it clicks.
A ![]()
B
Notes
•Make sure that the front panel is the right way up when attaching it to the unit as it cannot be attached upside down.
•Do not press the front panel hard against the unit when attaching it to the unit. It can easily be attached by pressing it lightly against the unit.
•When you carry the front panel with you, put it in the supplied front panel case.
•Do not press hard or give excessive pressure to the display windows of the front panel.
•Before removing the front panel, be sure to turn the power off. However, if you press the RELEASE button to detach the panel while the unit is still turned on, the power will be automatically turned off in order to protect the speakers from being damaged.
•Do not expose the front panel to direct sunlight, heat sources such as hot air ducts or leave it in a humid place. Never leave it on the dashboard etc. of a car parked in direct sunlight where there may be a considerable rise in temperature inside the car.
Caution alarm
If you turn the ignition key to the OFF position without removing the front panel, the caution alarm will be activated and a beep tone will be heard for a few seconds (only when the POWER SELECT switch is set to the A position).
4
Actual total number | Sony |
