Instruction Sheet
Model SB1307
High Precision 6" Lathe Chuck
Chucks are heavy! Get assistance when installing or removing the chuck from the lathe. Wear heavy duty leather boots for foot and toe protection, and keep hands and fingers away from all pinch points. Ignoring this warning can lead to a severe crushing injury or finger amputation!
Specifications
• | OD Clamping Range.... | ||
• | ID Clamping Range... | ||
• | Outer Diameter | 6.57" (167mm) | |
• | Maximum Chuck Key Torque | 58 ft/lbs* | |
• | Maximum Jaw Gripping Force | 4721 lbs* | |
• | Maximum Speed | 2000 RPM | |
• | Yes | ||
• | Plain Back Mounting | Yes | |
• | Jaw Mounting Cap Screw Torque | 29 ft/lbs | |
• | Grease Fitting Lubricated | Yes | |
• | Yes | ||
• | Chuck Weight | 19 lbs | |
• | Origin | Taiwan | |
*Maximum handle torque and gripping force is given at full jaw and scroll gear engage- ment. If jaw and scroll gear are partially engaged, clamping force and gripping force is reduced.
If you need help with your new item, contact us at: (360)
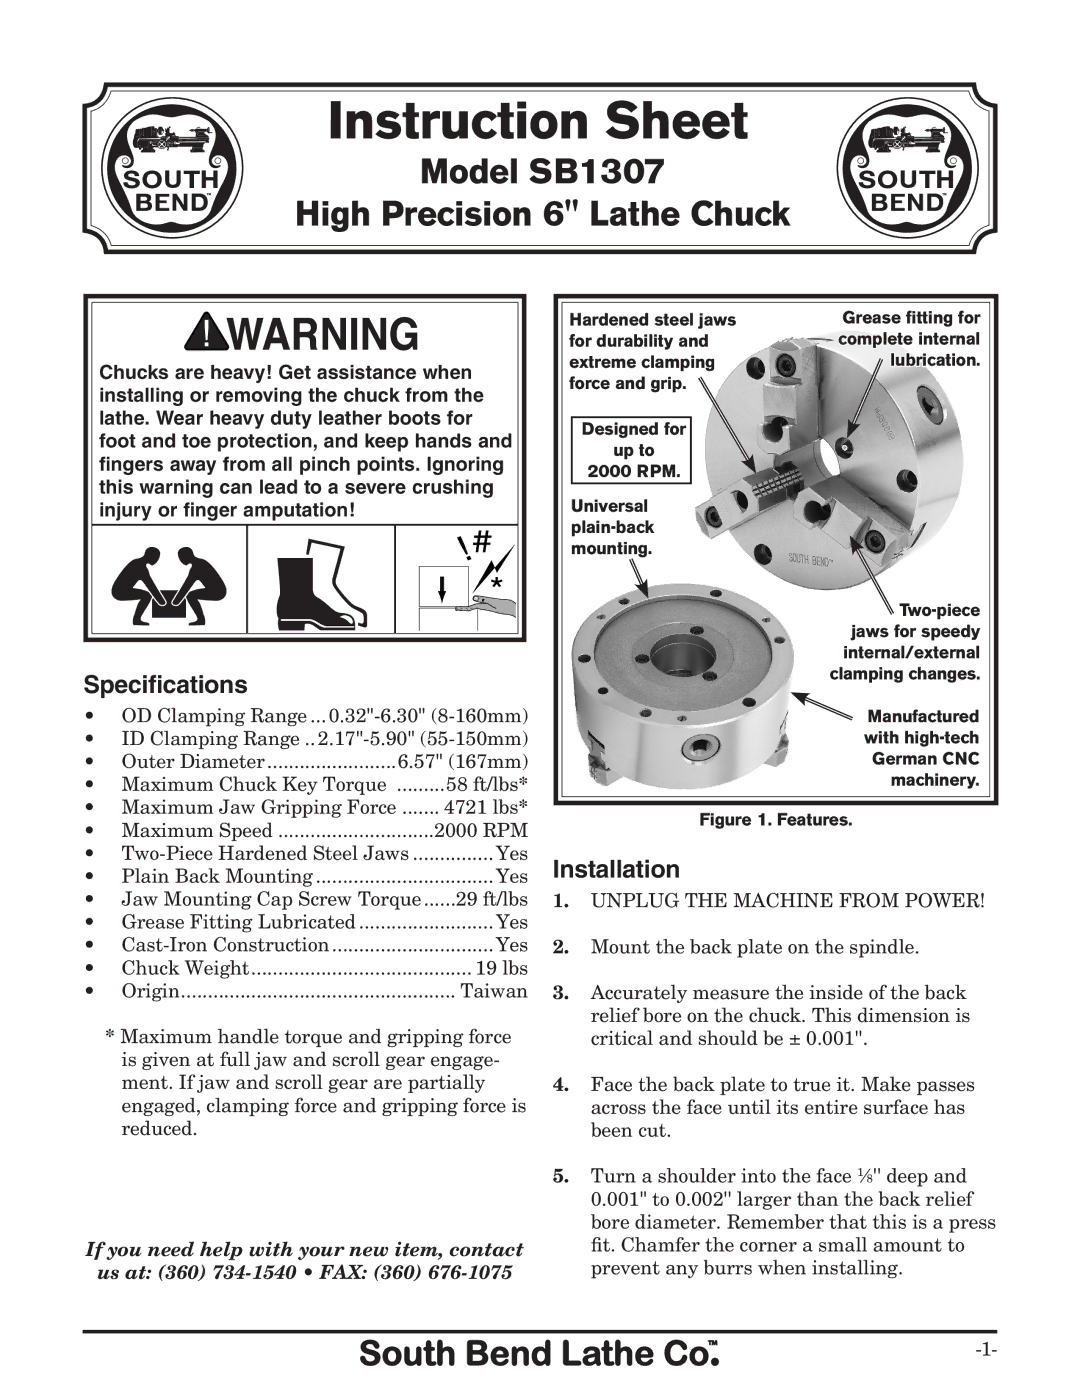
Hardened steel jaws | Grease fitting for |
for durability and | complete internal |
extreme clamping | lubrication. |
force and grip. |
|
Designed for |
|
up to |
|
2000 RPM. |
|
Universal |
|
| |
mounting. |
|
| |
| jaws for speedy |
| internal/external |
| clamping changes. |
| Manufactured |
| with |
| German CNC |
| machinery. |
Figure 1. Features.

Installation
1.UNPLUG THE MACHINE FROM POWER!
2.Mount the back plate on the spindle.
3.Accurately measure the inside of the back relief bore on the chuck. This dimension is critical and should be ± 0.001''.
4.Face the back plate to true it. Make passes across the face until its entire surface has been cut.
5.Turn a shoulder into the face 1⁄8'' deep and 0.001" to 0.002'' larger than the back relief bore diameter. Remember that this is a press fit. Chamfer the corner a small amount to prevent any burrs when installing.