Step 6. Clear CMOS Data (JP5)
Clear the CMOS memory by momentarily shorting pin
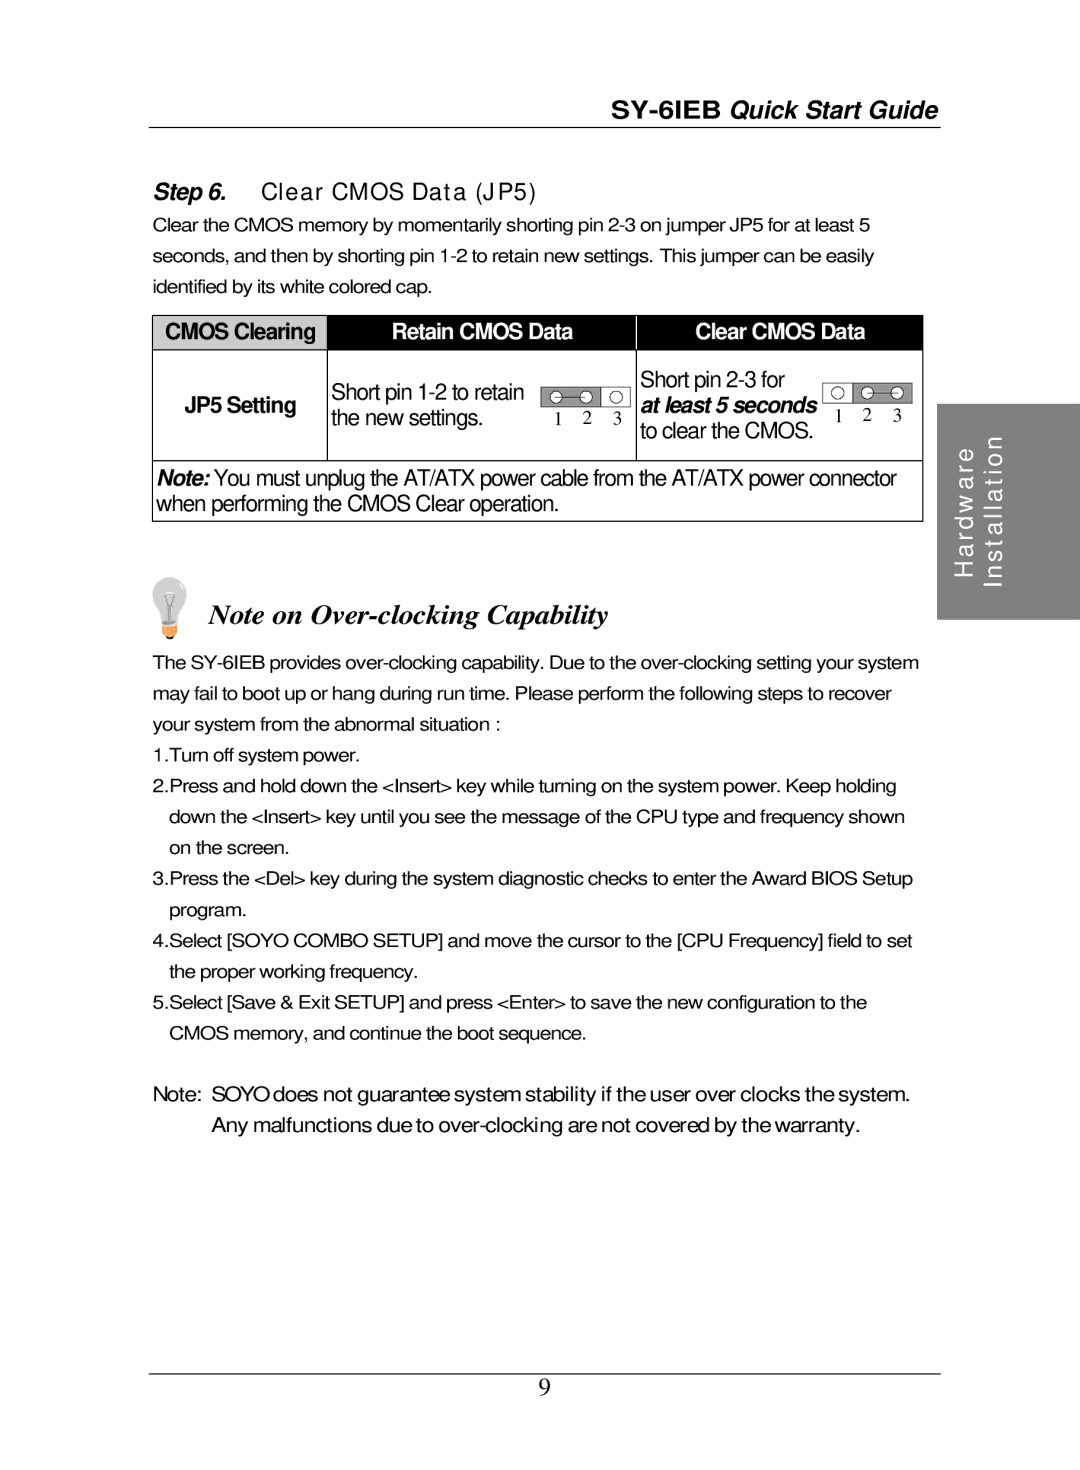
CMOS Clearing | Retain CMOS Data |
| Clear CMOS Data | ||||
| Short pin |
|
| Short pin |
|
| |
JP5 Setting |
|
| at least 5 seconds |
| 2 3 | ||
the new settings. | 1 2 | 3 | 1 | ||||
| to clear the CMOS. | ||||||
Note: You must unplug the AT/ATX power cable from the AT/ATX power connector when performing the CMOS Clear operation.
Note on
The
1.Turn off system power.
2.Press and hold down the <Insert> key while turning on the system power. Keep holding down the <Insert> key until you see the message of the CPU type and frequency shown on the screen.
3.Press the <Del> key during the system diagnostic checks to enter the Award BIOS Setup program.
4.Select [SOYO COMBO SETUP] and move the cursor to the [CPU Frequency] field to set the proper working frequency.
5.Select [Save & Exit SETUP] and press <Enter> to save the new configuration to the CMOS memory, and continue the boot sequence.
Hardware | Installation |
Note: SOYO does not guarantee system stability if the user over clocks the system. Any malfunctions due to
9