Roll Out Method
The roll out method will provide the most accurate computer calibration and can take into account variables such as inflation pres- sure, rim width and rider weight.
1.Extend a tape measure out to 3000mm (120 inches) and lock it in place.
2.With your tire inflated to its proper pres- sure, place the valve at the 6:00 position (at the bottom) directly over the start of the mea- suring tape.
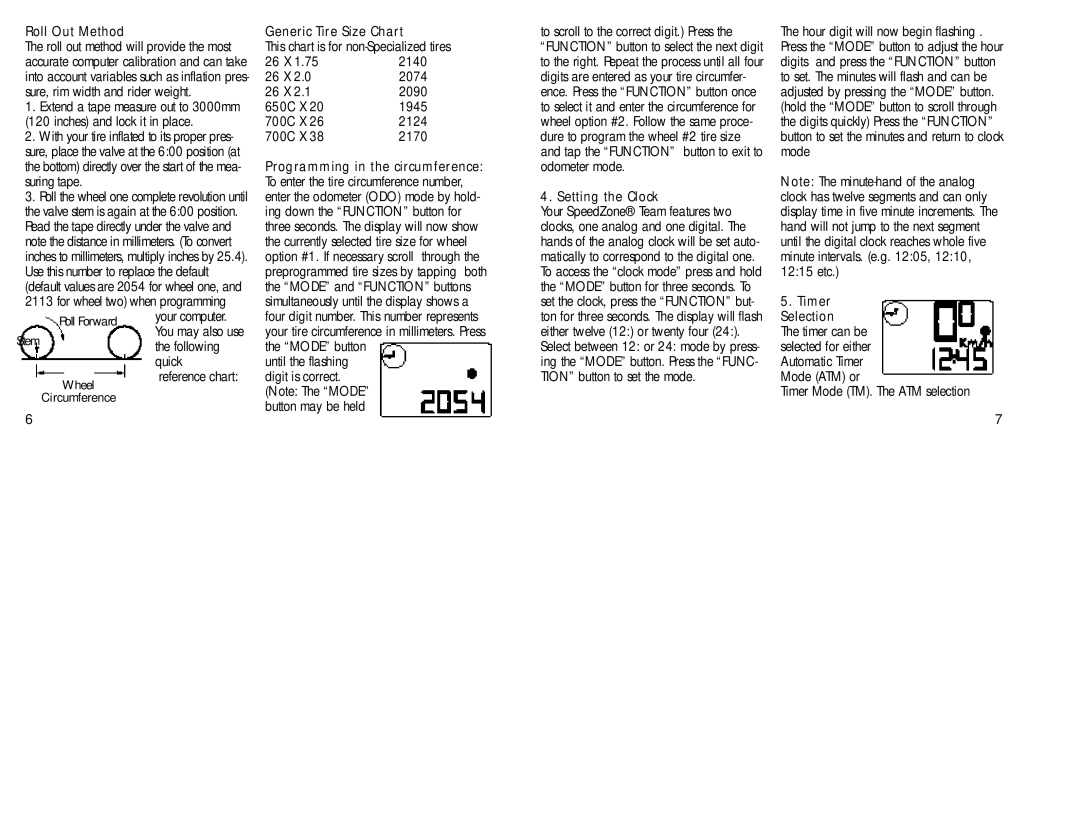
3.Roll the wheel one complete revolution until the valve stem is again at the 6:00 position. Read the tape directly under the valve and note the distance in millimeters. (To convert inches to millimeters, multiply inches by 25.4). Use this number to replace the default (default values are 2054 for wheel one, and 2113 for wheel two) when programming
your computer.
You may also use
Stemthe following quick reference chart:
6
Generic Tire Size Chart
This chart is for
26 X 1.75 | 2140 |
26 X 2.0 | 2074 |
26 X 2.1 | 2090 |
650C X 20 | 1945 |
700C X 26 | 2124 |
700C X 38 | 2170 |
Programming in the circumference: To enter the tire circumference number, enter the odometer (ODO) mode by hold- ing down the “FUNCTION” button for three seconds. The display will now show the currently selected tire size for wheel option #1. If necessary scroll through the preprogrammed tire sizes by tapping both the “MODE” and “FUNCTION” buttons simultaneously until the display shows a four digit number. This number represents your tire circumference in millimeters. Press the “MODE” button
until the flashing digit is correct. (Note: The “MODE” button may be held
to scroll to the correct digit.) Press the “FUNCTION” button to select the next digit to the right. Repeat the process until all four digits are entered as your tire circumfer- ence. Press the “FUNCTION” button once to select it and enter the circumference for wheel option #2. Follow the same proce- dure to program the wheel #2 tire size and tap the “FUNCTION” button to exit to odometer mode.
4. Setting the Clock
Your SpeedZone® Team features two clocks, one analog and one digital. The hands of the analog clock will be set auto- matically to correspond to the digital one. To access the “clock mode” press and hold the “MODE” button for three seconds. To set the clock, press the “FUNCTION” but- ton for three seconds. The display will flash either twelve (12:) or twenty four (24:). Select between 12: or 24: mode by press- ing the “MODE” button. Press the “FUNC- TION” button to set the mode.
The hour digit will now begin flashing . Press the “MODE” button to adjust the hour digits and press the “FUNCTION” button to set. The minutes will flash and can be adjusted by pressing the “MODE” button. (hold the “MODE” button to scroll through the digits quickly) Press the “FUNCTION” button to set the minutes and return to clock mode
Note: The
5.Timer Selection The timer can be selected for either Automatic Timer Mode (ATM) or
Timer Mode (TM). The ATM selection
7