You may also use the following
Generic Tire Size Chart
(This chart is for
26 | X 1.75 | 2140 |
26 | X 2.0 | 2074 |
26 | X 2.1 | 2090 |
650C X 20 | 1945 | |
700C X 26 | 2124 | |
700C X 38 | 2170 | |
Programming the circumference:
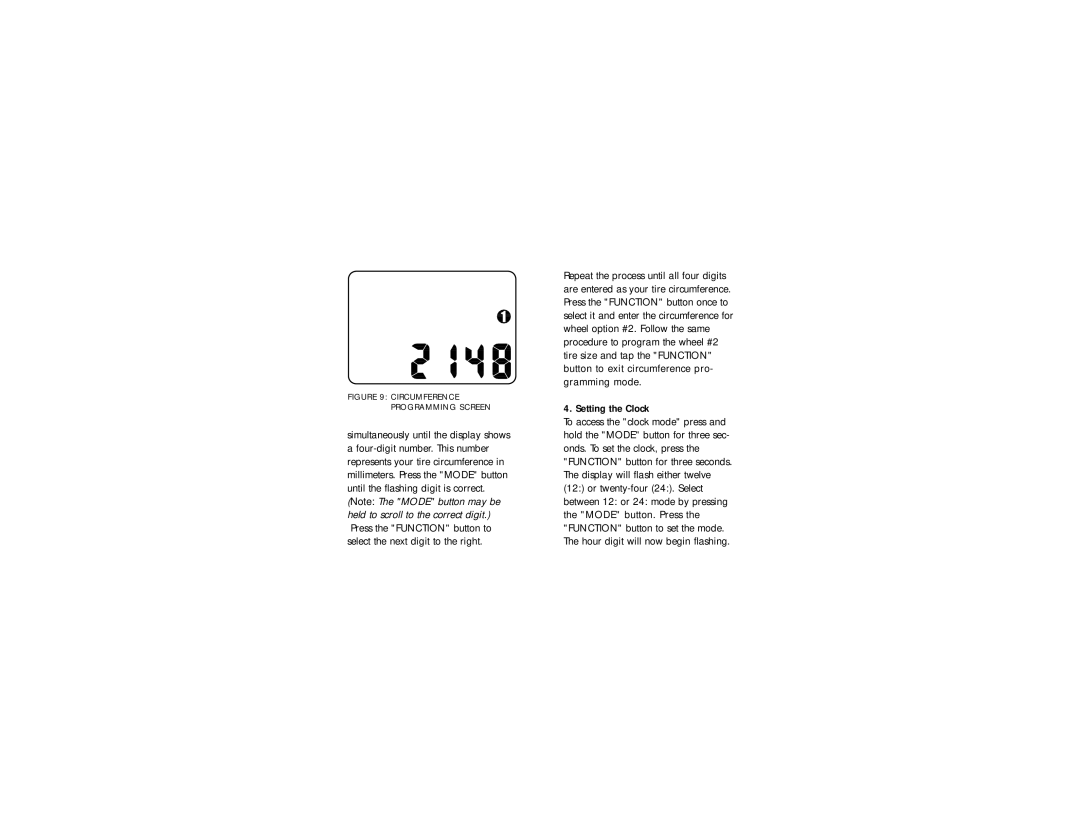
To enter the tire circumference number, select the odometer (ODO) mode and hold down the "FUNCTION" button for three seconds. The display will now show the currently selected tire size for wheel option #1. (See figure 9)
If necessary scroll through the prepro- grammed tire sizes by tapping both the "MODE" and "FUNCTION" buttons
10
FIGURE 9: CIRCUMFERENCE PROGRAMMING SCREEN
simultaneously until the display shows a
Repeat the process until all four digits are entered as your tire circumference. Press the "FUNCTION" button once to select it and enter the circumference for wheel option #2. Follow the same procedure to program the wheel #2 tire size and tap the "FUNCTION" button to exit circumference pro- gramming mode.
4. Setting the Clock
To access the "clock mode" press and hold the "MODE" button for three sec- onds. To set the clock, press the "FUNCTION" button for three seconds. The display will flash either twelve (12:) or
Press the "MODE" button to adjust the hour digits and press the "FUNCTION" button to set. The minutes will flash and can be adjusted by pressing the "MODE" button. (Hold the "MODE" button to scroll through the digits quickly) Press the "FUNCTION" button to set the minutes and return to clock mode. (See figure 10)
FIGURE 10: CLOCK SCREEN
11
