Installing exhaust ducting
IMPORTANT:
This appliance should
NOT be exhausted
into a chimney, wall,
ceiling, or any
concealed space of aFig 8 building. Only rigid
or flexible metallic ducting should be used.
•Rigid or flex metal/metallic ducting should be used.
•Exhaust ducts should be as short and straight as possible. NOTE: Long exhaust ducting can extend drying time, collect lint and may affect drying performance.
•The exhaust duct must end with an approved exhaust vent hood with swing out damper(s) or tailpiece with louvers.
•Check that all ducting is clean and lint free. Use duct tape or screw clamps to secure all joints.
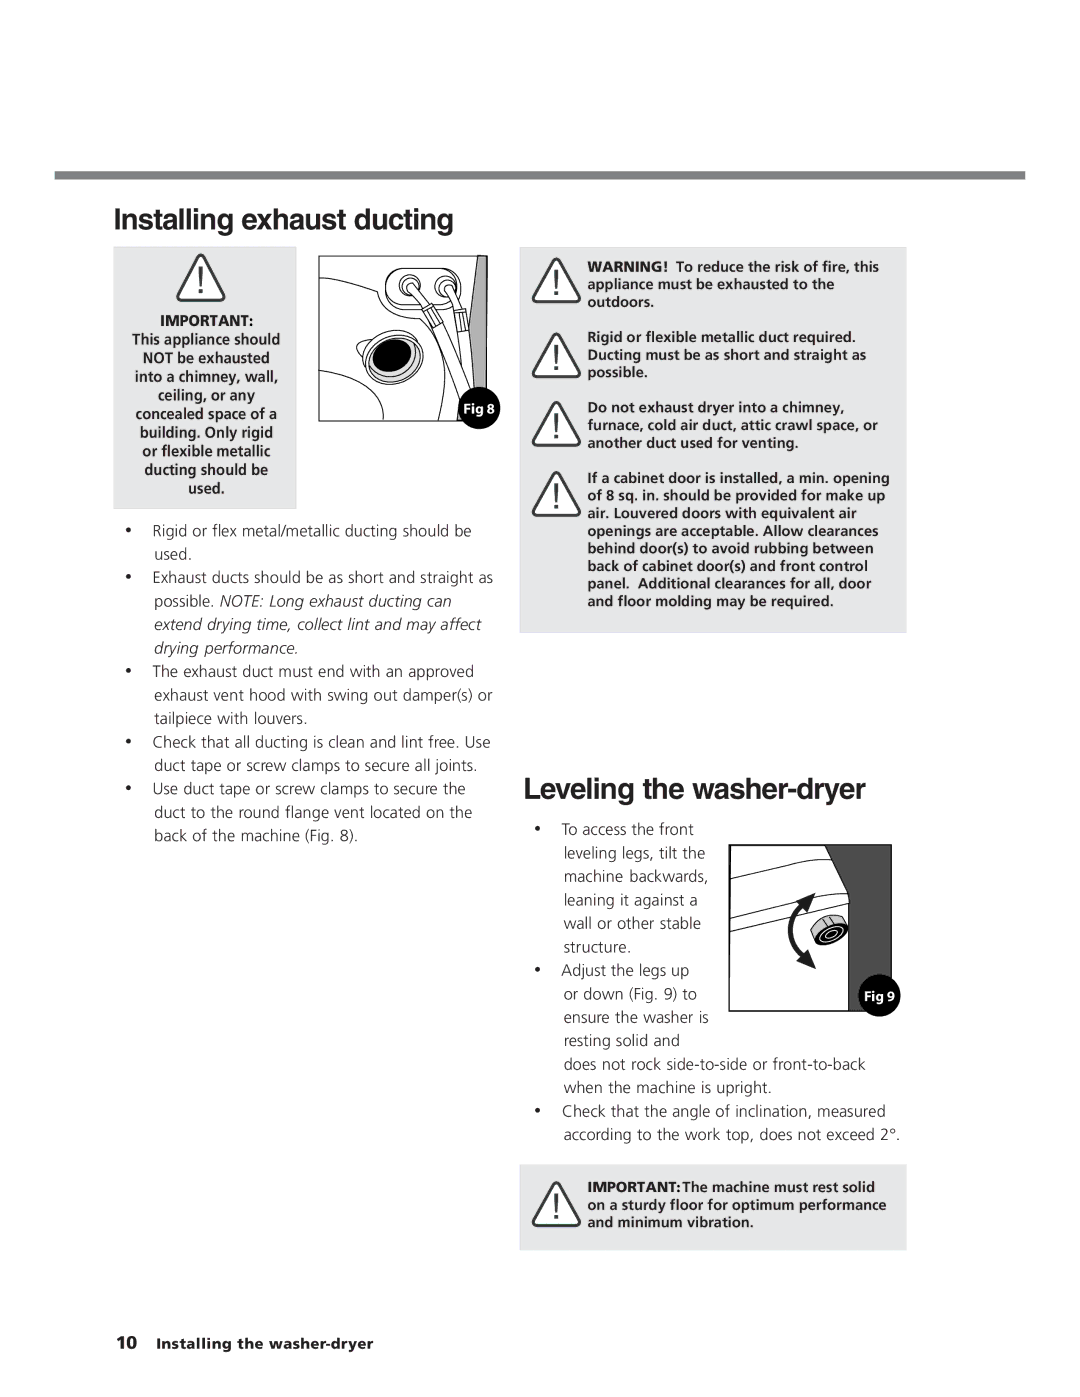
•Use duct tape or screw clamps to secure the duct to the round flange vent located on the back of the machine (Fig. 8).
WARNING! To reduce the risk of fire, this appliance must be exhausted to the outdoors.
Rigid or flexible metallic duct required. Ducting must be as short and straight as possible.
Do not exhaust dryer into a chimney, furnace, cold air duct, attic crawl space, or another duct used for venting.
If a cabinet door is installed, a min. opening of 8 sq. in. should be provided for make up air. Louvered doors with equivalent air openings are acceptable. Allow clearances behind door(s) to avoid rubbing between back of cabinet door(s) and front control panel. Additional clearances for all, door and floor molding may be required.
Leveling the washer-dryer
•To access the front leveling legs, tilt the machine backwards,
leaning it against a wall or other stable structure.
• Adjust the legs up or down (Fig. 9) to
ensure the washer is resting solid and
does not rock
•Check that the angle of inclination, measured according to the work top, does not exceed 2°.
IMPORTANT: The machine must rest solid on a sturdy floor for optimum performance and minimum vibration.
10Installing the