40-0046A specifications
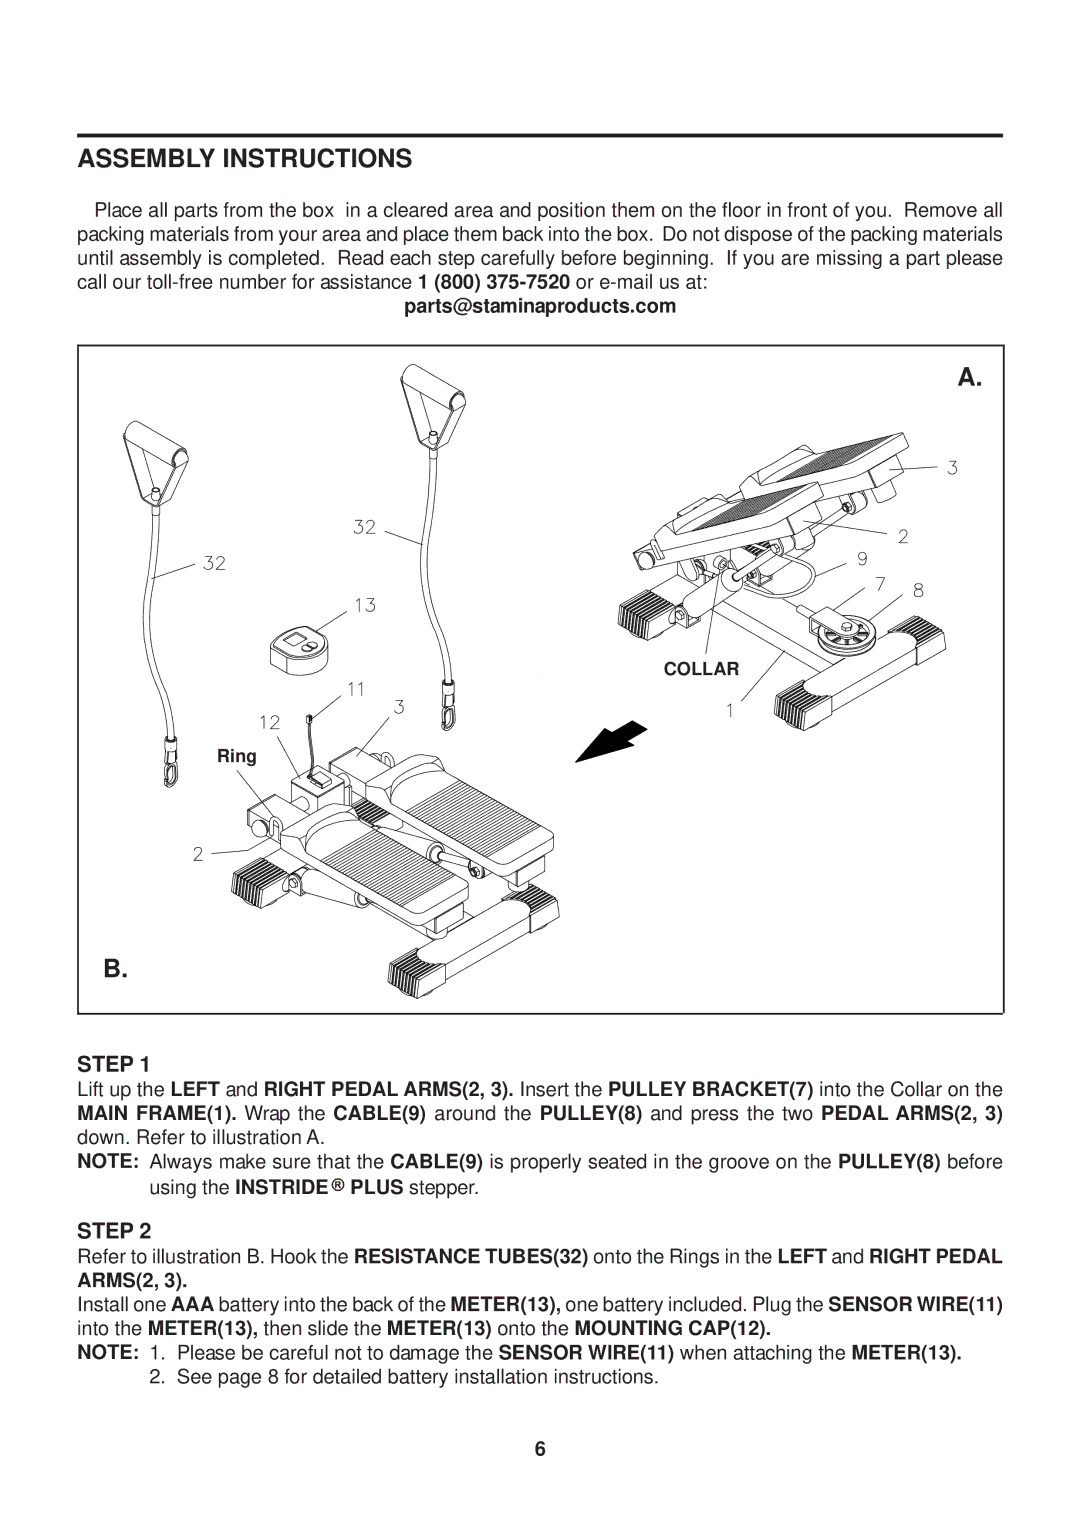
Stamina Products 40-0046A is a versatile and innovative piece of fitness equipment designed to enhance your workout experience, promoting overall health and wellness. This particular model stands out due to its multifunctionality and user-friendly design, making it an ideal choice for individuals seeking an effective home workout solution.One of the defining features of the Stamina 40-0046A is its ability to perform multiple exercises, which allows users to target various muscle groups with a single machine. It incorporates features that enable users to engage in rowing, upper body workouts, and even leg routines. This versatility not only helps save space but also provides a comprehensive fitness regimen, allowing for a full-body workout without the need for multiple machines.
The Stamina 40-0046A employs a smooth and efficient hydraulic resistance system, which provides adjustable levels of resistance. This technology enables users to customize their workout intensity according to their personal fitness levels and goals. As users progress in their fitness journey, they can easily modify the resistance to match their evolving strength, making this machine suitable for users at any stage of their fitness experience.
Another significant characteristic of the Stamina 40-0046A is its compact and foldable design. The machine can be easily stored away when not in use, making it a perfect fit for those with limited living space. This space-saving feature, combined with its lightweight frame, enhances the practicality of home workouts.
Comfort is also a priority with this model. The Stamina 40-0046A includes a padded seat and non-slip foot pedals, which provide stability and comfort during workouts. This ergonomic design ensures that users can maintain proper form while exercising, reducing the risk of injury and allowing for longer, more effective workout sessions.
Additionally, the Stamina 40-0046A is equipped with an easy-to-read monitor that tracks essential workout metrics, such as time, strokes, and calories burned. This digital display allows users to keep track of their performance and progress over time, providing motivation to reach fitness goals.
In summary, the Stamina Products 40-0046A is an outstanding fitness machine that combines versatility, comfort, and advanced technology. Its multifunctional capabilities, adjustable resistance, compact design, and user-friendly features make it an excellent investment for anyone serious about improving their fitness. Whether you are a beginner or an experienced athlete, this equipment can play a crucial role in achieving your health and fitness objectives.

