|
| Auto SW |
| Determines the automatic adjustment level for Auto Adjust. The choices are “SIMPLE”, | ||||
|
| (Analog input only) | “FULL” and “DETAIL”. Press “+” or | |||||
|
|
|
|
|
|
|
|
|
|
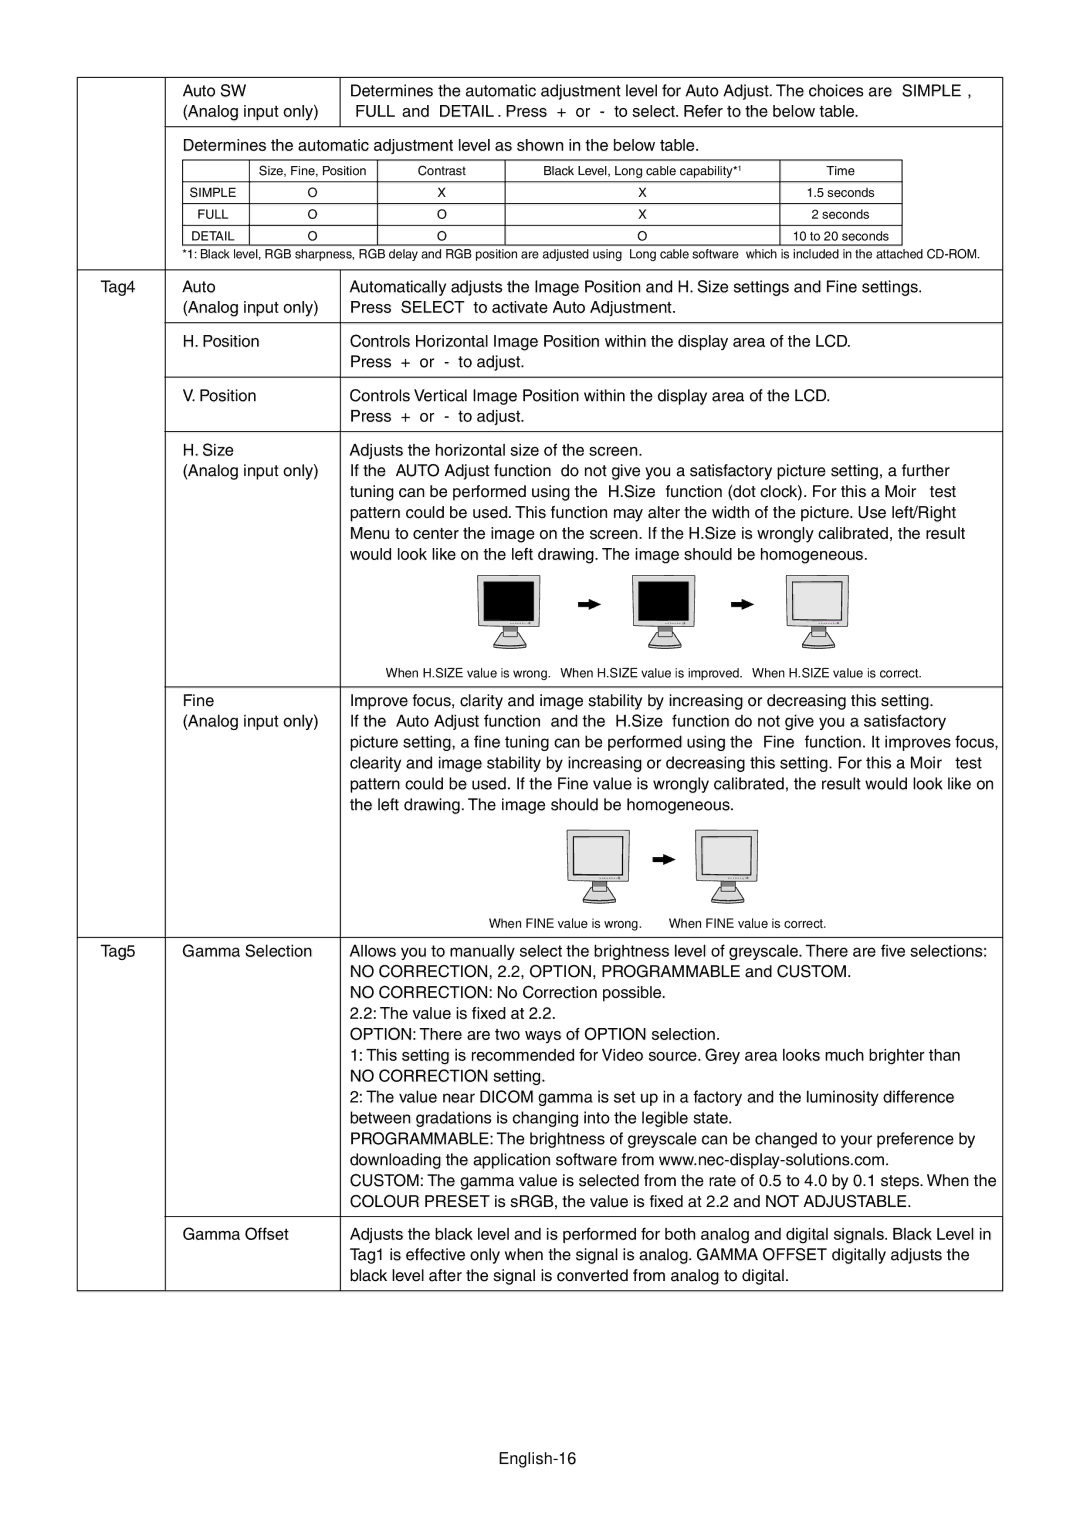
| Determines the automatic adjustment level as shown in the below table. |
|
| ||||
|
|
|
|
|
|
|
| |
|
|
| Size, Fine, Position | Contrast | Black Level, Long cable capability*1 | Time |
| |
|
| SIMPLE | O |
| X | X | 1.5 seconds |
|
|
|
|
|
|
|
|
|
|
|
| FULL | O |
| O | X | 2 seconds |
|
|
|
|
|
|
|
|
|
|
|
| DETAIL | O |
| O | O | 10 to 20 seconds |
|
*1: Black level, RGB sharpness, RGB delay and RGB position are adjusted using “Long cable software” which is included in the attached
Tag4 | Auto | Automatically adjusts the Image Position and H. Size settings and Fine settings. | ||||||||
| (Analog input only) | Press “SELECT” to activate Auto Adjustment. | ||||||||
|
|
| ||||||||
| H. Position | Controls Horizontal Image Position within the display area of the LCD. | ||||||||
|
| Press “+” or | ||||||||
|
|
| ||||||||
| V. Position | Controls Vertical Image Position within the display area of the LCD. | ||||||||
|
| Press “+” or | ||||||||
|
|
| ||||||||
| H. Size | Adjusts the horizontal size of the screen. | ||||||||
| (Analog input only) | If the “AUTO Adjust function” do not give you a satisfactory picture setting, a further | ||||||||
|
| tuning can be performed using the “H.Size” function (dot clock). For this a Moiré test | ||||||||
|
| pattern could be used. This function may alter the width of the picture. Use left/Right | ||||||||
|
| Menu to center the image on the screen. If the H.Size is wrongly calibrated, the result | ||||||||
|
| would look like on the left drawing. The image should be homogeneous. | ||||||||
|
|
|
|
|
|
|
|
|
|
|
|
|
|
|
|
|
|
|
|
|
|
|
|
|
|
|
|
|
|
|
|
|
| When H.SIZE value is wrong. When H.SIZE value is improved. When H.SIZE value is correct. | ||||
|
| ||||
Fine | Improve focus, clarity and image stability by increasing or decreasing this setting. | ||||
(Analog input only) | If the “Auto Adjust function” and the “H.Size” function do not give you a satisfactory | ||||
| picture setting, a fine tuning can be performed using the “Fine” function. It improves focus, | ||||
| clearity and image stability by increasing or decreasing this setting. For this a Moiré test | ||||
| pattern could be used. If the Fine value is wrongly calibrated, the result would look like on | ||||
| the left drawing. The image should be homogeneous. | ||||
|
|
|
|
|
|
|
|
|
|
|
|
|
|
|
|
|
|
|
| When FINE value is wrong. When FINE value is correct. |
|
|
|
Tag5 | Gamma Selection | Allows you to manually select the brightness level of greyscale. There are five selections: |
|
| NO CORRECTION, 2.2, OPTION, PROGRAMMABLE and CUSTOM. |
|
| NO CORRECTION: No Correction possible. |
|
| 2.2: The value is fixed at 2.2. |
|
| OPTION: There are two ways of OPTION selection. |
|
| 1: This setting is recommended for Video source. Grey area looks much brighter than |
|
| NO CORRECTION setting. |
|
| 2: The value near DICOM gamma is set up in a factory and the luminosity difference |
|
| between gradations is changing into the legible state. |
|
| PROGRAMMABLE: The brightness of greyscale can be changed to your preference by |
|
| downloading the application software from |
|
| CUSTOM: The gamma value is selected from the rate of 0.5 to 4.0 by 0.1 steps. When the |
|
| COLOUR PRESET is sRGB, the value is fixed at 2.2 and NOT ADJUSTABLE. |
|
|
|
| Gamma Offset | Adjusts the black level and is performed for both analog and digital signals. Black Level in |
|
| Tag1 is effective only when the signal is analog. GAMMA OFFSET digitally adjusts the |
|
| black level after the signal is converted from analog to digital. |
