PEXSATA24E specifications
StarTech.com PEXSATA24E is a versatile and high-performance SATA expansion card designed to enhance storage capabilities for desktop computers. This PCI Express SATA card provides four internal SATA ports, allowing users to connect multiple SATA drives, enhancing system performance and storage flexibility.One of the main features of the PEXSATA24E is its support for SATA III, which offers data transfer speeds of up to 6 Gbps. This ensures that the card can fully utilize the capabilities of modern SATA SSDs and HDDs, optimizing data transfer rates for applications that demand high speed and efficiency, such as video editing or large file transfers.
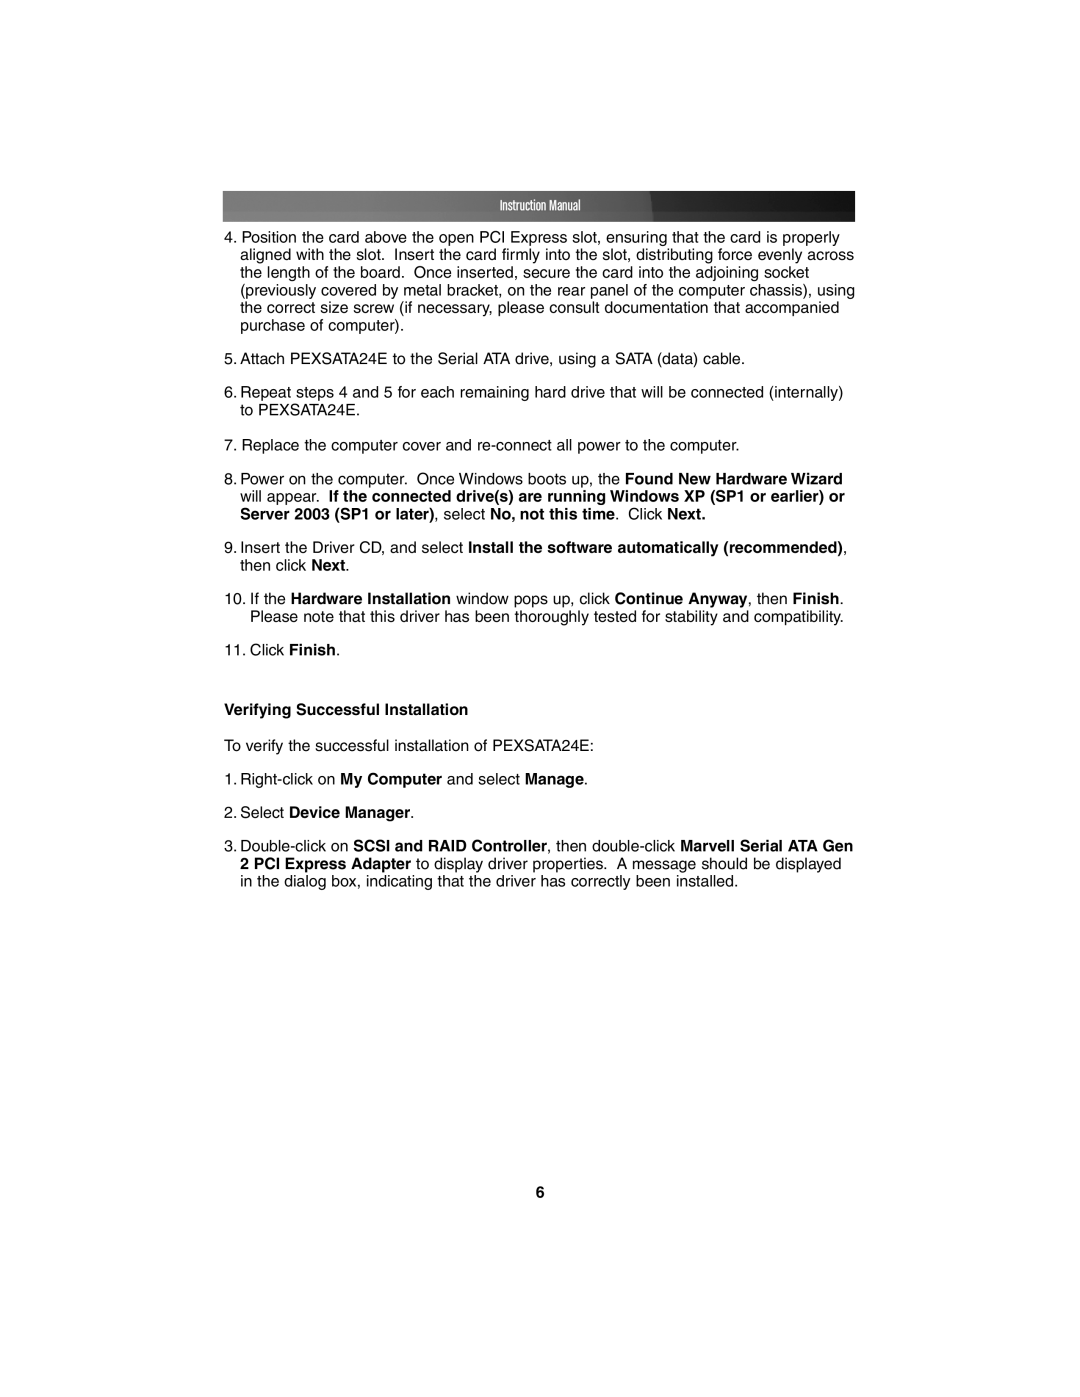
The expansion card is designed for easy installation, featuring a low-profile bracket option, making it compatible with a wide range of system configurations. This flexibility is particularly beneficial for users looking to upgrade their existing systems without needing to replace the entire unit. The card also features a PCIe 2.0 interface, ensuring compatibility with a variety of motherboards and a smooth integration process.
In terms of technology, the PEXSATA24E incorporates advanced data integrity features such as NCQ (Native Command Queuing) and AHCI (Advanced Host Controller Interface). NCQ allows multiple read and write commands to be executed simultaneously, improving overall efficiency and system responsiveness. AHCI contributes to better data management and supports features like hot swapping, enabling users to change drives without shutting down the computer.
Power management is another key aspect of the PEXSATA24E, as it helps maintain low power consumption while delivering optimal performance. Additionally, the card is compatible with various operating systems, including Windows, macOS, and Linux, providing broad usability for a diverse range of users.
With a robust design, the PEXSATA24E ensures reliability and stability for all connected devices. This makes it an ideal choice for those looking to build a customized storage solution, whether it’s for personal use, gaming, or professional tasks requiring additional storage capacity.
In conclusion, StarTech.com PEXSATA24E is an excellent solution for those seeking to expand their storage options with high-speed SATA connectivity, advanced technologies, and user-friendly features, making it a must-have for modern computing environments.
