Installation
Installing Hard Drive in the Caddy
WARNING! Hard drives and storage enclosures require careful handling, especially when being transported. If you are not careful with your hard disk, lost data may result. Always handle your hard drive and storage device with caution. Be sure that you are properly grounded by wearing an
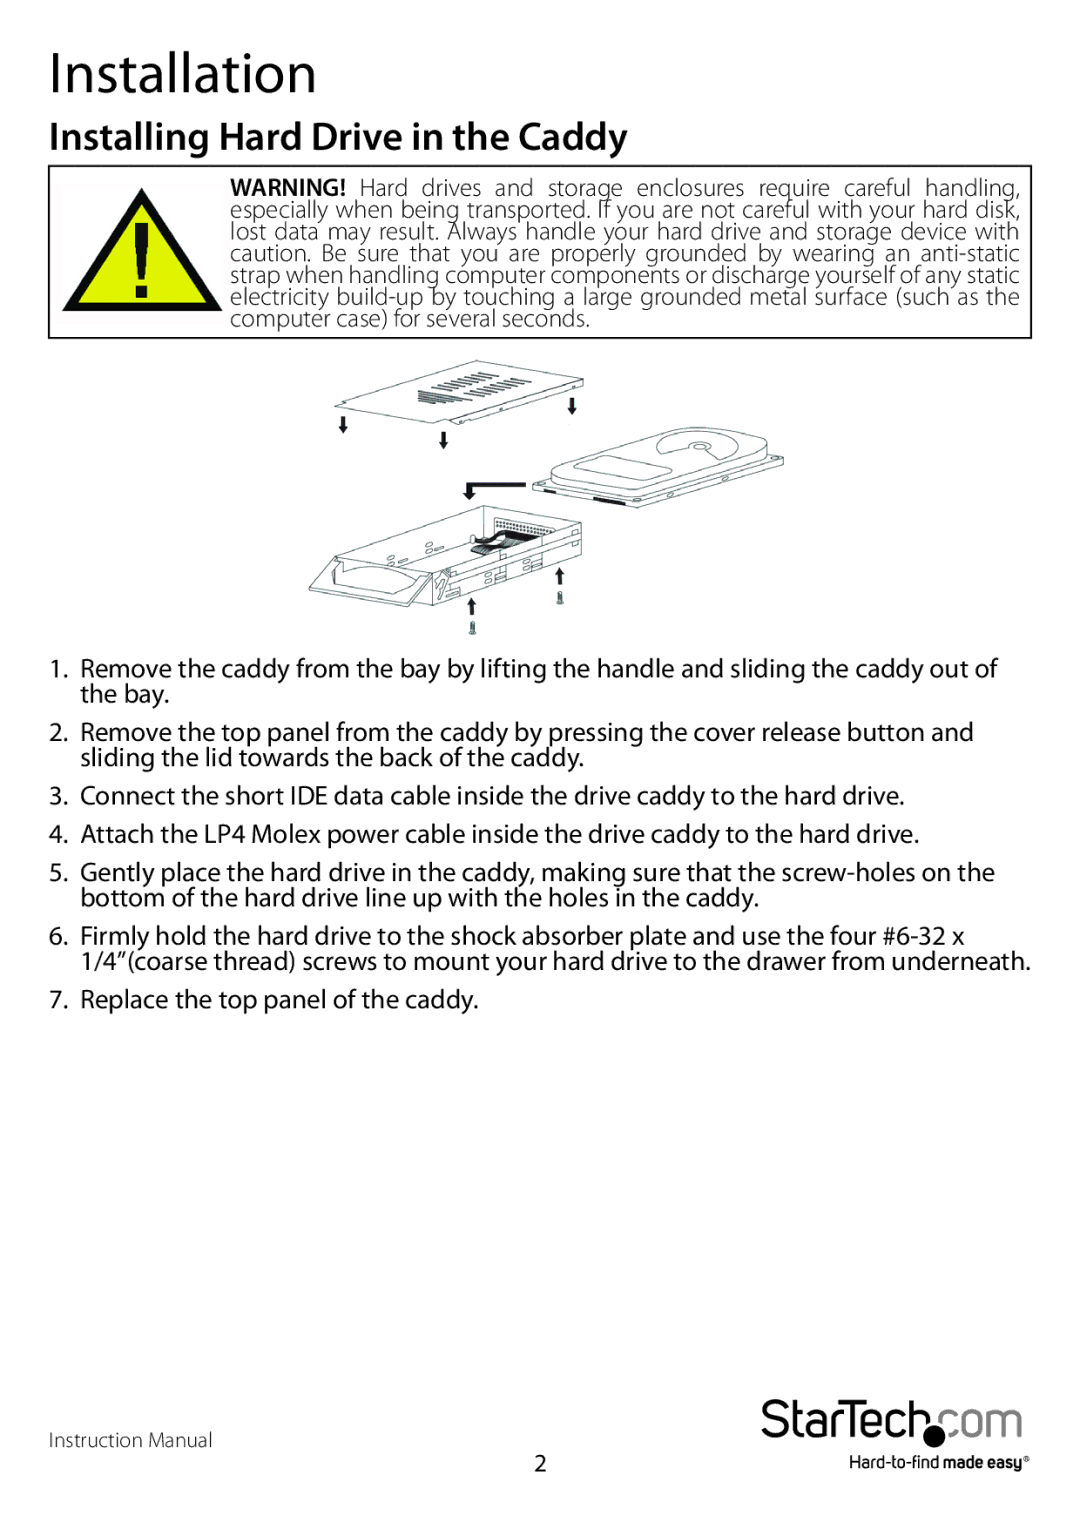
1.Remove the caddy from the bay by lifting the handle and sliding the caddy out of the bay.
2.Remove the top panel from the caddy by pressing the cover release button and sliding the lid towards the back of the caddy.
3.Connect the short IDE data cable inside the drive caddy to the hard drive.
4.Attach the LP4 Molex power cable inside the drive caddy to the hard drive.
5.Gently place the hard drive in the caddy, making sure that the
6.Firmly hold the hard drive to the shock absorber plate and use the four
7.Replace the top panel of the caddy.
Instruction Manual
2