Installing the Bay in the PC
WARNING! Computer parts can be severely damaged by static electricity. Be sure that you are properly grounded before opening your computer case. StarTech.com recommends that you wear an
1.Turn your computer off and any peripherals connected to the computer (i.e. Printers, external hard drives, etc.). Unplug the power cable from the rear of the power supply on the back of the computer and disconnect all peripheral devices.
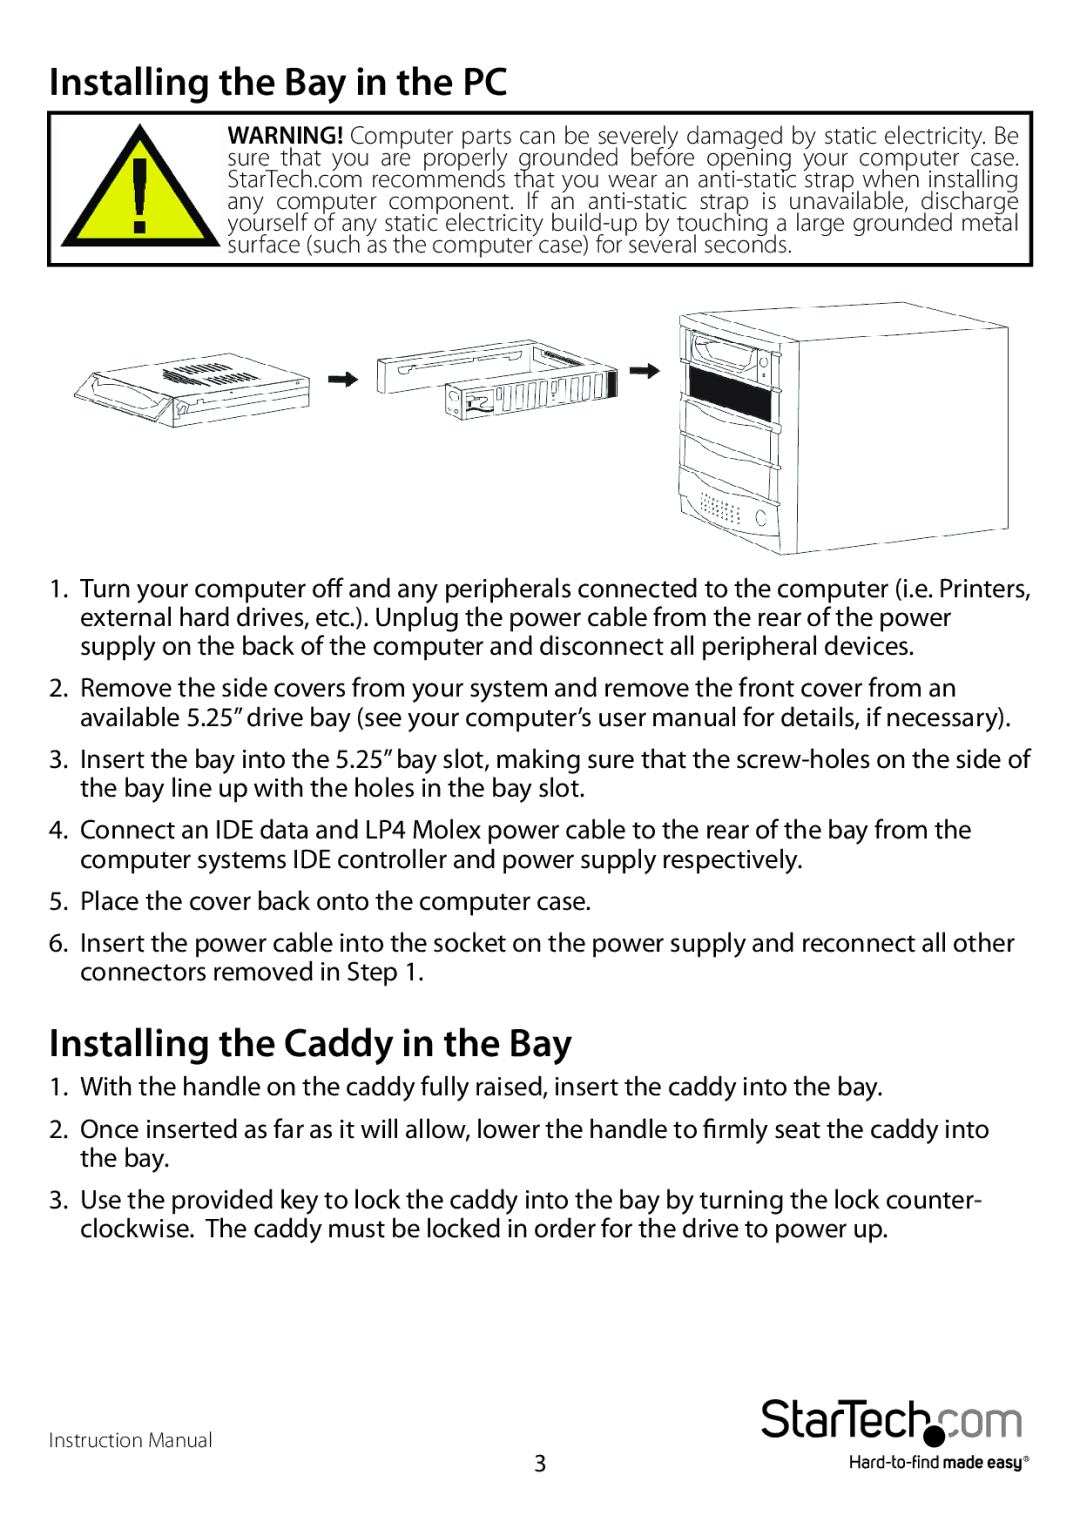
2.Remove the side covers from your system and remove the front cover from an available 5.25” drive bay (see your computer’s user manual for details, if necessary).
3.Insert the bay into the 5.25” bay slot, making sure that the
4.Connect an IDE data and LP4 Molex power cable to the rear of the bay from the computer systems IDE controller and power supply respectively.
5.Place the cover back onto the computer case.
6.Insert the power cable into the socket on the power supply and reconnect all other connectors removed in Step 1.
Installing the Caddy in the Bay
1.With the handle on the caddy fully raised, insert the caddy into the bay.
2.Once inserted as far as it will allow, lower the handle to firmly seat the caddy into the bay.
3.Use the provided key to lock the caddy into the bay by turning the lock counter- clockwise. The caddy must be locked in order for the drive to power up.
Instruction Manual
3