Operation
Please note: SV431DVIUA can be used with a VGA connection to controlled (slave) computers, however an adapter must be used to make the connection (please see Accessory Products from StarTech.com - DVIVGAMF).
Also note: Analog and digital connections cannot be used concurrently. To successfully connect SV431DVIUA to the slave computers, all connections must be either digital or analog.
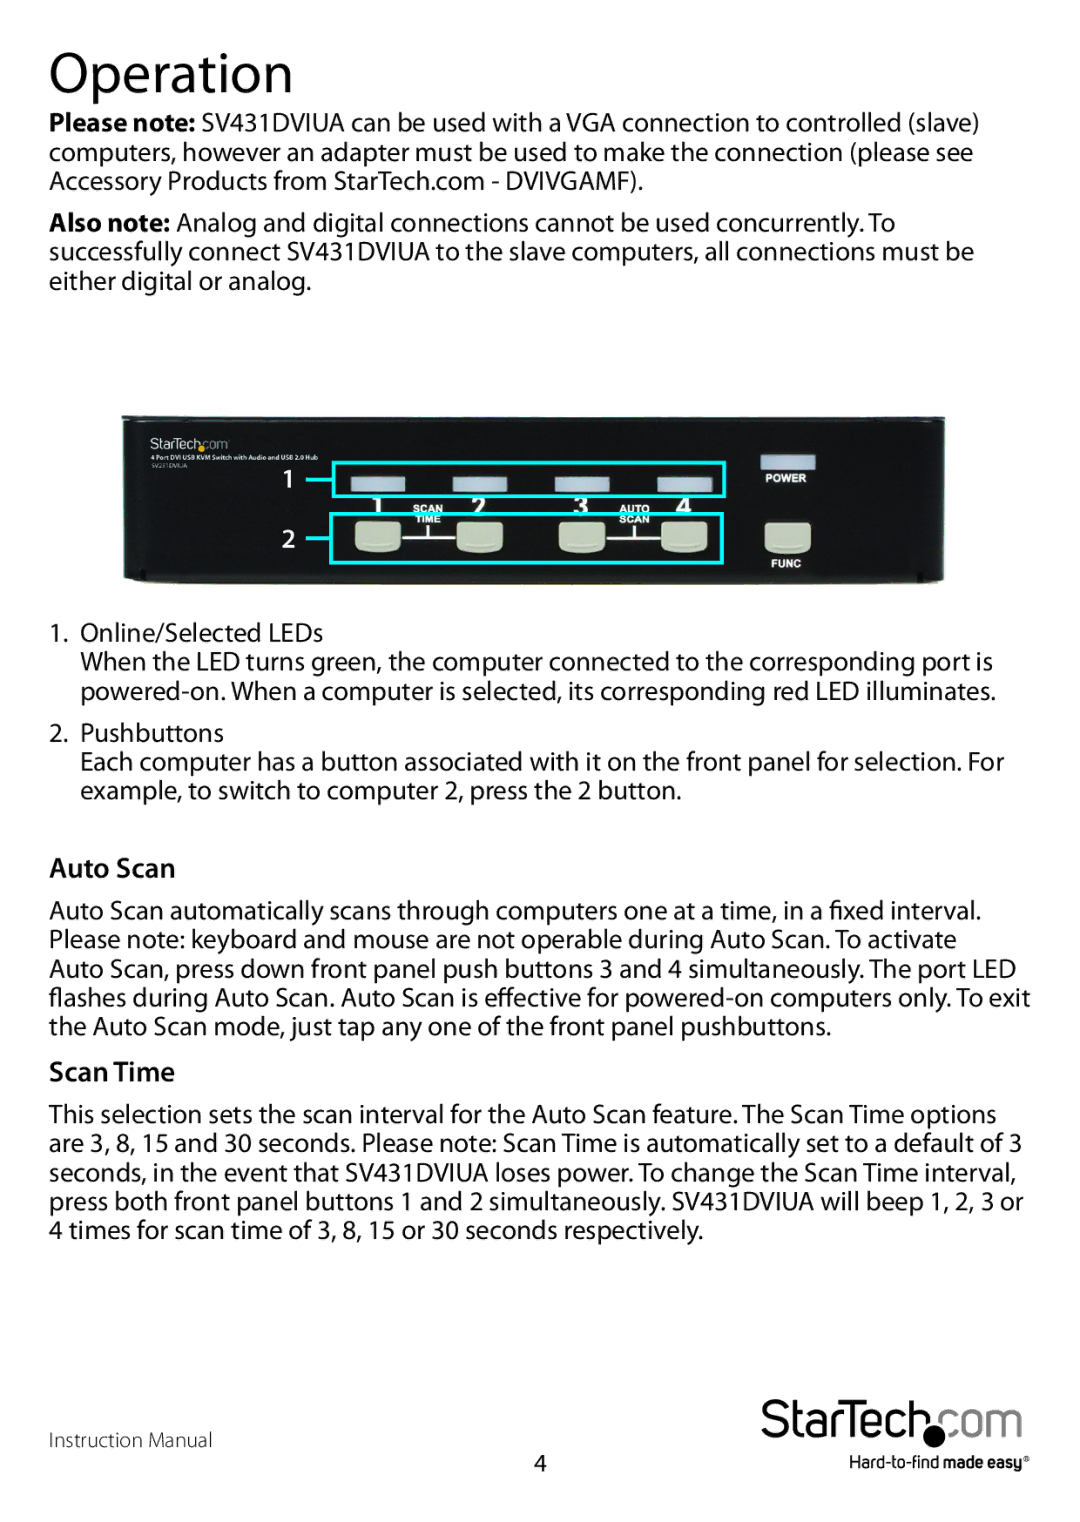
1 ![]()
2 ![]()
1.Online/Selected LEDs
When the LED turns green, the computer connected to the corresponding port is
2.Pushbuttons
Each computer has a button associated with it on the front panel for selection. For example, to switch to computer 2, press the 2 button.
Auto Scan
Auto Scan automatically scans through computers one at a time, in a fixed interval. Please note: keyboard and mouse are not operable during Auto Scan. To activate Auto Scan, press down front panel push buttons 3 and 4 simultaneously. The port LED flashes during Auto Scan. Auto Scan is effective for
Scan Time
This selection sets the scan interval for the Auto Scan feature. The Scan Time options are 3, 8, 15 and 30 seconds. Please note: Scan Time is automatically set to a default of 3 seconds, in the event that SV431DVIUA loses power. To change the Scan Time interval, press both front panel buttons 1 and 2 simultaneously. SV431DVIUA will beep 1, 2, 3 or 4 times for scan time of 3, 8, 15 or 30 seconds respectively.
Instruction Manual
4