Tiller Adjustment and Battery Removal
Tiller Adjustment
The scooter features an infinitely adjustable tiller which allows you to lock the tiller in the most comfortable driving position. This feature also lets you fold the tiller down fully, for transportation and stowage.
The tiller adjusting lever is located on the driver’s side of the tiller.
1.Support the tiller with your right hand.
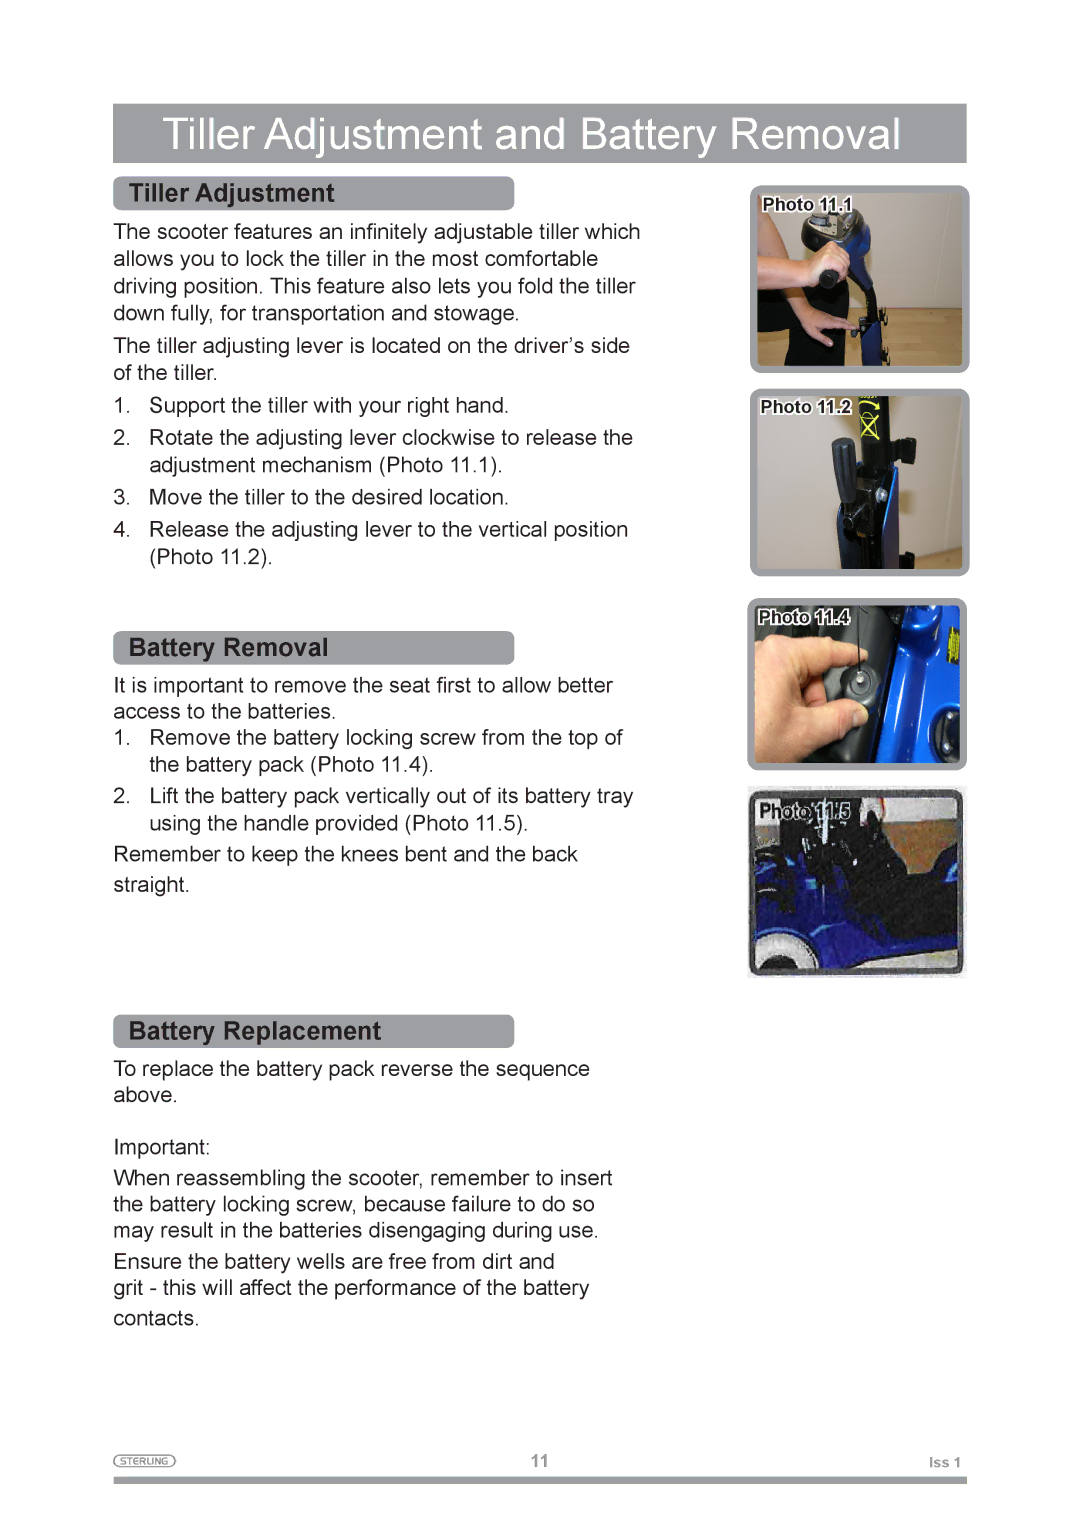
2.Rotate the adjusting lever clockwise to release the adjustment mechanism (Photo 11.1).
3.Move the tiller to the desired location.
4.Release the adjusting lever to the vertical position (Photo 11.2).
Photo 11.1
Photo 11.2
Photo 11.4
Battery Removal
It is important to remove the seat first to allow better access to the batteries.
1.Remove the battery locking screw from the top of the battery pack (Photo 11.4).
2.Lift the battery pack vertically out of its battery tray using the handle provided (Photo 11.5).
Remember to keep the knees bent and the back
straight.
Battery Replacement
To replace the battery pack reverse the sequence above.
Important:
When reassembling the scooter, remember to insert the battery locking screw, because failure to do so may result in the batteries disengaging during use.
Ensure the battery wells are free from dirt and grit - this will affect the performance of the battery
contacts.
11 | Iss 1 |
|
|
|
|
