
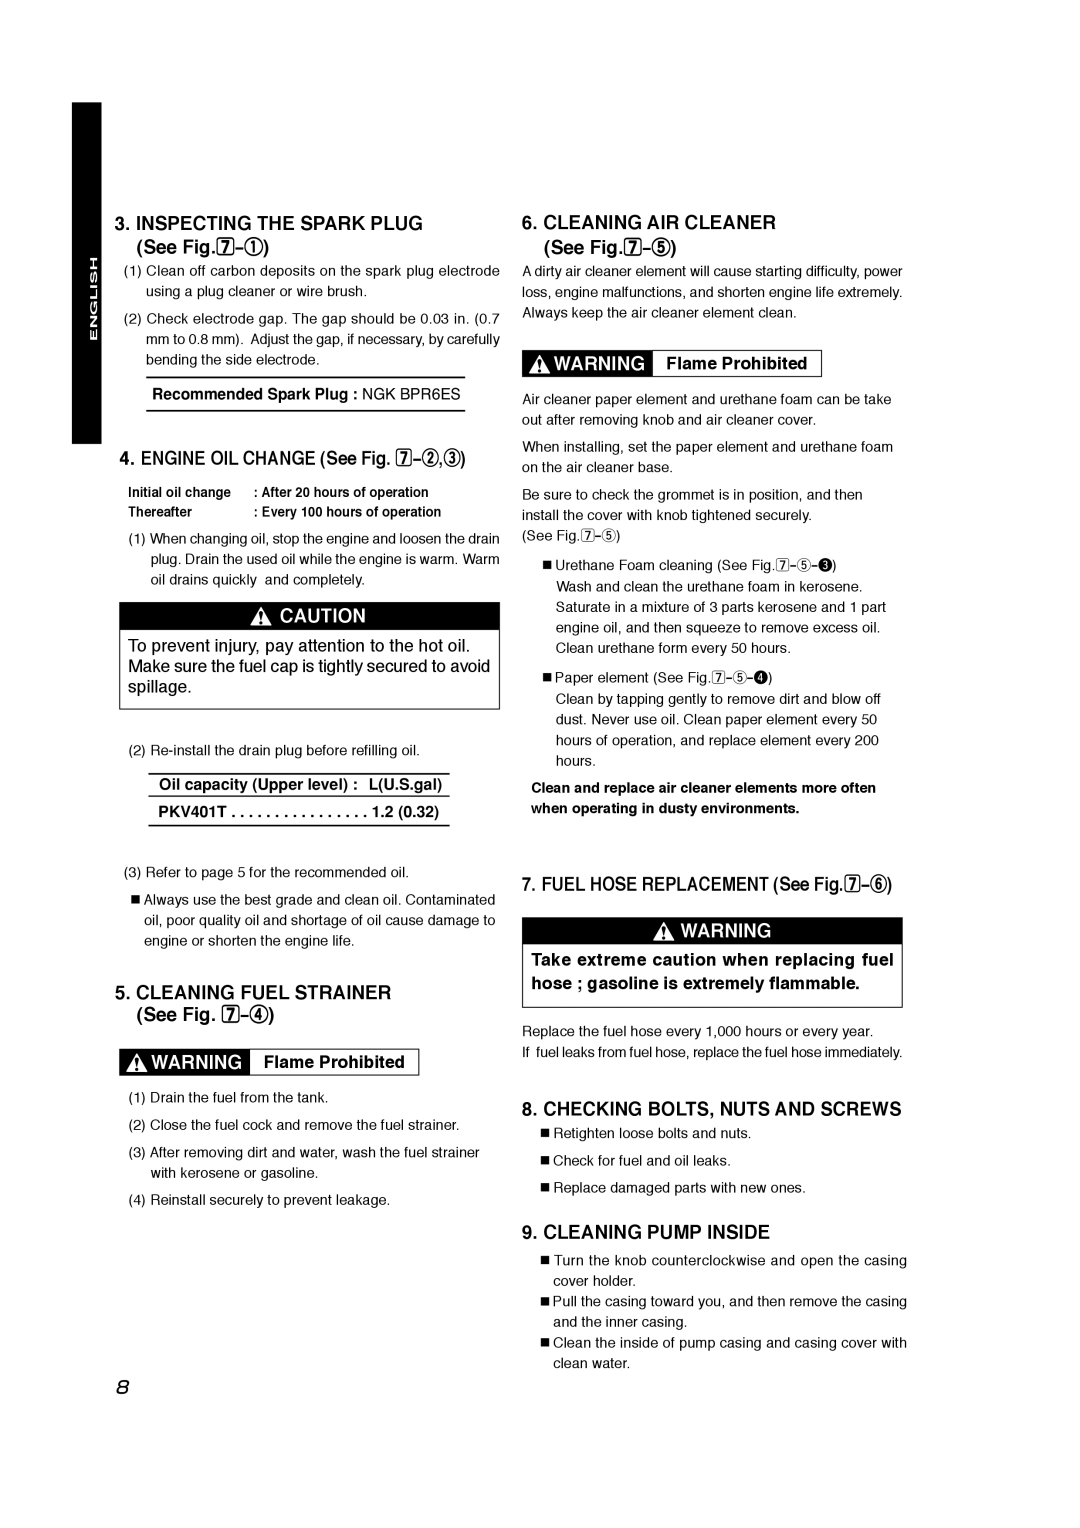
PKV401T specifications
The Subaru Robin Power Products PKV401T is a versatile and robust portable generator designed for both professional and recreational use. This model stands out due to its unique combination of power, efficiency, and portability, making it an ideal solution for users who require reliable electricity in various settings.At its core, the PKV401T is equipped with a high-performance Subaru Robin engine that delivers exceptional power output while maintaining low fuel consumption. The engine's four-stroke design not only ensures durability but also contributes to its efficiency, allowing it to run longer on less fuel. With a rated output of 3,500 watts and a maximum output of 4,000 watts, this generator can easily power multiple devices and appliances simultaneously, making it suitable for camping trips, outdoor events, and emergency backup during power outages.
One of the standout features of the PKV401T is its lightweight and compact construction. Weighing in at approximately 80 pounds, it's easily transportable, allowing users to move it effortlessly from one location to another. The generator also features a sturdy frame and a built-in handle, which adds to its portability and ease of use.
In terms of technology, the PKV401T is equipped with a reliable full-wave inverter system, which provides clean and stable power that is safe for sensitive electronics, including laptops and smartphones. This inverter technology minimizes distortion, making it an ideal choice for users who demand high-quality power output.
Another defining characteristic of the Subaru Robin PKV401T is its noise reduction technology. Operating at a measured noise level of just 59 dBA, this generator is quieter than many competitors in its class, allowing users to enjoy their outdoor activities without disturbing the peace.
Additionally, the PKV401T features a user-friendly control panel, complete with easy-to-read displays for monitoring power output and fuel levels. It includes several outlet options, giving users versatility when connecting devices.
Overall, the Subaru Robin Power Products PKV401T is an exceptional portable generator designed for efficiency, convenience, and reliability. Its powerful engine, lightweight design, advanced inverter technology, and noise-reduction features make it a top choice for anyone in need of dependable power on the go. Whether for home backup or outdoor adventures, the PKV401T is equipped to meet diverse power needs effectively.