GAS INSTRUCTIONS
Liquid Propane (LP) Cylinder(s)
•The joint where the hose connects to the LP cylinder must be leak tested each time the LP cylinder is reconnected. For example, test each time the LP cylinder is refi lled.
•Be sure the regulator is mounted with the small vent hole pointed downward so that it will not collect water. This vent should be free of dirt, grease, bugs etc.
•The LP cylinder and connections supplied with your Weber® gas barbecue have been designed and tested to
meet government, American Gas Association, and Under- writers Laboratories requirements.
If you have questions about spare LP cylinders contact Customer Service at 1(800)
•All LP tank supply systems must include a collar to pro- tect the cylinder valve.
•The LP cylinder must be a
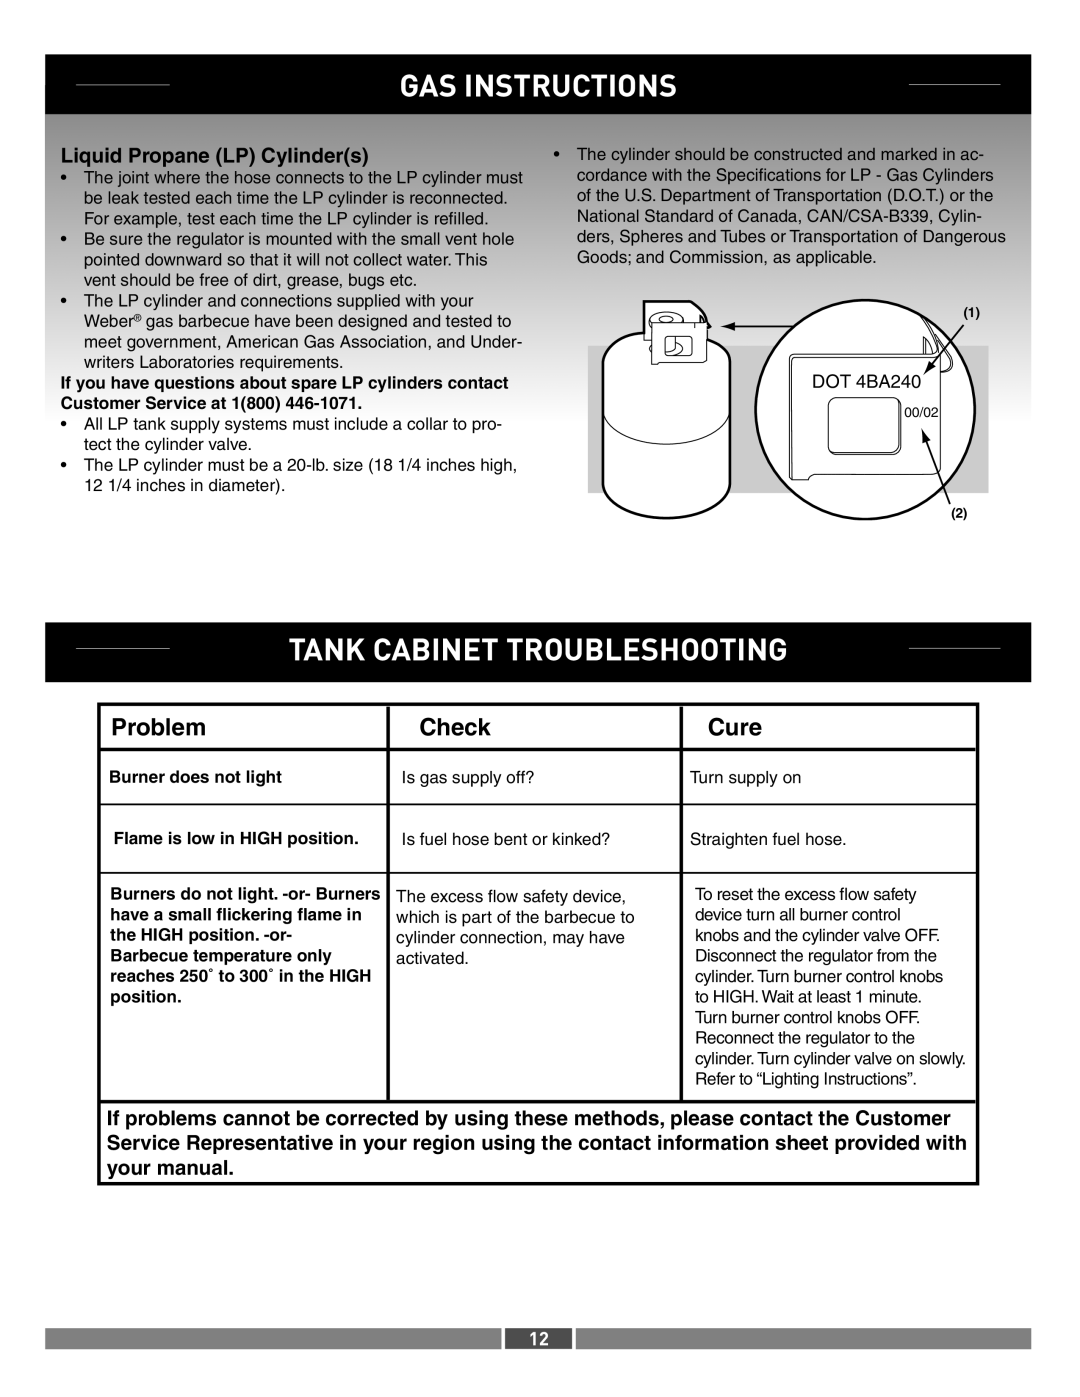
•The cylinder should be constructed and marked in ac- cordance with the Specifi cations for LP - Gas Cylinders of the U.S. Department of Transportation (D.O.T.) or the National Standard of Canada,
(1)
DOT 4BA240
00/02
(2)
TANK CABINET TROUBLESHOOTING
Problem | Check | Cure |
|
|
|
|
|
Burner does not light | Is gas supply off? | Turn supply on |
|
|
|
|
|
Flame is low in HIGH position. | Is fuel hose bent or kinked? | Straighten fuel hose. |
|
|
|
|
|
Burners do not light. | The excess fl ow safety device, | To reset the excess flow safety |
|
have a small flickering flame in | which is part of the barbecue to | device turn all burner control |
|
the HIGH position. | cylinder connection, may have | knobs and the cylinder valve OFF. |
|
Barbecue temperature only | activated. | Disconnect the regulator from the |
|
reaches 250˚ to 300˚ in the HIGH |
| cylinder. Turn burner control knobs |
|
position. |
| to HIGH. Wait at least 1 minute. |
|
|
| Turn burner control knobs OFF. |
|
|
| Reconnect the regulator to the |
|
|
| cylinder. Turn cylinder valve on slowly. |
|
|
| Refer to “Lighting Instructions”. |
|
|
|
|
|
If problems cannot be corrected by using these methods, please contact the Customer Service Representative in your region using the contact information sheet provided with your manual.
12
