Sun Microsystems, Inc Network Circle Santa Clara, CA
Enterprise Edition 6.0 Migration Guide
070222@16599
Contents
Architectural Changes in Directory Server
Migrating a Replicated Topology
Migrating Directory Proxy Server
Migrating Identity Synchronization for Windows
105
Index 145
Sun Confidential Registered
Figures
Sun Confidential Registered
Tables
Mapping Between 5 and 6.0 Password Policy Attributes
Tables
Examples
Sun Confidential Registered
Before You Read This Book
Who Should Use This Book
How This Book Is Organized
Table P-1Directory Server Enterprise Edition Documentation
Directory Server Enterprise Edition Documentation Set
Table P-1 Directory Server Enterprise Edition Documentation
Related Reading
Default Paths
Default Paths and Command Locations
Redistributable Files
Table P-2Default Paths
Table P-3Command Locations
Command Locations
Typographic Conventions
Table P-3 Command Locations
Table P-4Typographic Conventions
Symbol Conventions
Shell Prompts in Command Examples
Symbol Conventions
Table P-5Shell Prompts
Third-Party Web Site References
Documentation, Support, and Training
Searching Sun Product Documentation
Search-termsitedocs.sun.com
Sun Welcomes Your Comments
Before You Migrate
Overview of the Migration Process for Directory Server
Before You Migrate
Outline of Migration Steps
Deciding on the New Product Distribution
1Migration Matrix Showing Support for Automated Migration
Deciding on Automatic or Manual Migration
About the Automatic Migration Tool
Automated Migration Using the dsmig Command
Prerequisites for Running dsmig
Using dsmig to Migrate the Schema
Using dsmig to Migrate Configuration Data
Using dsmig to Migrate Security Data
Chained Suffix Configuration Data
Plug-in Configuration Data
Replication Configuration Data
Configuration Data For Suffixes With Multiple Backends
Configuration Data for o=netscapeRoot
Configuration Attributes Not Migrated by dsmig
Nsmaxresponsedelay
Nsbindtimeout
Nsmaxtestresponsedelay
Nsproxiedauthorization
Tasks to be Performed After Automatic Migration
Using dsmig to Migrate User Data
Sun Confidential Registered
Chapter covers the following topics
Before You Start a Manual Migration
Migrating Configuration Data Manually
Migrating the Schema Manually
Migration of Specific Configuration Attributes
Values of the following attribute types must be migrated
Global Configuration Attributes
Feature Configuration Attributes
Security Configuration Attributes
Mapping Tree Configuration Attributes
NsKeyfile NsCertfile
Ds5ReferralDelayAfterInit NsDS5Flags NsDS5ReplicaBindDN
Replication Configuration Attributes
1Change Log Attribute Name Changes
2Fractional Replication Attribute Name Changes
Replication Agreement Configuration
Password Policy Configuration Attributes
3Mapping Between 5 and 6.0 Password Policy Attributes
Database Configuration Attributes
UniqueID Generator Configuration Attributes
Snmp Attributes
NsActivechainingComponents NsTransmittedControls
Chained Suffix Attributes
Nsslapd-pluginarg* nsslapd-pluginenabled
Plug-In Configuration Attributes
Nsslapd-pluginarg0 nsslapd-pluginenabled
Nsslapd-pluginarg Nsslapd-pluginenabled
Pass Through Authentication Plug-In
Update the certificate database password
Migrating Security Settings Manually
$ dsadm set-flags instance-pathcert-pwd-prompt=on
Start the new instance
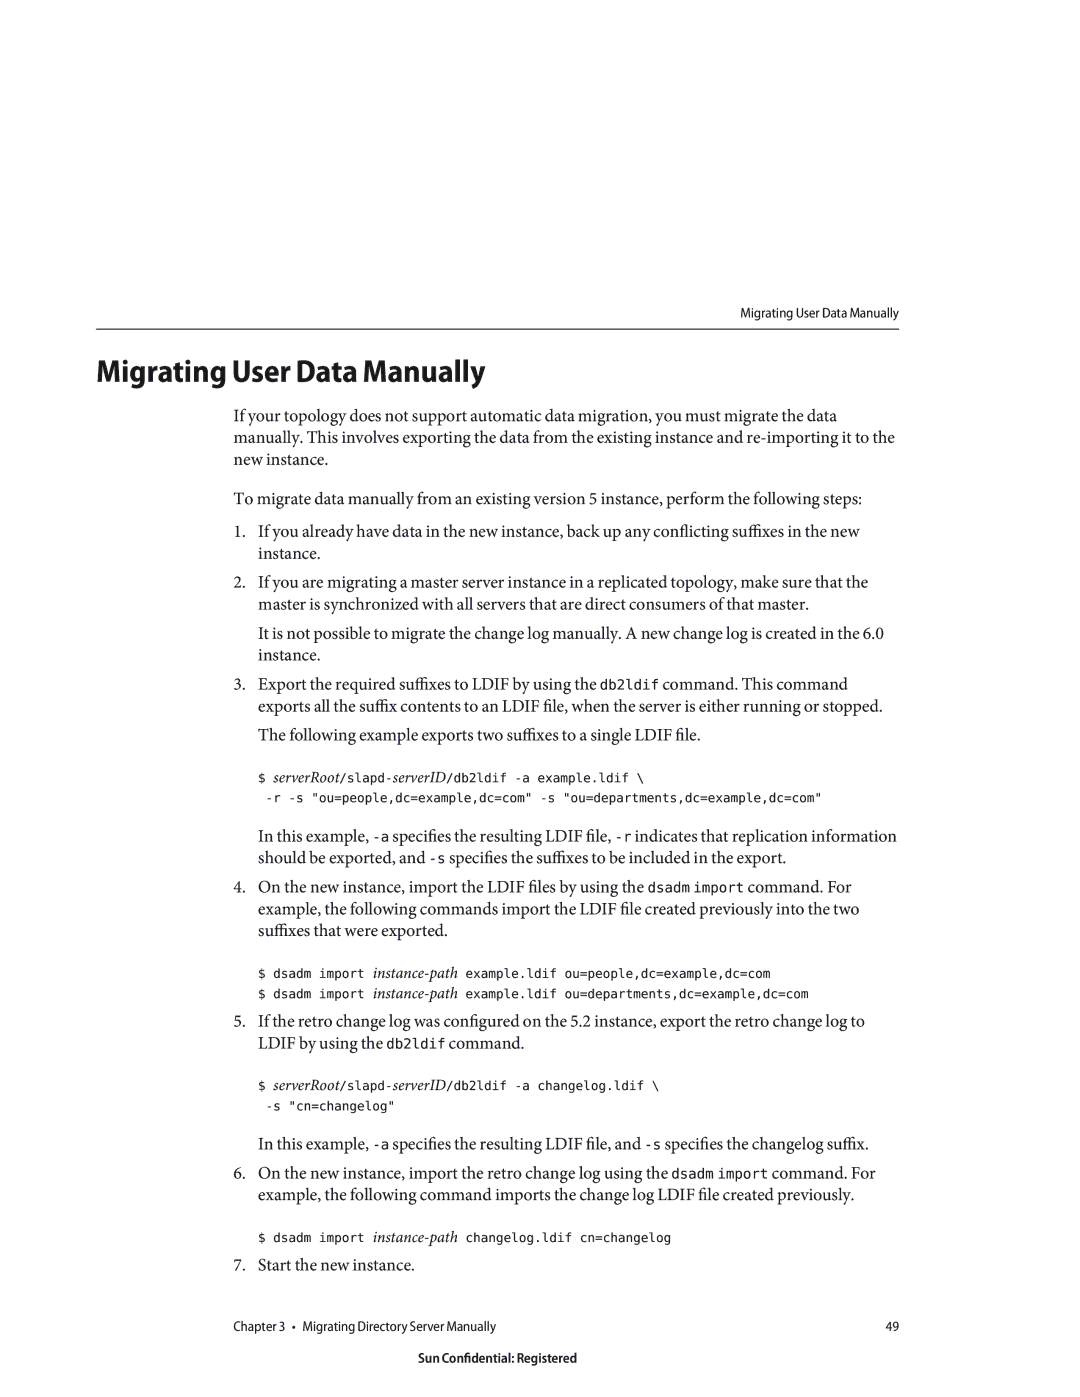
Migrating User Data Manually
$ dsadm import instance-pathchangelog.ldif cn=changelog
Tasks to be Performed After Manual Migration
Migrating User Plug-Ins Manually
Overview of Migrating Replicated Servers
Migrating a Replicated Topology
Issues With the New Password Policy
Issues Related to Migrating Replicated Servers
Migration of Replication Agreements
Migration of Referrals
Problems Related to Tombstone Purging
Manual Reset of Replication Credentials
New Replication Recommendations
Migrating a Replicated Topology to an Identical
Migration Scenarios
Migrating the Consumers
Master a Hub a Consumer a Master B Hub B Consumer B
3Migrating the version 5 Consumer
Next step involves migrating the version 5 consumer
4Placing the 6.0 Consumer Into the Topology
Migrating the Hubs
6Isolating the Hub From the Topology
7Migrating the version 5 Hub
Next step involves migrating the version 5 hub
8Placing the 6.0 Hub Into the Topology
Migrating the Masters
Master a Master B Hub a
10Isolating the Master From the Topology
Next step involves migrating the version 5 master
Migrating a Replicated Topology to a New Topology
13Existing version 5 Topology
Migrating All the Servers
14Existing Topology With Migrated Servers
Promoting the Hubs
15Migrated Topology With Promoted Hub Replicas
Promoting the Consumers
16New Fully-Meshed All-Master Topology
Migrating Over Multiple Data Centers
Sun Confidential Registered
Removal of the ServerRoot Directory
Changes in the Administration Framework
Removal of the o=netscapeRoot Suffix
Changes to ACIs
Changes in the ACI Scope
Changes in Suffix-Level ACIs
1Directory Server 5 and 6 commands
Command Line Changes
Directory Server 5 and 6 commands
3Version 5 Commands That Have Been Deprecated
Deprecated Commands
Changes to the Console
New Password Policy
Password Policy Compatibility
Using fractional replication
Generates the new equivalent password policy attributes
Password policy attributes in the database
New-modeaction takes one of the following values
New Plug-Ins in Directory Server
Changes to Plug-Ins
Following plug-ins have been added in Directory Server
Plug-Ins Deprecated in Directory Server
Changes to the Installed Product Layout
Changes to the Plug-In API
Following plug-ins have been deprecated in Directory Server
Online Help Previously Under ServerRoot/manual
Binaries Previously Under ServerRoot/bin
Utilities Previously Under ServerRoot/shared/bin
Plug-Ins Previously Under ServerRoot/plugins
4Support for Plug-Ins
5Tools Previously Under ServerRoot/shared/bin
6Location of Certificate and Key Files
Certificate and Key Files
Server Instance Scripts Previously Under
Silent Installation and Uninstallation Templates
Server Instance Subdirectories
7Instance-Specific Subdirectories
Migrating Directory Proxy Server
Mapping the Global Configuration
Mapping the Global Configuration
Administration Guide
Mapping the Global Security Configuration
2Mapping of Security Configuration
Access Control on the Proxy Configuration
Managing Certificates
3Mapping of Connection Pool Attributes
Mapping the Connection Pool Configuration
Mapping the Group Object
Mapping the Groups Configuration
$ dpconf help-properties grep connection-handler
Mapping the Network Group Object
Mapping Bind Forwarding
$ dpconf help-properties grep request-filtering-policy
Mapping Operation Forwarding
Mapping Search Request Controls
Mapping Subtree Hiding
$ dpconf help-properties grep resource-limits-policy
Mapping Attributes Modifying Search Requests
Mapping Compare Request Controls
$ dpconf help-properties grep search-data-hiding-rule
Mapping Attributes Restricting Search Responses
Attributesattribute-name
Mapping the Referral Configuration Attributes
Mapping the Server Load Configuration
Attribute Renaming Property
Mapping the Properties Configuration
Forbidden Entry Property
$ dpconf help-properties grep ldap-data-source
Ldap Server Property
Load Balancing Property
$ dpconf help-properties grep ldap-data-source-pool
Monitoring Backend Servers
Log Property
Search Size Limit Property
17Version 5 and Version 6 Log Functionality
Mapping the Events Configuration
Mapping the Actions Configuration
Migrating Identity Synchronization for Windows
Before You Migrate Identity Synchronization for Windows
Migration Overview
Preparing for Identity Synchronization for Windows Migration
Exporting Version 1.1 Configuration
Inserting Clear-Text Passwords
Using the export11cnf Utility
Following sample exported configuration file
Sample Export Configuration File
Insert Password Between the Double Quotes in the Above Field
TopologyHost PortSSLOption=true SecurePort=3269
112
Field
Checking for Undelivered Messages
Using the checktopics Utility
Rerun checktopics
To Clear Messages
Migrating Your System
Forcing Password Changes on Windows NT
1Migrating a Single-Host Deployment
Preparing for Migration
JAVAHOME%\\bin\\jar -xf filename
Uncompress -c filename tar xf
On Windows, type the following command
On Solaris, type the following command
Tar cf /var/tmp/connector-state.tar persist etc
To Uninstall Identity Synchronization for Windows Version
Uninstalling Identity Synchronization for Windows
Net stop Sun ONE Identity Synchronization for Windows
Installing Identity Synchronization for Windows
Installing or Upgrading the Dependent Products
On Solaris type the following commands
On Windows type the following commands
Idsync prepds arguments\
On Windows NT only, complete the following steps
124
Manually Uninstalling 1.1 Core and Instances from Solaris
What to Do if the 1.1 Uninstallation Fails
Use the rm -rf command to remove the following directories
To Manually Uninstall Core From a Solaris Machine
ServerRoot/isw-hostname/imquninstall
Usr/ucb/ps -gauxwww grep java
Pkginfo grep -i Identity Synchronization
Etc/imq Var/imq Usr/bin/imq
Var/sadm/install/productregistry
Cn=pswsync,cn=plugins,cn=config
Clean up the configuration directory as follows
Manually Uninstalling 1.1 Core and Instances from Windows
To uninstall Core from a Windows 2000 machine
Net stop slapd-myhostname
ServerRoot\\\lib\\psw-plugin.so
Migrating Identity Synchronization for Windows 133
For example, C\Program Files\Sun\mps\isw-example
\\Program Files\\Sun\\mps\\java\\jars\\isw
Manually Uninstalling a 1.1 Instance from Windows NT
ServerRoot\\\isw-hostname\
Migrating Identity Synchronization for Windows 137
138
For example, C\\Program Files\\Sun\\mps\\isw-example
Other Migration Scenarios
Sample deployment scenarios include
Multi-Master Replication Deployment
2Migrating a Multi-Master Replication Deployment
Multi-Host Deployment with Windows NT
2Multi-Host Deployment
3Migrating a Multi-Host Deployment with Windows NT
Checking the Logs
Change Detector subcomponents
Index
Instance-path,19
147
Synchronizing, changes with Directory Server
XML configuration documents