28 |
|
|
|
|
|
|
|
|
|
|
|
|
|
|
| I | X | . |
| S e | t | - | U | p | , |
| A | d | j u | s | t | m | e | n | t |
| & |
| U | s | e |
|
TOOLS YOU WILL NEED
1. Basic Tool Kit:
To
•7/16" box and
•1/2" box and
•3/4" box and
•5/32" Allen wrench
•3/16" Allen wrench
•1/8" Allen wrench
•Phillips screwdriver #2
•Custom axle wrench (or a 1/2"
I X . S e t - U p , A d j u s t m e n t & U s e | 29 | |
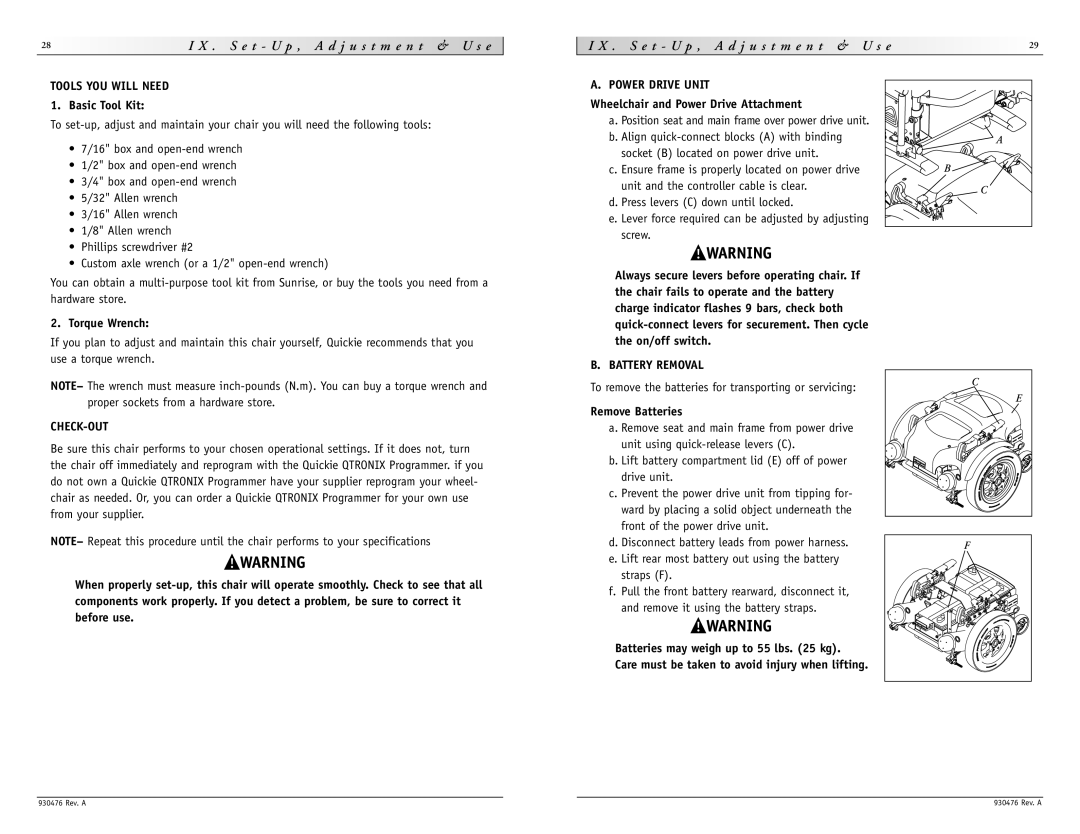
A. POWER DRIVE UNIT |
| |
Wheelchair and Power Drive Attachment |
| |
a. Position seat and main frame over power drive unit. |
| |
b. Align | A | |
socket (B) located on power drive unit. |
| |
c. Ensure frame is properly located on power drive | B | |
unit and the controller cable is clear. | C | |
d. Press levers (C) down until locked. | ||
| ||
e. Lever force required can be adjusted by adjusting |
| |
screw. |
|
You can obtain a
2. Torque Wrench:
If you plan to adjust and maintain this chair yourself, Quickie recommends that you use a torque wrench.
NOTE– The wrench must measure
CHECK-OUT
Be sure this chair performs to your chosen operational settings. If it does not, turn the chair off immediately and reprogram with the Quickie QTRONIX Programmer. if you do not own a Quickie QTRONIX Programmer have your supplier reprogram your wheel- chair as needed. Or, you can order a Quickie QTRONIX Programmer for your own use from your supplier.
NOTE– Repeat this procedure until the chair performs to your specifications
When properly
Always secure levers before operating chair. If the chair fails to operate and the battery charge indicator flashes 9 bars, check both
B. BATTERY REMOVAL
To remove the batteries for transporting or servicing:
Remove Batteries
a. Remove seat and main frame from power drive unit using
b. Lift battery compartment lid (E) off of power drive unit.
c. Prevent the power drive unit from tipping for- ward by placing a solid object underneath the front of the power drive unit.
d. Disconnect battery leads from power harness. e. Lift rear most battery out using the battery
straps (F).
f. Pull the front battery rearward, disconnect it, and remove it using the battery straps.
Batteries may weigh up to 55 lbs. (25 kg). Care must be taken to avoid injury when lifting.
C |
E |
F |
930476 Rev. A | 930476 Rev. A |
