SVAT ELECTRONICS
INSTALLING THE CAMERA
now you can see
1.Unpack the camera.
2.Decide whether the camera will be
3.Decide whether to connect using AC power or 9 volt battery. If using a battery, connect the 9V battery to the battery adapter, then connect it to the power jack of the camera. If using the camera power adapter, just connect the power jack. Make sure the camera is positioned no more than 5 1/2 feet from an AC power outlet.
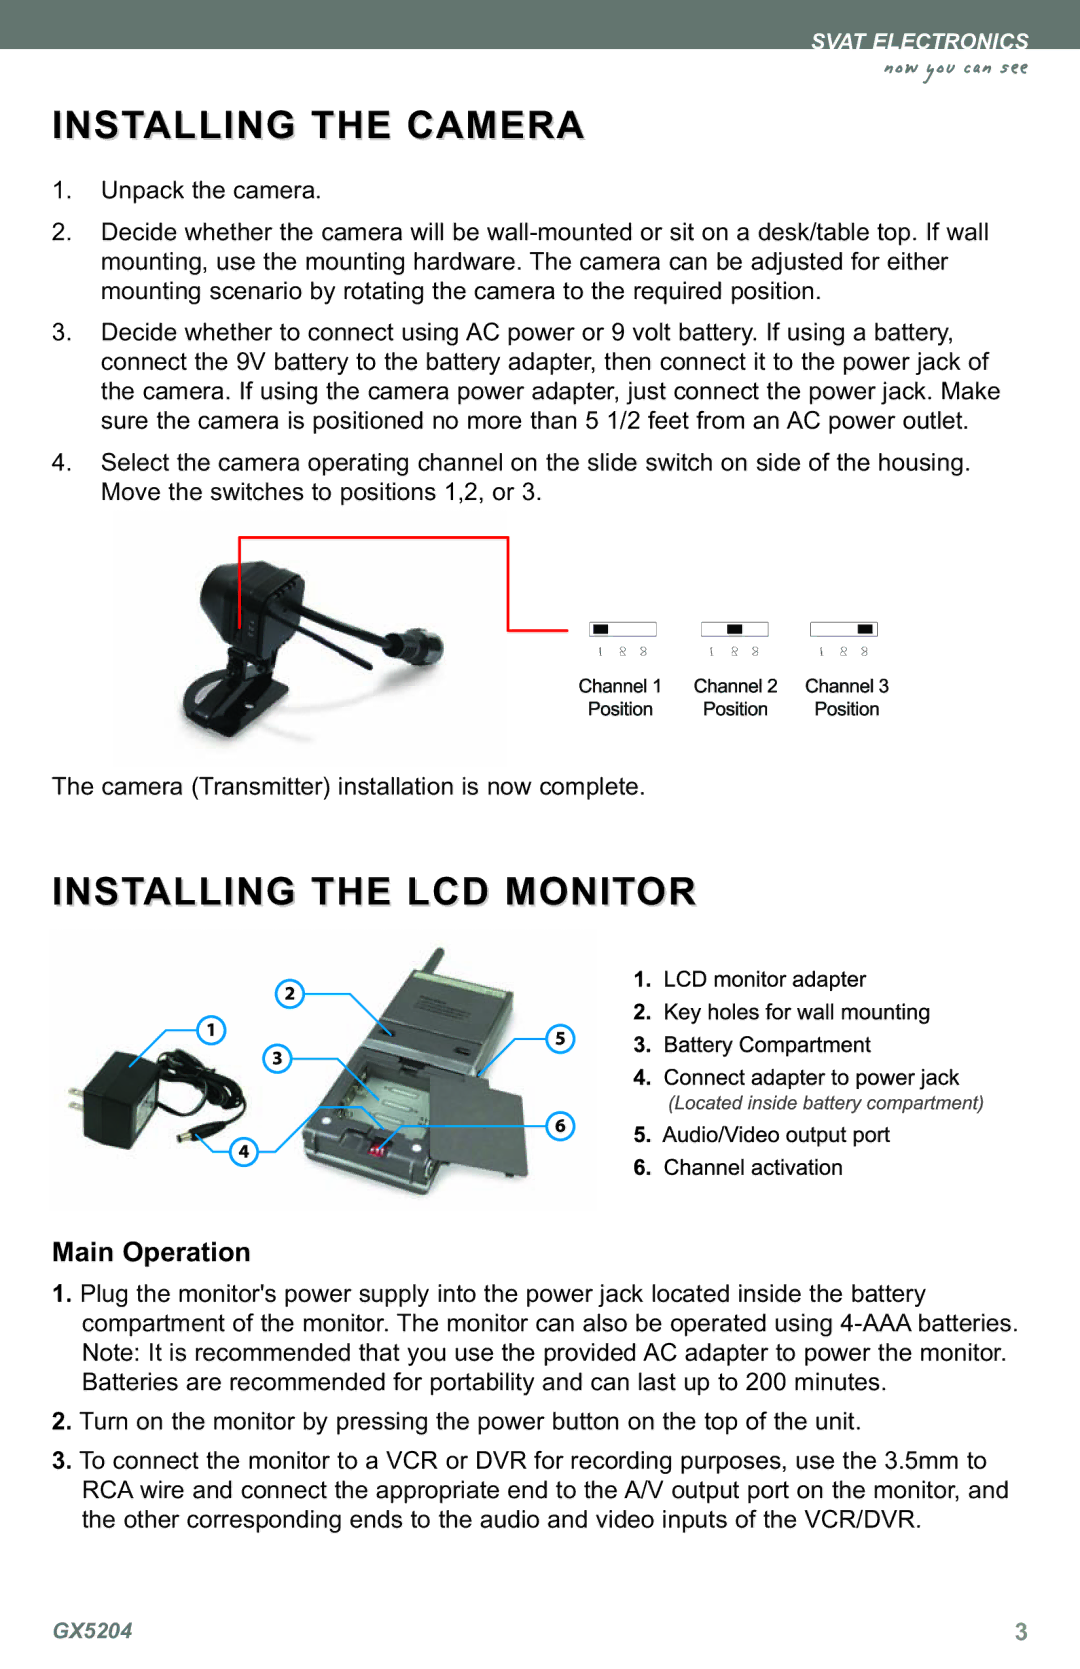
4.Select the camera operating channel on the slide switch on side of the housing. Move the switches to positions 1,2, or 3.
The camera (Transmitter) installation is now complete.
INSTALLING THE LCD MONITOR
Main Operation
1. Plug the monitor's power supply into the power jack located inside the battery compartment of the monitor. The monitor can also be operated using
2. Turn on the monitor by pressing the power button on the top of the unit.
3. To connect the monitor to a VCR or DVR for recording purposes, use the 3.5mm to RCA wire and connect the appropriate end to the A/V output port on the monitor, and the other corresponding ends to the audio and video inputs of the VCR/DVR.
GX5204 | 3 |
