6

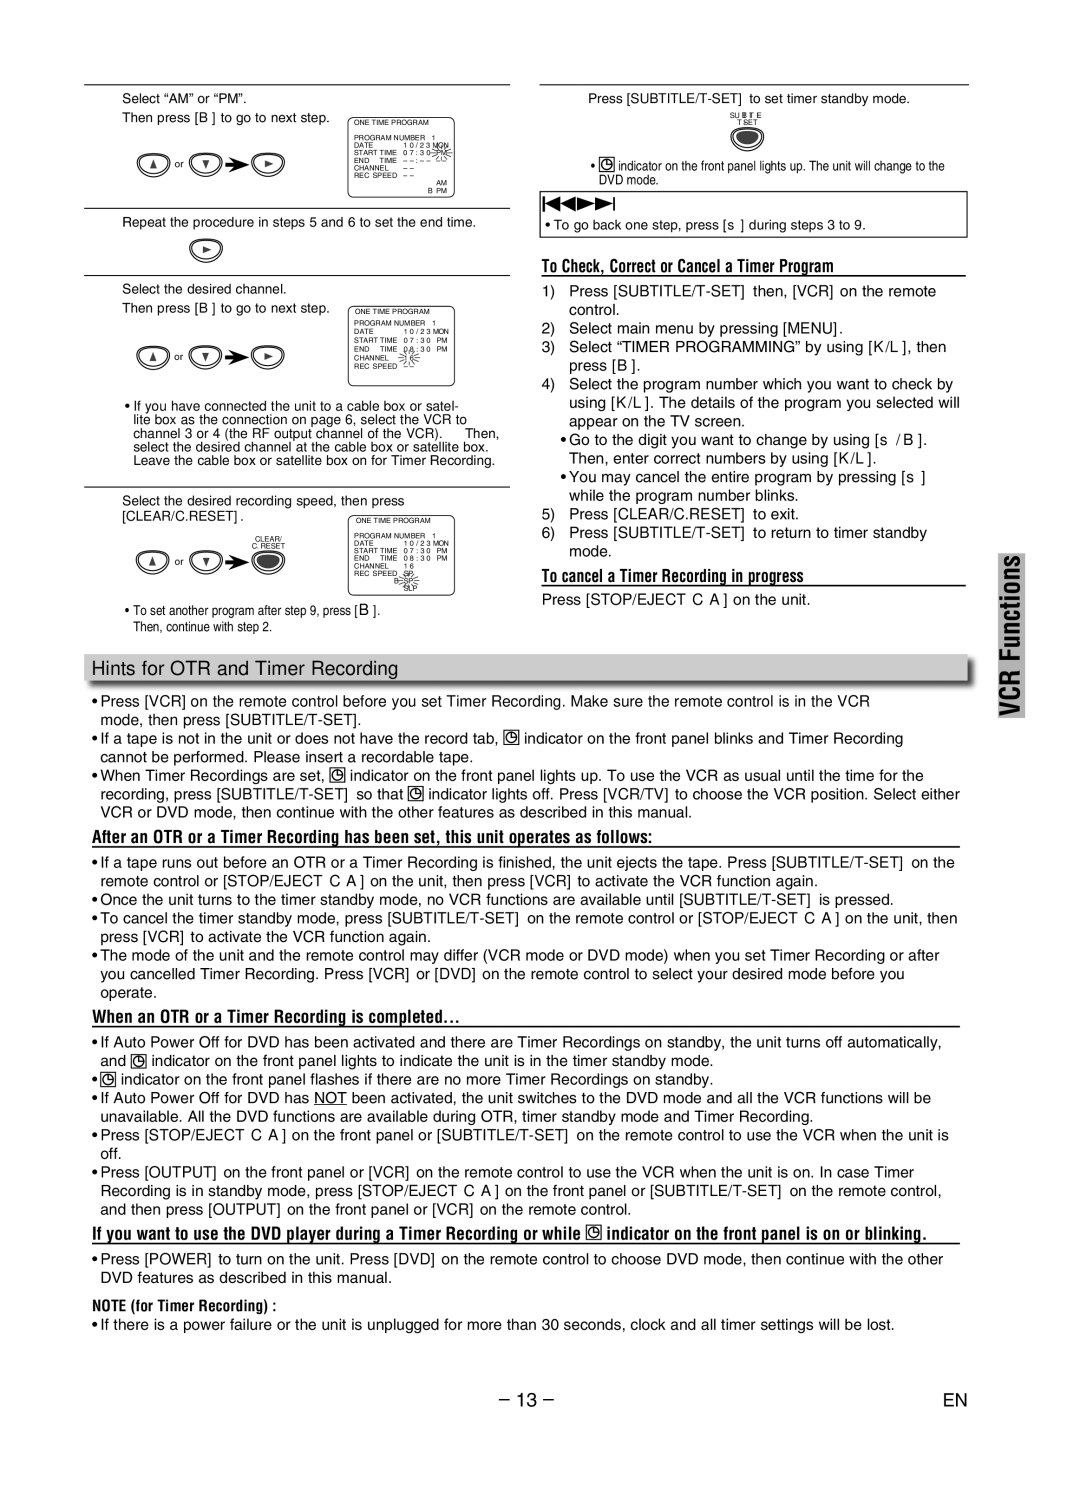
Select “AM” or “PM”.


Then press [B] to go to next step.

ONE TIME PROGRAM


PROGRAM NUMBER

1


DATE

1 0

/ 2  MON


START TIME

0 7

:  0

PM


or

END TIME

– : – –

– –


CHANNEL

– –


REC SPEED

– –


AM


B PM

7

Repeat the procedure in steps 5 and 6 to set the end time.

8

Select the desired channel.


Then press [B] to go to next step.

ONE TIME PROGRAM


PROGRAM NUMBER

1


DATE

1 0

/ 2  MON


START TIME

0 7

:  0

PM


or

END TIME

0 8

:  0

PM


CHANNEL

1 6


REC SPEED

– –


If you have connected the unit to a cable box or satel- lite box as the connection on page 6, select the VCR to channel 3 or 4 (the RF output channel of the VCR). Then, select the desired channel at the cable box or satellite box. Leave the cable box or satellite box on for Timer Recording.

9

Select the desired recording speed, then press


[CLEAR/C.RESET].


ONE TIME PROGRAM


CLEAR/

PROGRAM NUMBER

1


DATE

1 0

/ 2  MON


C. RESET


START TIME

0 7

:  0

PM


or


END TIME

0 8

:  0

PM


CHANNEL

1 6


REC SPEED

SP


B SP


SLP


To set another program after step 9, press [B]. Then, continue with step 2.

10 Press [SUBTITLE/T-SET]to set timer standby mode.

SUBTITLE

T-SET

indicator on the front panel lights up. The unit will change to the DVD mode.

To go back one step, press [s] during steps  to 9.

To Check, Correct or Cancel a Timer Program

1)Press [SUBTITLE/T-SET] then, [VCR] on the remote control.

2)Select main menu by pressing [MENU].

) Select “TIMER PROGRAMMING” by using [K/L], then press [B].

4)Select the program number which you want to check by using [K/L]. The details of the program you selected will appear on the TV screen.

Go to the digit you want to change by using [s/ B]. Then, enter correct numbers by using [K/L].

You may cancel the entire program by pressing [s] while the program number blinks.

5)Press [CLEAR/C.RESET] to exit.

6)Press [SUBTITLE/T-SET]to return to timer standby mode.

To cancel a Timer Recording in progress

Press [STOP/EJECT C A] on the unit.

Functions

Hints for OTR and Timer Recording

Press [VCR] on the remote control before you set Timer Recording. Make sure the remote control is in the VCR mode, then press [SUBTITLE/T-SET].

If a tape is not in the unit or does not have the record tab, indicator on the front panel blinks and Timer Recording cannot be performed. Please insert a recordable tape.

When Timer Recordings are set, indicator on the front panel lights up. To use the VCR as usual until the time for the recording, press [SUBTITLE/T-SET]so that indicator lights off. Press [VCR/TV] to choose the VCR position. Select either VCR or DVD mode, then continue with the other features as described in this manual.

After an OTR or a Timer Recording has been set, this unit operates as follows:

If a tape runs out before an OTR or a Timer Recording is finished, the unit ejects the tape. Press [SUBTITLE/T-SET]on the remote control or [STOP/EJECT C A] on the unit, then press [VCR] to activate the VCR function again.

Once the unit turns to the timer standby mode, no VCR functions are available until [SUBTITLE/T-SET]is pressed.

To cancel the timer standby mode, press [SUBTITLE/T-SET]on the remote control or [STOP/EJECT C A] on the unit, then press [VCR] to activate the VCR function again.

The mode of the unit and the remote control may differ (VCR mode or DVD mode) when you set Timer Recording or after you cancelled Timer Recording. Press [VCR] or [DVD] on the remote control to select your desired mode before you operate.

When an OTR or a Timer Recording is completed...

If Auto Power Off for DVD has been activated and there are Timer Recordings on standby, the unit turns off automatically, and indicator on the front panel lights to indicate the unit is in the timer standby mode.

indicator on the front panel flashes if there are no more Timer Recordings on standby.

If Auto Power Off for DVD has NOT been activated, the unit switches to the DVD mode and all the VCR functions will be unavailable. All the DVD functions are available during OTR, timer standby mode and Timer Recording.

Press [STOP/EJECT C A] on the front panel or [SUBTITLE/T-SET]on the remote control to use the VCR when the unit is off.

Press [OUTPUT] on the front panel or [VCR] on the remote control to use the VCR when the unit is on. In case Timer Recording is in standby mode, press [STOP/EJECT C A] on the front panel or [SUBTITLE/T-SET]on the remote control, and then press [OUTPUT] on the front panel or [VCR] on the remote control.

If you want to use the DVD player during a Timer Recording or while indicator on the front panel is on or blinking.

Press [POWER] to turn on the unit. Press [DVD] on the remote control to choose DVD mode, then continue with the other DVD features as described in this manual.

NOTE (for Timer Recording) :

• If there is a power failure or the unit is unplugged for more than 0 seconds, clock and all timer settings will be lost.

VCR

– 1

EN

Page 13
Image 13
Sylvania DVC840G owner manual Functions, Hints for OTR and Timer Recording, To Check, Correct or Cancel a Timer Program

DVC840G specifications

The Sylvania DVC840G is a versatile multimedia device designed for those who appreciate quality entertainment on the go. Combining the functionalities of a portable DVD player with a host of modern features, it caters to a variety of viewing preferences, making it an excellent choice for family outings or solo adventures.

One of the standout features of the DVC840G is its impressive 8-inch LCD screen, which provides a bright, vibrant display for an enhanced visual experience. The screen is designed with a high resolution, ensuring that movies, videos, and images appear sharp and clear. Additionally, its swivel feature allows users to adjust the screen for optimal viewing angles, whether sitting in a car or lounging on the couch.

The DVC840G supports a wide range of media formats. It plays DVDs, CD-Rs, CD-RWs, and even MP3 files, making it suitable for various types of content. The device can also handle different video formats, enabling users to enjoy their favorite media without compatibility issues. This flexibility is particularly appealing for families with varied entertainment preferences.

In terms of connectivity, the DVC840G features both USB and SD card slots, allowing users to access their digital media files with ease. This means users can bring along their favorite movies or music stored on USB drives or memory cards, adding convenience and versatility to the device.

Battery life is another key characteristic of the DVC840G. Equipped with a rechargeable battery, it provides ample playtime, enabling users to watch movies without continually searching for an outlet. This feature is especially beneficial for long trips, during which access to charging points may be limited.

The DVC840G also boasts a built-in AV output, which enables users to connect the device to external displays or televisions. This feature allows for larger viewing experiences, making it suitable for family gatherings or movie nights with friends.

In summary, the Sylvania DVC840G is an all-in-one portable DVD player that stands out with its 8-inch LCD screen, extensive media format compatibility, multiple connectivity options, and rechargeable battery. Its user-friendly design and versatility make it an essential device for anyone looking to enjoy films and music on the move. Whether for family trips or personal use, the DVC840G is a reliable companion for entertainment enthusiasts.